Showing posts with label diy. Show all posts
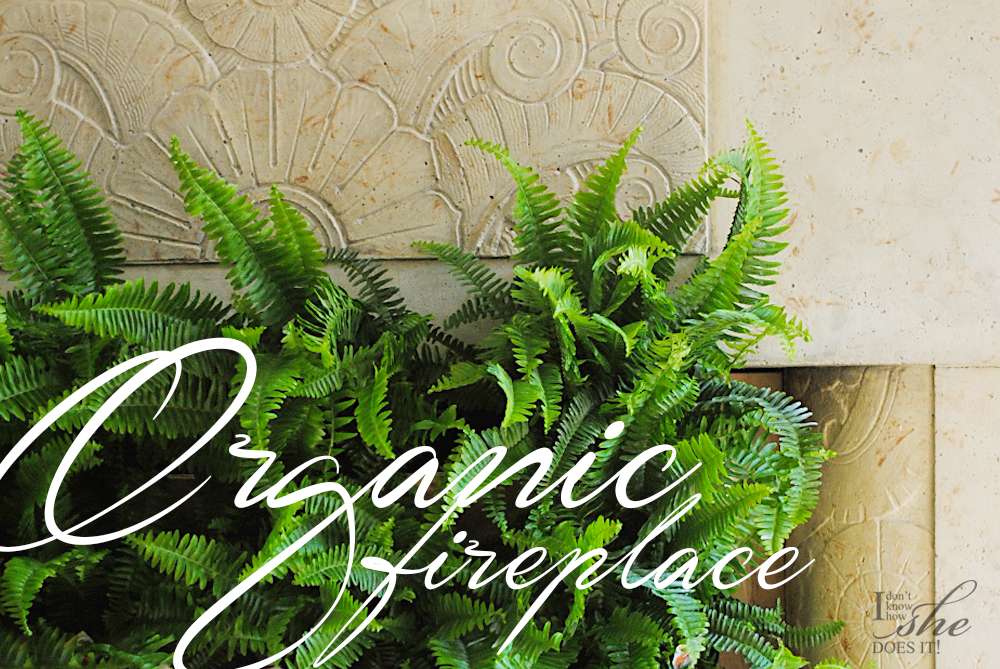
Fireplace plant facade
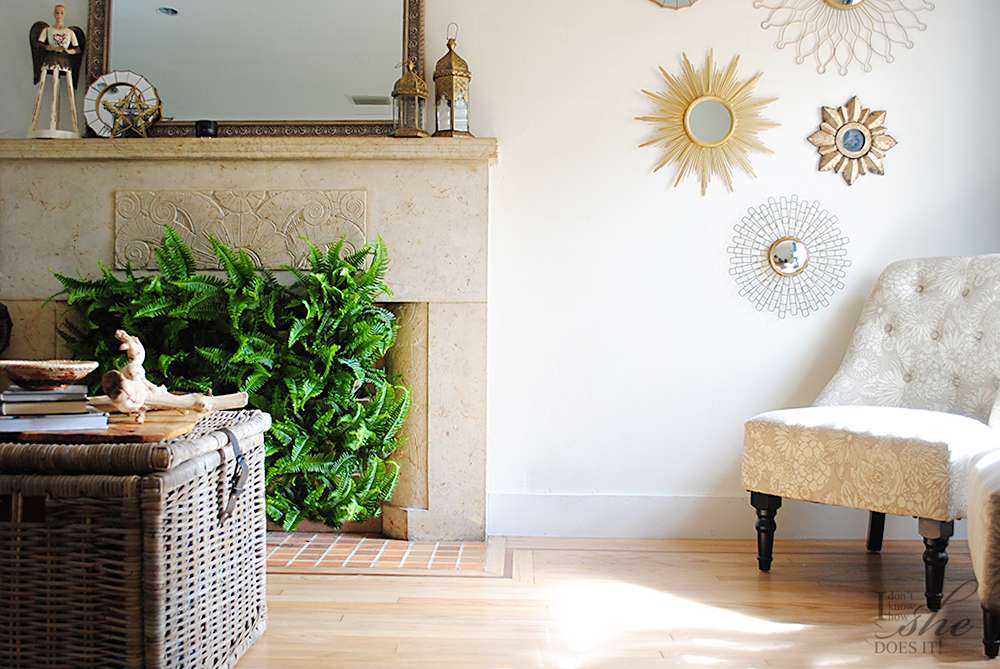
As seasons come and go, I like to update my fireplace area with things I already have or that I can create. So far in this sealed area I've place some urns filled with Ivy plants for Christmas, recycled jumbo bottles in tones of amber and light brown for the beginning of the year; and now some ferns in honor of Spring.
To place these plants inside the firebox I've create a simple planter with some "Common Board" and "Sande Plywood" from The Home Depot.
The sizes I'll be using to make this planter are based on my firebox space. To start, I cut one piece of the "Sande Plywood" to 30" x 36", this was going to be the back of the planter. Using the same material, I cut 3 pieces of 33" x 8" for the front part that will hold the plants. For the corners, I cut 6 triangles from the "Common Board". Each of these was 6" x 6" x 8" (using a 45 degree angle).
Using these materials I was able to make 3 rows for the plants. For each row, I started accommodating the corners, each 1 1/2" from the edge of the wood that was going to be the back of the planter (as shown in the image). After these pieces were glued and nailed, I placed one of the 33" x 8" piece to finish the row. Between rows I left 3" for spacing.
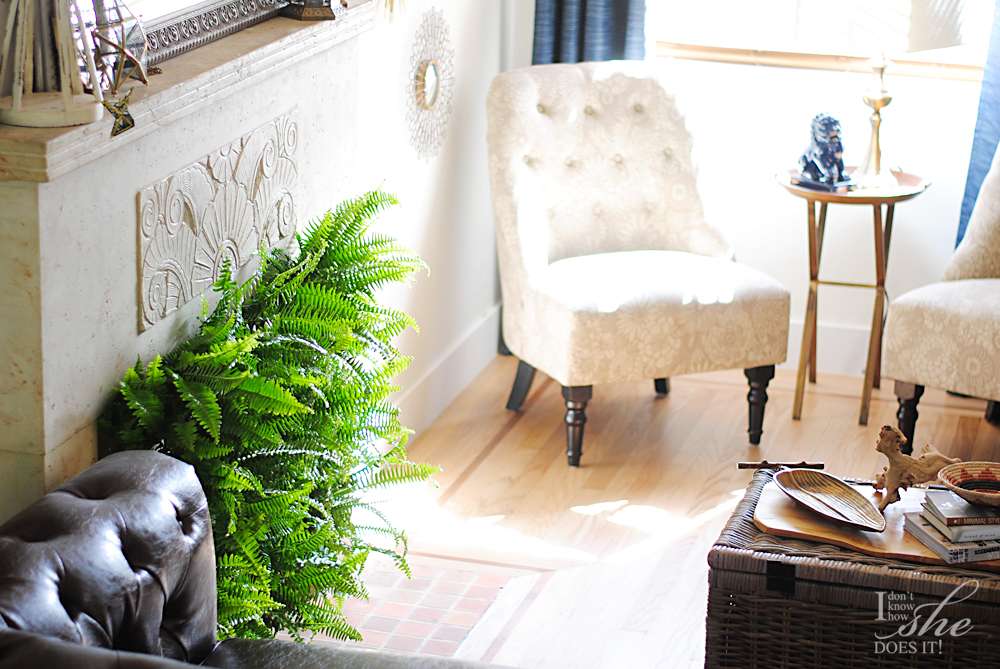
After all the rows were finished, all I had to do was fill the planter. The reason I chose ferns, besides being so lush, was because they imitate the beautiful stone engraving of my fireplace. Also, when I was looking for options I took into consideration the fact that these plants were going to be near a big window, were they'll be receiving sunlight for the most part of the day.
I love having this pop of green in my living room. The best thing about this planter is that I can change the plants and hang it to the kitchen wall replacing the ferns for some herbs.
Do you like to keep plants inside your home? Which are your favorites?
Natural elements centerpiece
This year I've kept busy during the Holiday season decorating throughout our new home. You might be thinking that perhaps it is the novelty of owning a property, but I'm pretty sure that this place has an atmosphere filled with some sort of magic. The morning sun we get is simply a beauty to watch as it is when setting, bringing a calm feeling to the surroundings.
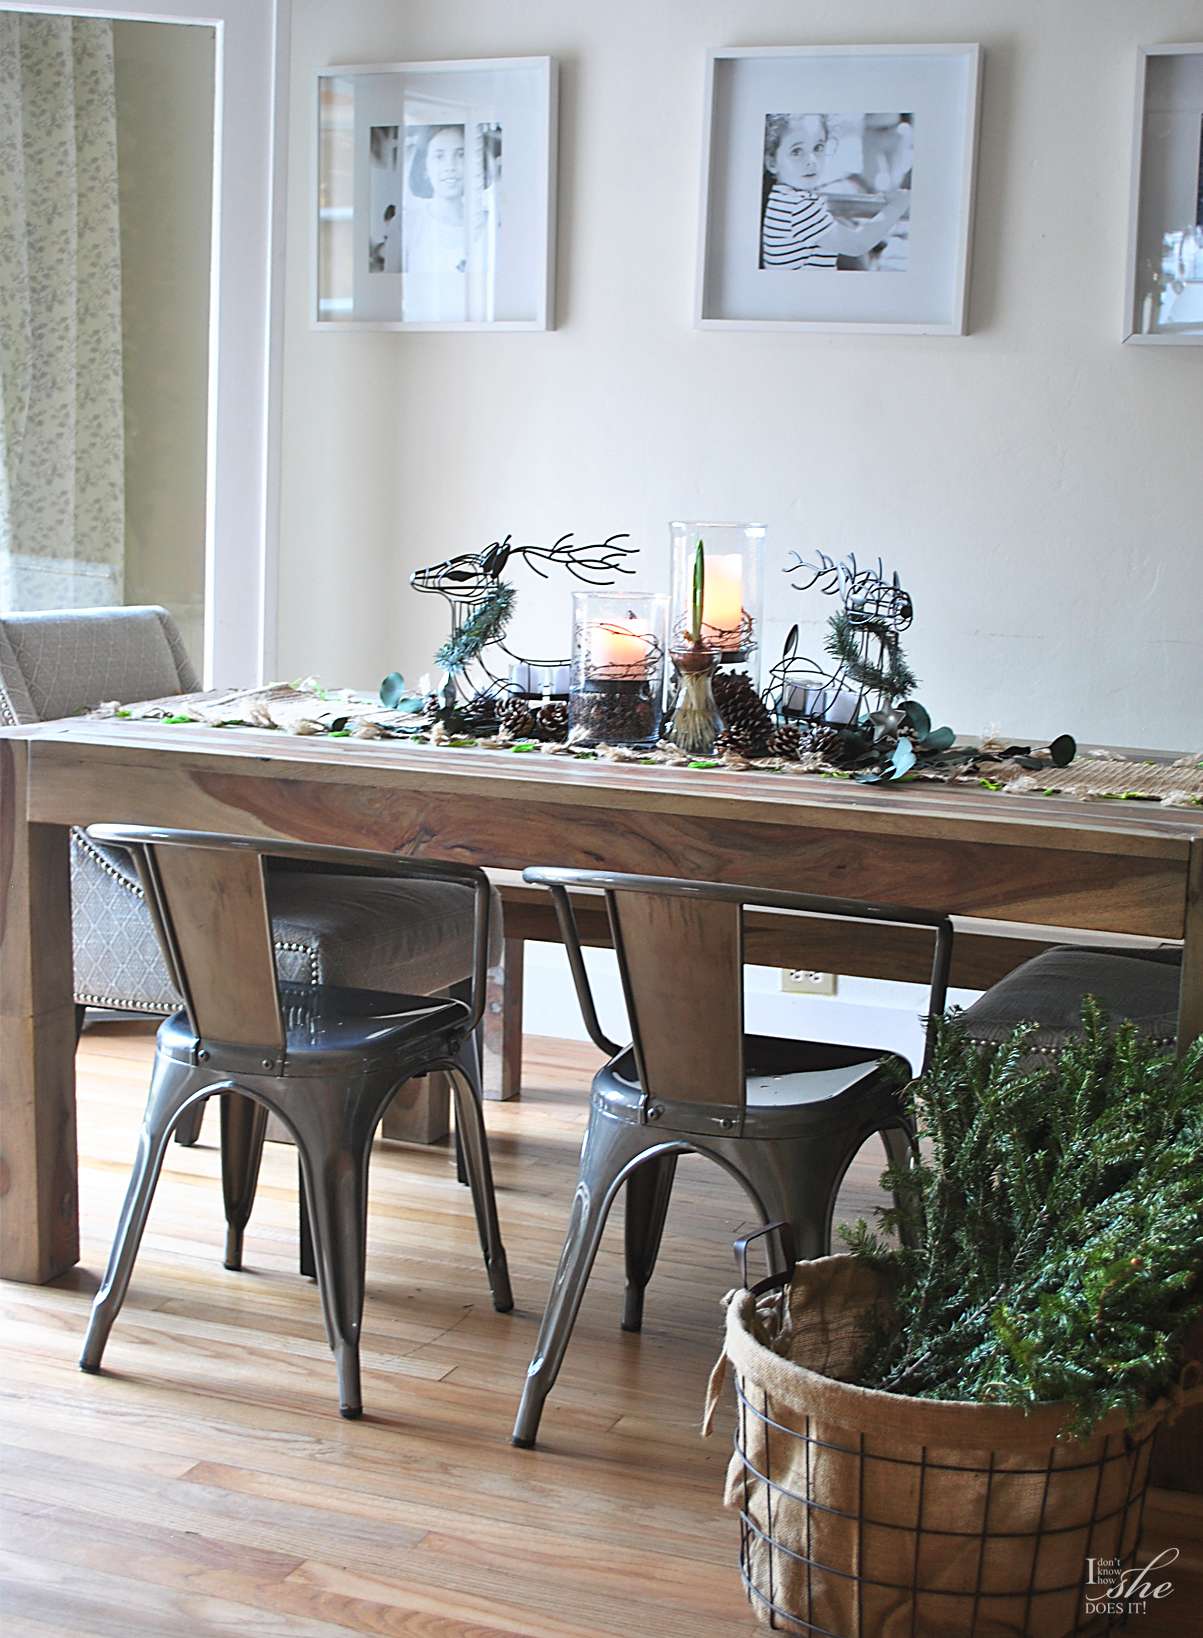
So taking advantage of that lovely light we get as the sun sets, today I'll be sharing a Holiday table setting as part of my posts for BHG at Walmart. Their Holiday decor selection is exquisite and I'll be mixing regular items and Christmas inspired accessories from the stores. Some of these you can buy online, while others are only available at Walmart.
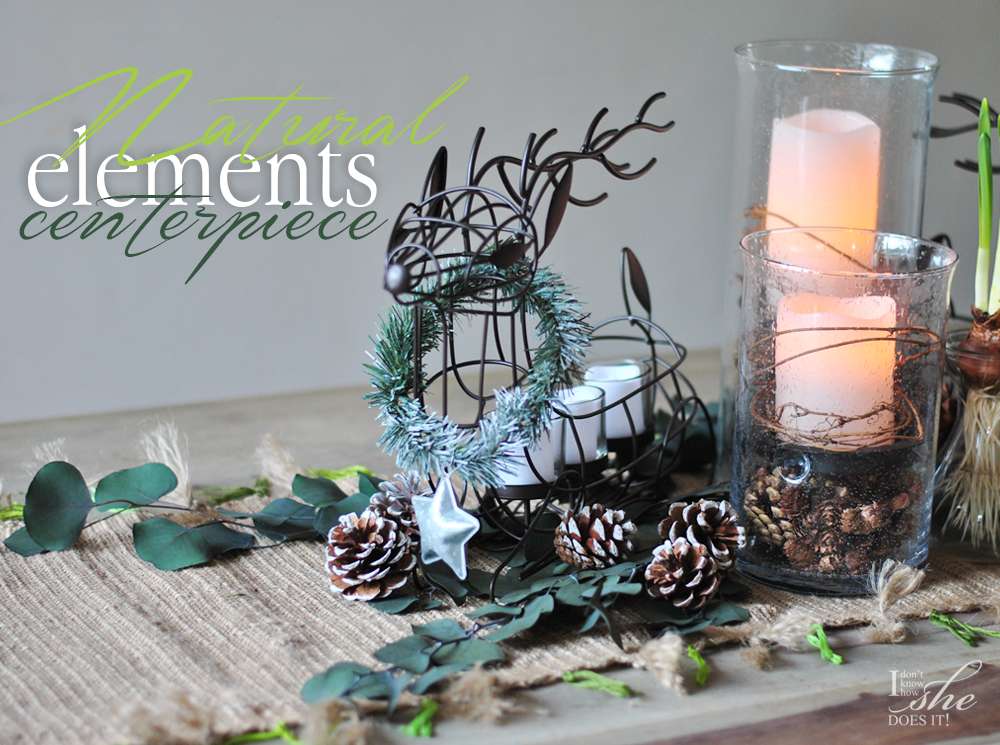
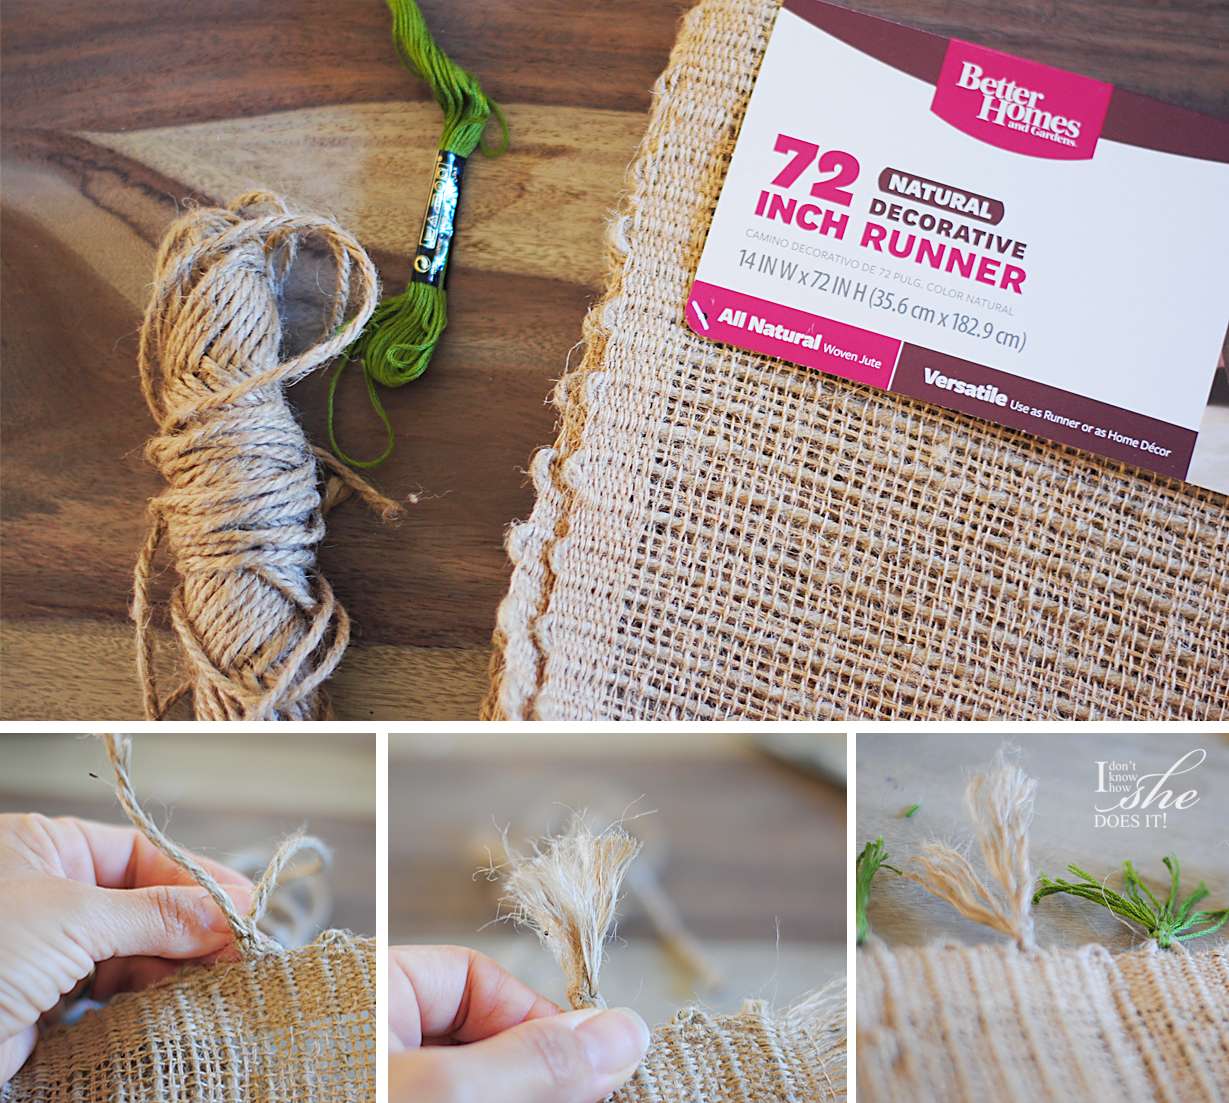
For this setting I used a BHG Natural Table Runner (72") as a base to add an additional texture to the wood grain of my dinning table. For a dose of color, I knotted some twine and embroidery threads in green tones on the borders making sure that the ends were uncombed. Love how this piece looks so different without doing much to it.
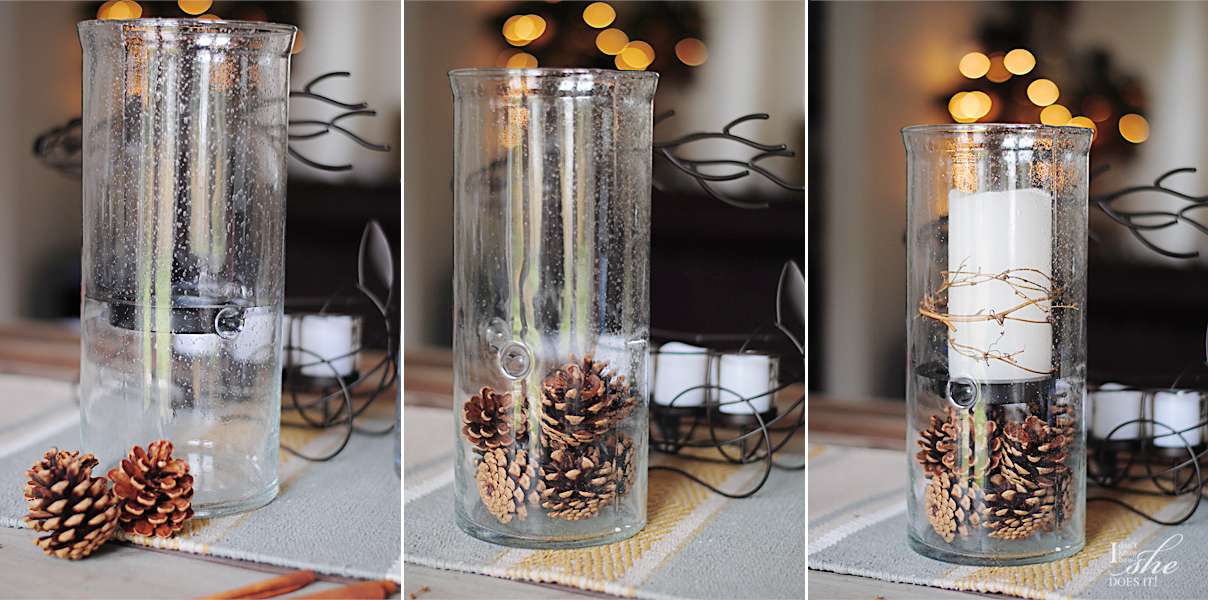
My next step was to create the centerpiece. I used eucalyptus branches I already owned over the runner to add some greenery to this vignette. On top of these I placed two BHG Hurricane Pillars Candle Holders in different sizes (8" and 12") to create interest in heights. Because these have a space under the plate that holds the candle, I added pine cones for a Christmasy look (also from BHG but available only at Walmart stores).
For the candles, I found a set of BHG Flameless Led Pillar Candles that use battery and can be turned on or off with a tiny cute control (can you believe that!!!). And to top it all off, they smell so good (vanilla scented)! To decorate them I just placed some grapevine branches around each candle.
Now for my most important pieces, the metal wire deer (available only at Walmart stores) that also serve as candle holders. To make them look prettier, I made two small wreath from faux pine branches (look here for the tutorial) as accents on their necks.
Now we are set and ready to received our guests and entertain them around the lovely centerpiece by the candlelight.
An easy Fall flower arrangement
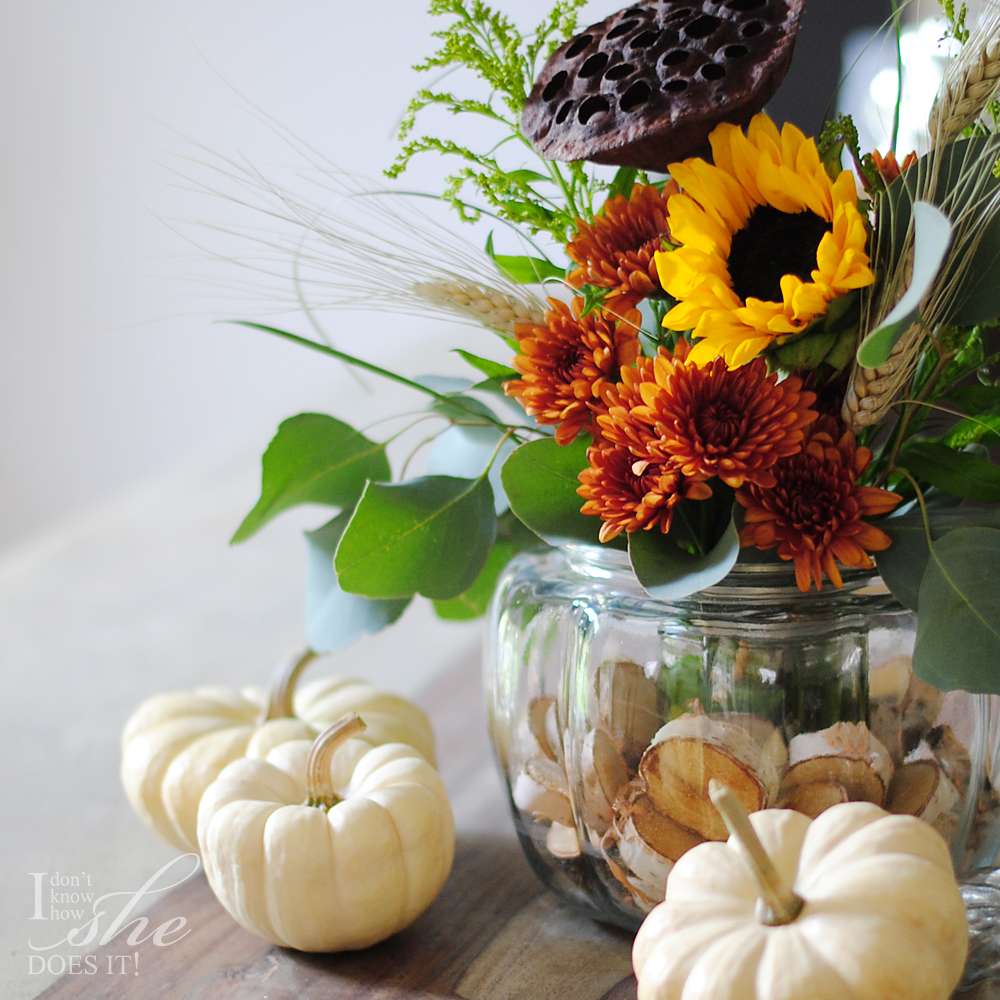
Sometimes is hard to imagine how simple things can turn into great ones. In this case, a less than happy $3.99 Trader Joe’s bouquet turned out to be a wonderful arrangement. Just this morning I went into the store in search for some cute mini white pumpkins (or should I call them “The Pumpkin-saurus” because they seem rather extinct in this part of the States). I can gladly say that my mission was accomplished plus, among the colorful flowers TJ’s had, I found the last Fall bouquet that somehow looked as if it was waiting for me.
Because it was rather skimpy, I took a long pause to think on ways I can turn this into a nice little accent for our new home. Suddenly I remember that last year I bought a pumpkin glass vase (from HomeGoods) for serving candies, but I never got the chance to use. In went the flowers into my cart!
When I got home, I placed the flowers over the kitchen counter and while standing there looking at my sad bouquet and glass vase, I started rearranging each stem as if trying to make them look like those beautiful arrangements I stumble with in Pinterest. I have to confess that I know nothing about flower arrangements, yet that didn’t keep me from trying to do something that ended up looking pretty nice.
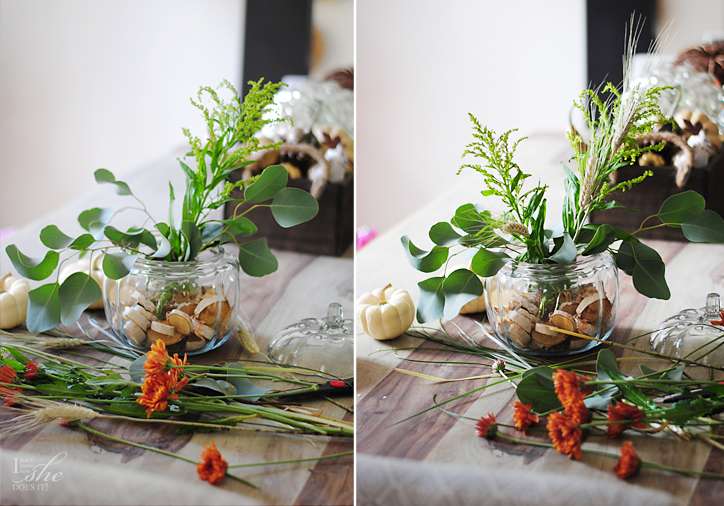
Again, I’m not a professional flower artist but in case you were wondering, here is what I did: placing one Ball canning jar inside the pumpkin glass vase I filled the vase with some wood mini disks (from Michaels).Then, I started arranging the green stems first (the ones with leaves) trying to make an imaginary triangle (a bit tilted to one side) to give it some sort of weight. After the form it took convinced me, I started adding the wheat and added to some of the empty spaces. All that I did then was to place the flowers in the remaining spaces. I did so but in small bunches that will balance the weight of the greenery from one of the sides. As for the finishing touches I added the long grass straws and the sunflower.
Not bad for a rookie like myself! I have to admit that it was a very easy and inexpensive arrangement that brought a pop of color into our home. Do you love to decorate with flowers? What kind of flowers do you mostly use? I would love to know more about you, share your thoughts with me.
Decorating with letters
 |
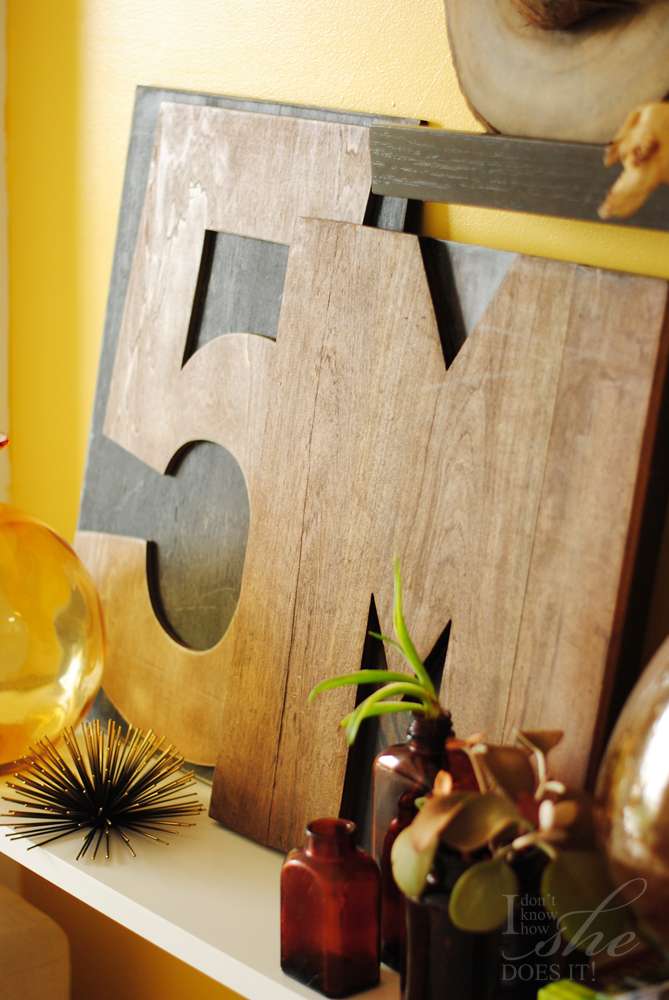
| Read along to find out what the 5M stands for. |
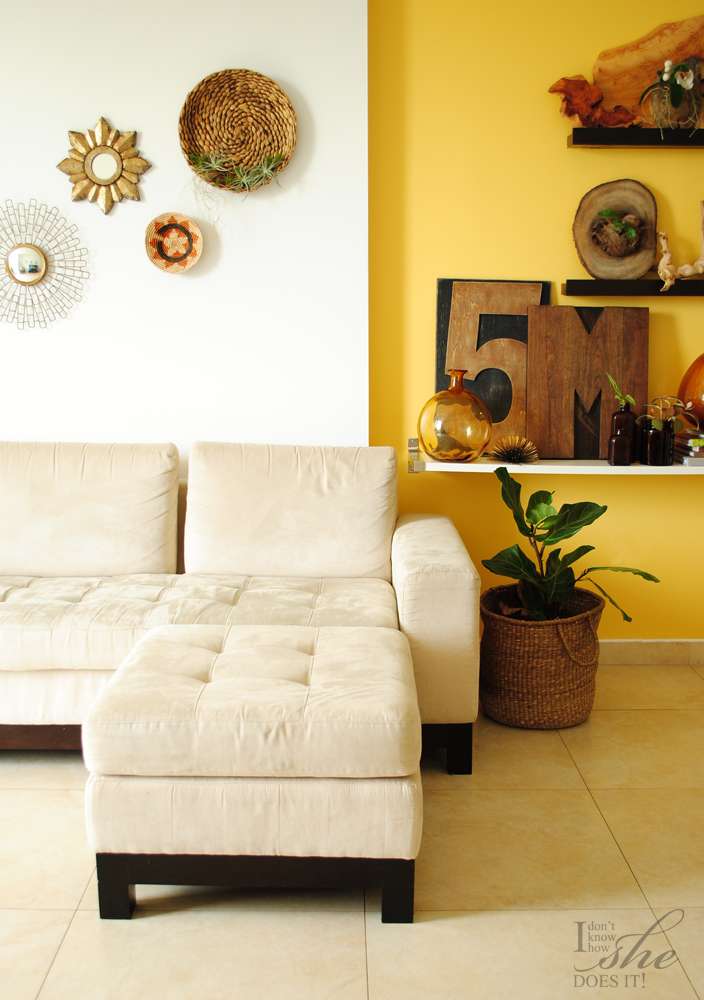 |
| Wood never fails to dress an area. |
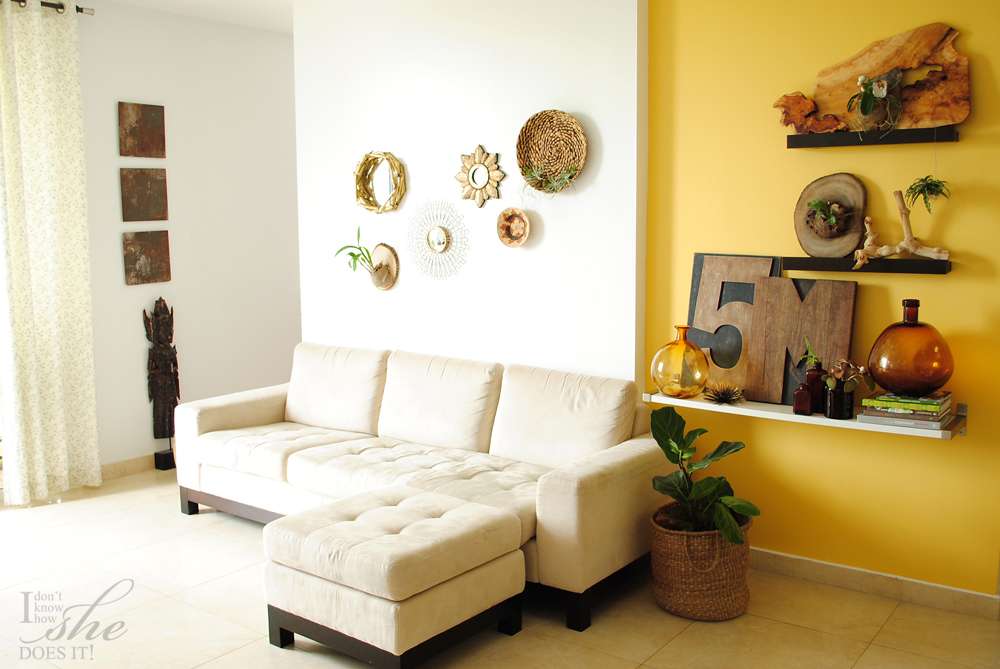
I'm loving how great the contrast of the wood grain look against the yellow wall and what's more the way they look with the other accents I have on my living room. Although this is a temporary place for my letters (I have other plans for them), for the time being I'm enjoying their big impact!
If you want to see more ideas on how to decorate with letters, visit my "Letters and Initials" board on Pinterest. So glad to always see you around!
Pocket wall planter
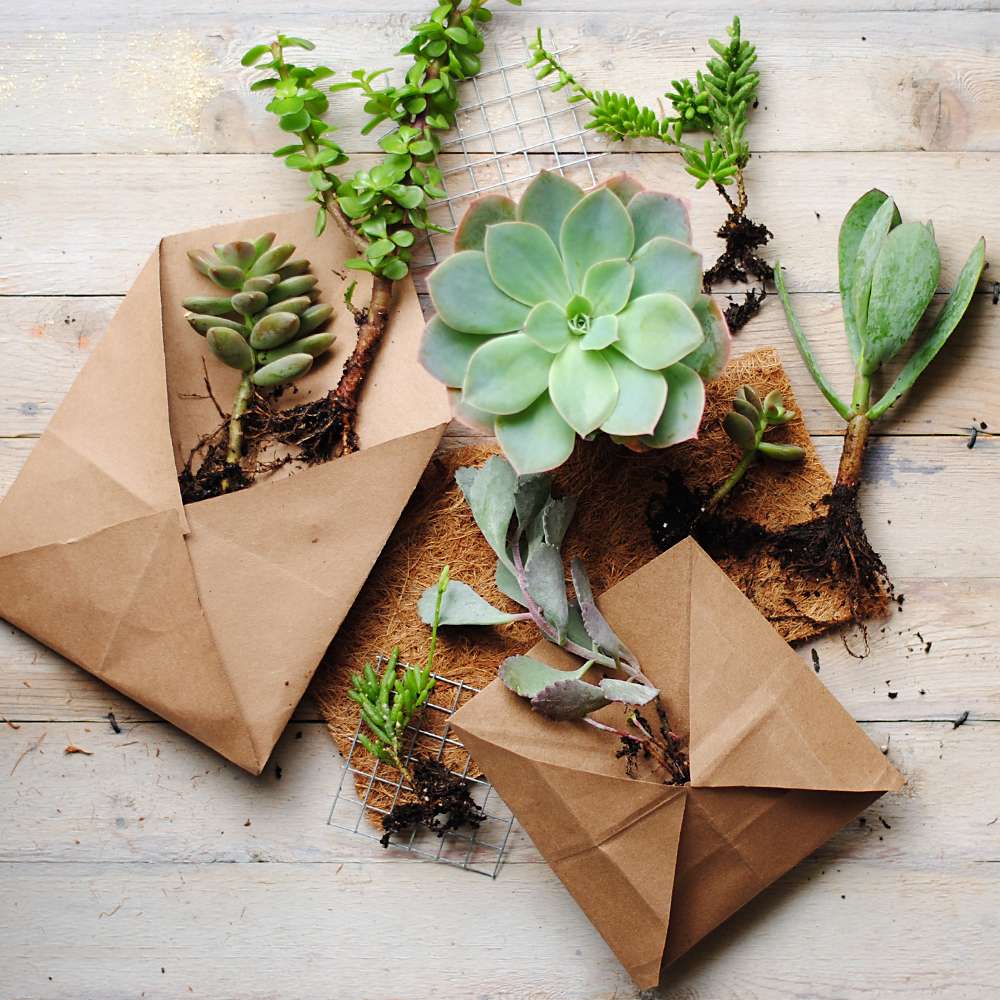
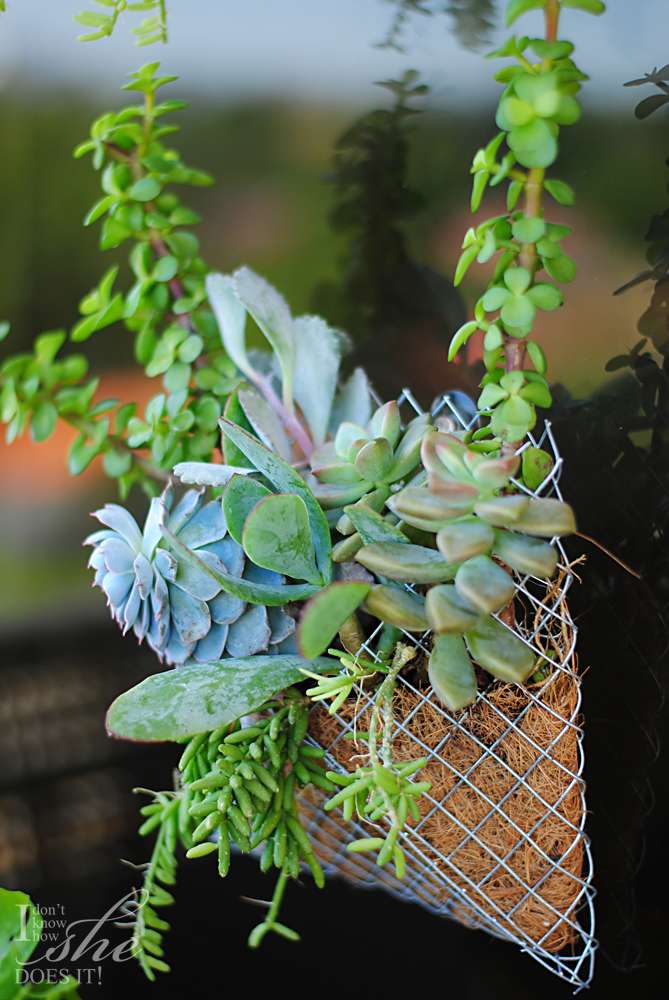
Having justified myself said all this, now I can tell you about this little project which took no time to do. You'll need galvanized steel chicken wire, 28 gauge steel galvanized wire, some succulents, a pair of metal snip pliers (the ones I used are Wiss) and "coco liner" for the inside of the pockets (all materials are available at +The Home Depot).
I started by cutting a 10" by 10" square (if you are buying your galvanized steel chicken wire with 1/2" squares, you'll have to count 20 squares for the length and 20 for the width) and after this, I bend 3 of the corners toward the inside (just like the image below). To fasten them together, I used a 28 gauge steel galvanize wire which is a soft metal cable and very easy to bend. I later on cut the renaming corner so all I was left with was a steel wire pocket planter. Because I'm using them to plant my succulents, I filled the inside of these pockets with some coco liner. To finish this project I just planted and water my plants.
You can make these pockets as little or as big as you can. It will all depend of the purpose of the planter and the place you will be hanging them. I placed mine on the sliding windows in my balcony. Don't they look great!
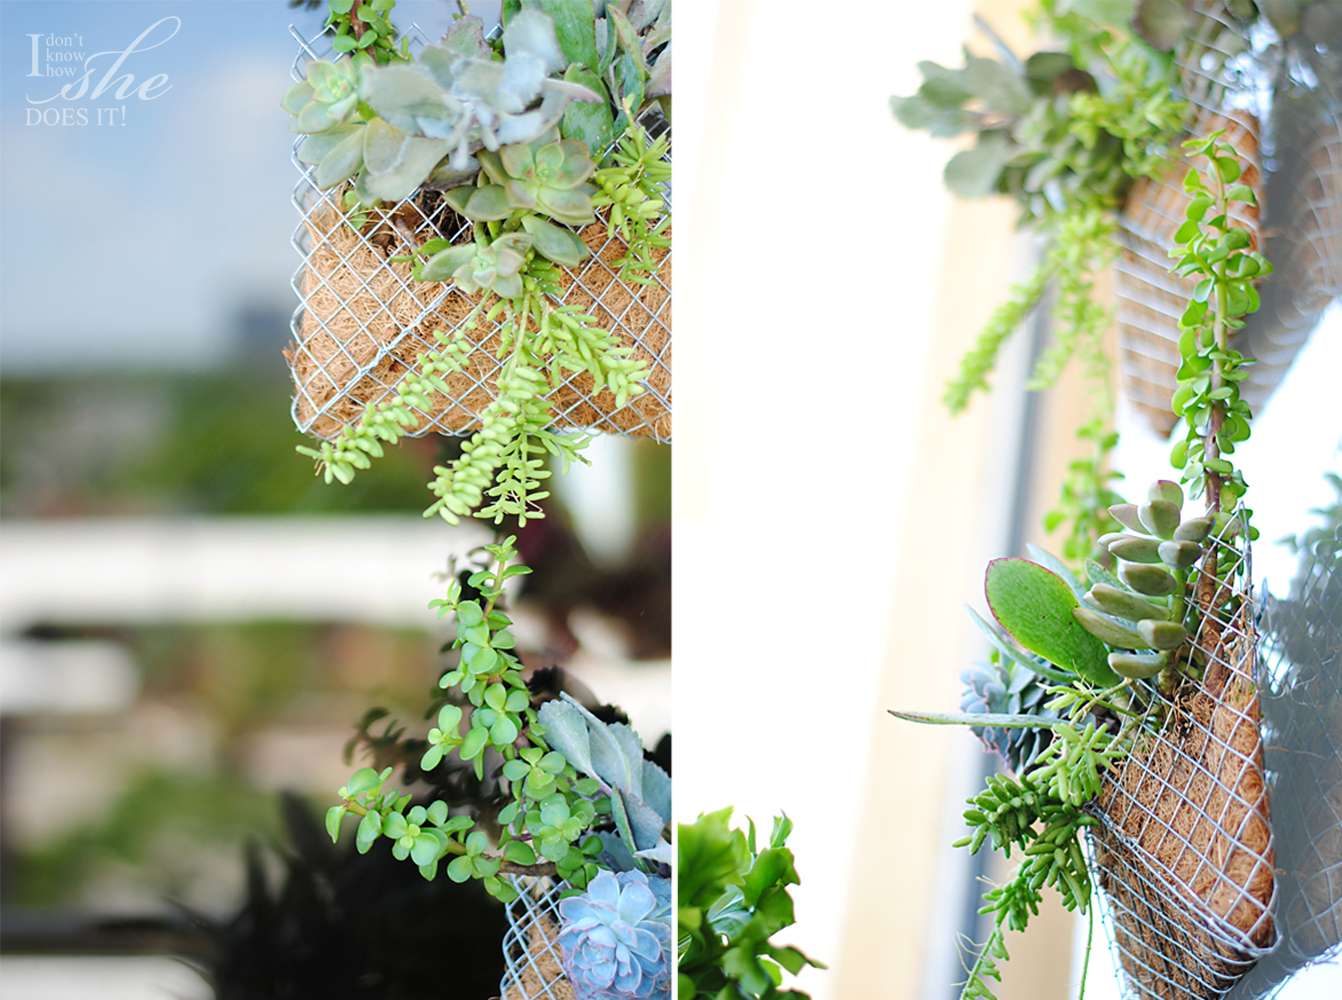 |
| To place these planter on my sliding doors, I used plastic glass suckers with small metal hangers. |
Let me know what you think about this project; as always it gives me an immense pleasure to read your feedback. Have a great weekend!
A simple Christmas craft
I've been dreaming about Christmas season the whole year, and now that it's so near, I can't contain myself on doing my first merry craft. Today's tutorial is a quick one. All you'll need are some cinnamon sticks available on your nearest supermarket and a glue gun.
First I cut my cinnamon sticks in half and glue this halves together in sets of four. After doing this 4 times (2 sidewalls and 2 roof wings), I start putting the cinnamon house together. To make the roof, I used one of the cinnamon sticks as the center beam. For the side walls I used the same method as the roof (using beams). You'll noticed this on the second photo. For the wall on the back of the house, I glued some more sticks and, for the front, I used 4 long sticks and 4 smaller ones so I could leave an opening. The door was made from 3 cinnamon sticks. Of course an itsy-bitsy chimeny was a must!
This project was so fun to do and inexpensive too! Hope you've enjoyed this as much as I did, and don't forget to leave me your feedback. I really enjoy reading what's on your mind!
Subscribe to:
Posts (Atom)

