featured Slider

Showing posts with label BHG at Walmart. Show all posts

Styled and organized entryway

Entryway console organization

Having 3 little kids living under the same roof can sometimes be a daily challenge when it comes to organization. I'm that kind of person that likes to have my drawers flawless, my shoe boxes by size, my spoons to the right and forks to the left, my shirts on the closet by colors, and so on (please don't freak out!). One of the places that gives me the chills every time I open it is the entryway console. Since we moved to our new home, all the things that don't find a place to hangout, end up hiding in this small piece of furniture.
Entryway console organization

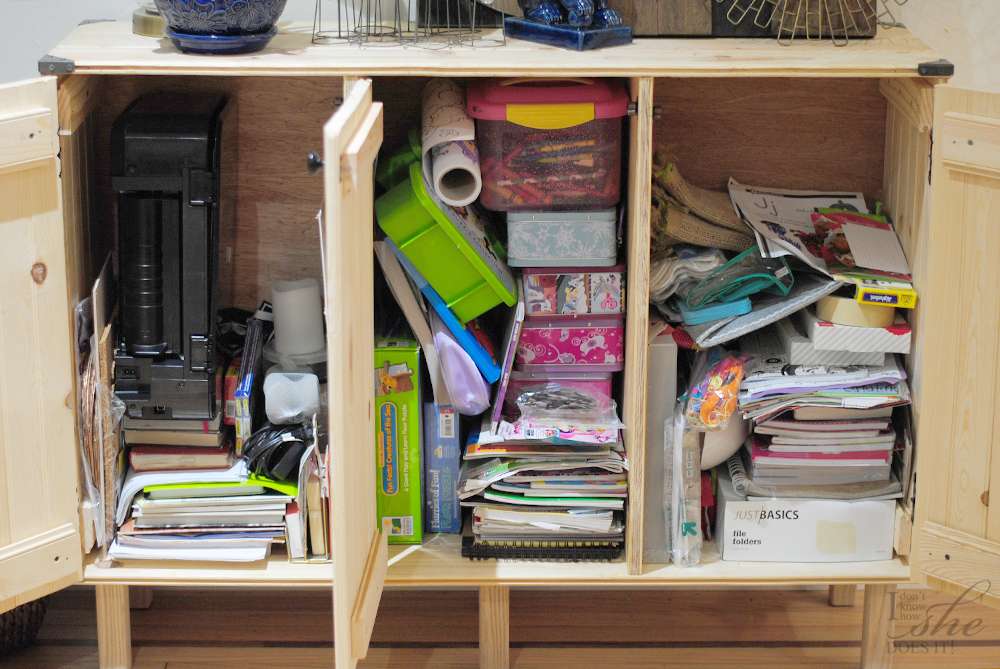
By the look of this photo you can now understand my situation. My youngest daughter loves making puzzles, the one in the middle adores coloring books and the rest of the space is consumed by school materials for my eldest and MY STUFF!

Entryway console organization

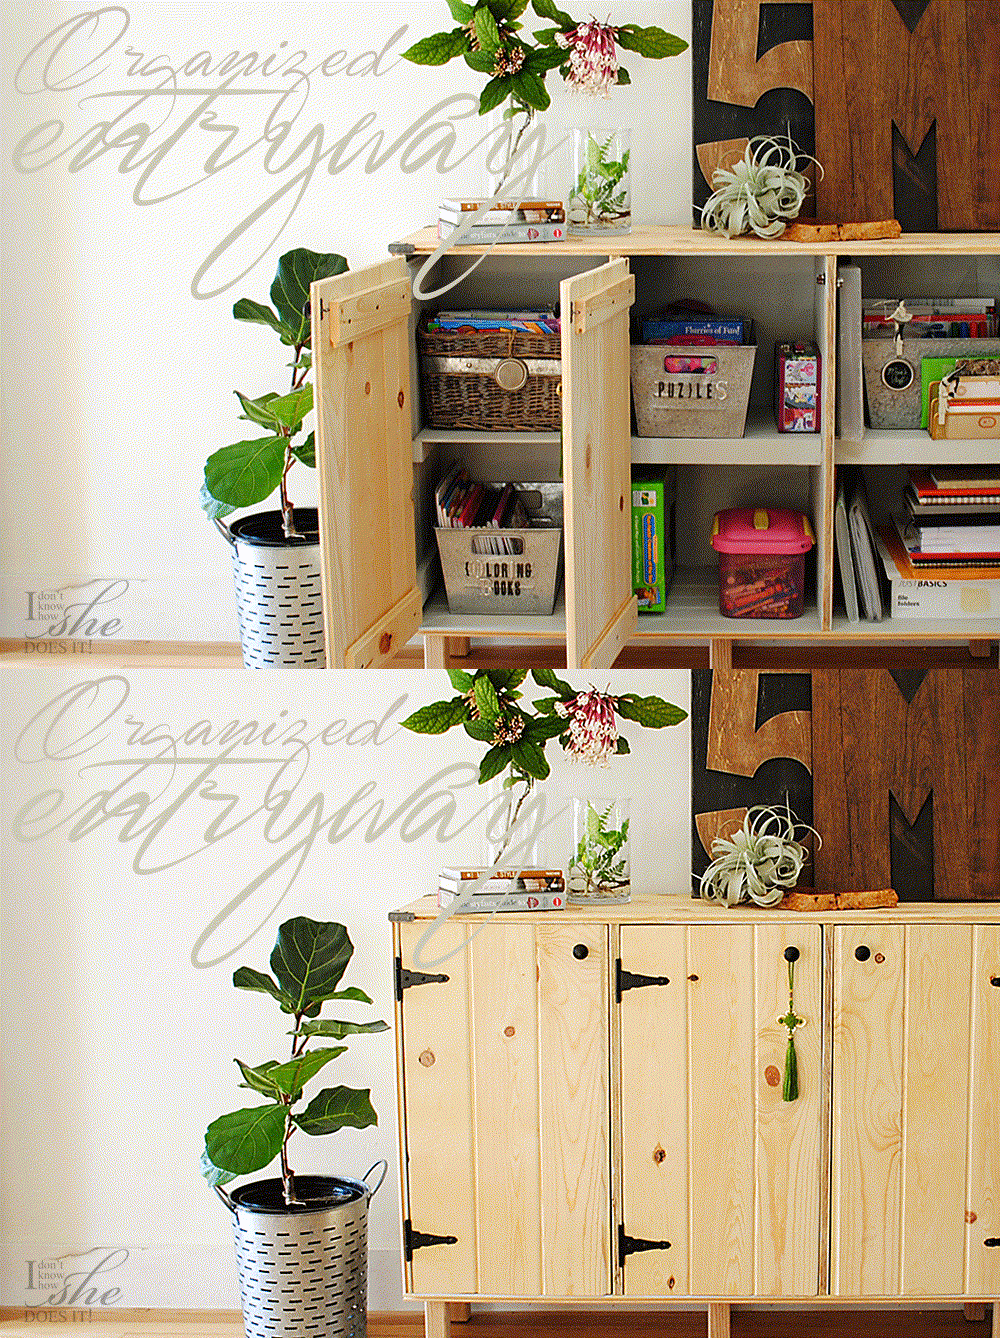
To start the "Console Rescue Mission", I emptied the space and gave the inside a simple coat of paint to make it seem clearer. All the clutter fit in 3 Rectangular Collapsible Baskets from BHG at Walmart. For the second part of this mission I divided all the stuff by categories and recycled the ones that were no longer needed.
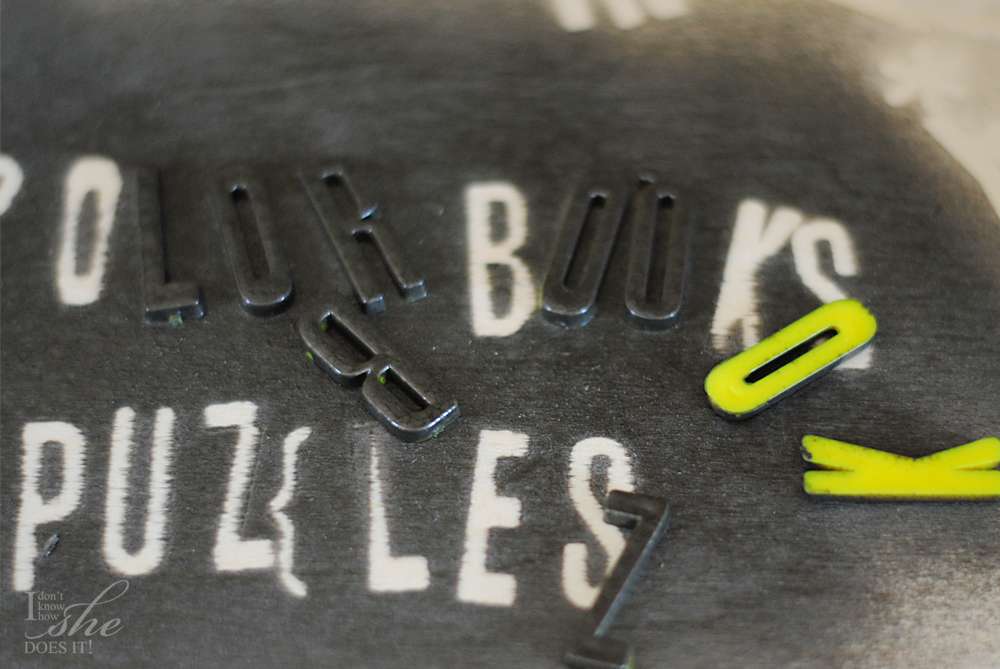
Now that everything was in order, I bought online 3 BHG Galvanized Storage Bins and a Magazine Basket to place these items. To make it easier for my daughters and me to identify each storage, I spray painted some plastic letters and glued them to some of the bins.
Entryway console organization
These bins are easy to take out every time kids want to make "Puzzles" or use the "Coloring Books". I've identify them so that they can relate the words with what's on the inside.
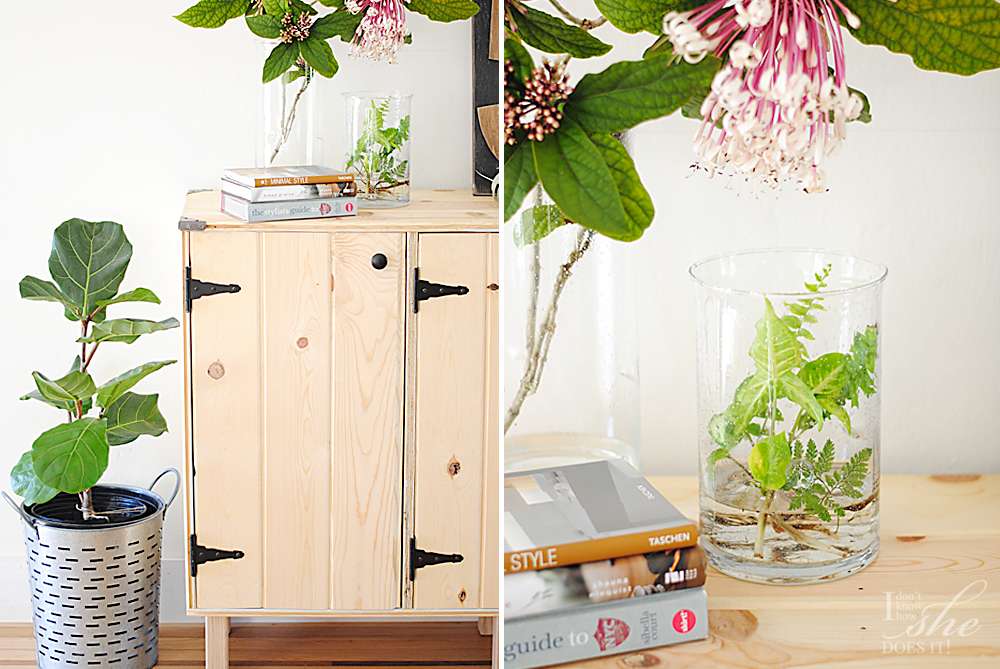
Because this piece of furniture is on my entryway, I decided to style it using accessories also from BHG at Walmart. I used as a planter a Galvanized Round Bin for my Fig tree and as flower vases, my Hurricane Pillars Candle Holders from this previous post.

Entryway console organization
Wild and fresh flowers do best on clear vases. I love keeping them near my entryway so my guests can feel welcome when they come to visit us.
Entryway console organization

Now I'm a happy and organized mom. And because I love to share my happiness, BHG at Walmart is giving away a $100 gift card to one lucky person. Follow the instructions on the Rafflecopter for a chance of winning. (Winners must be U.S. residents and at least 18 years old)


So honored to be part of the BHG Live Better Network where, as a blogger, I've received compensation by BHG at Walmart. The opinions stated here are my own. For more updates on their products and decor ideas, you can always follow them on Facebook, Pinterest, Twitter and Instagram.
a Rafflecopter giveaway

Natural elements centerpiece


This year I've kept busy during the Holiday season decorating throughout our new home. You might be thinking that perhaps it is the novelty of owning a property, but I'm pretty sure that this place has an atmosphere filled with some sort of magic. The morning sun we get is simply a beauty to watch as it is when setting, bringing a calm feeling to the surroundings.


So taking advantage of that lovely light we get as the sun sets, today I'll be sharing a Holiday table setting as part of my posts for BHG at Walmart. Their Holiday decor selection is exquisite and I'll be mixing regular items and Christmas inspired accessories from the stores. Some of these you can buy online, while others are only available at Walmart.


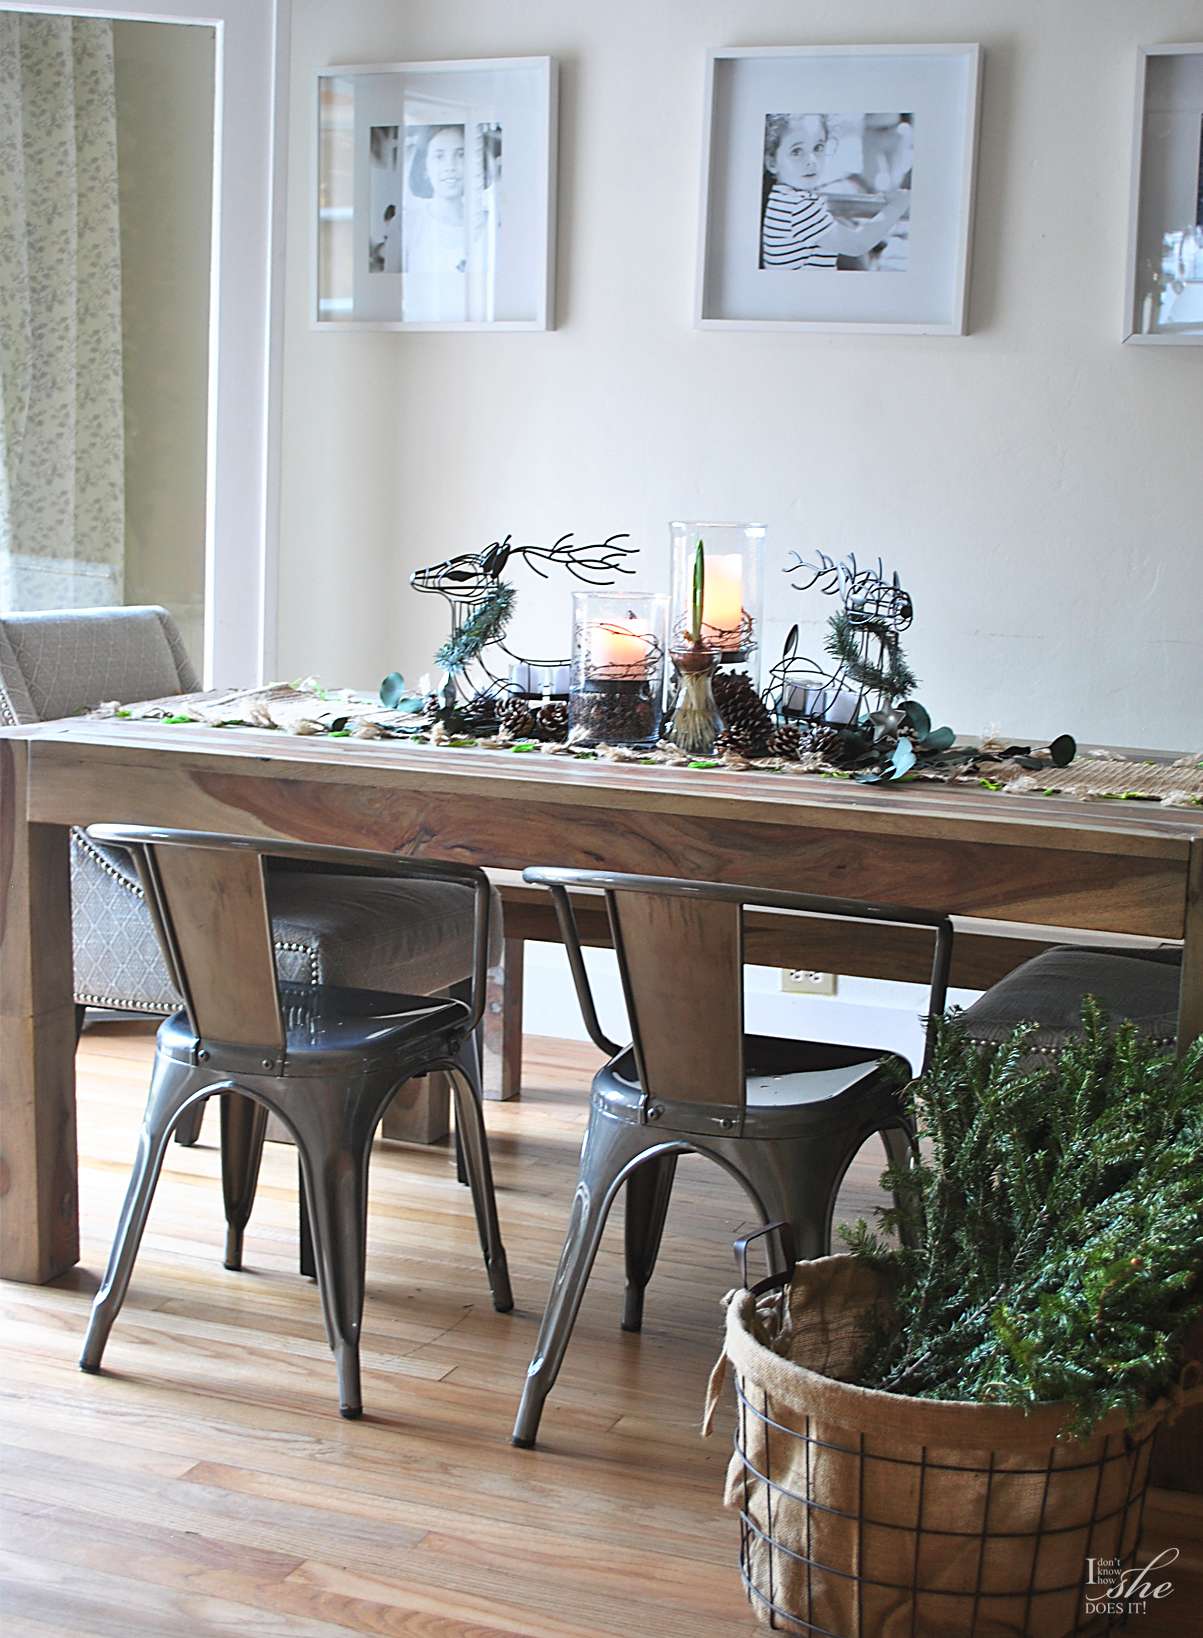
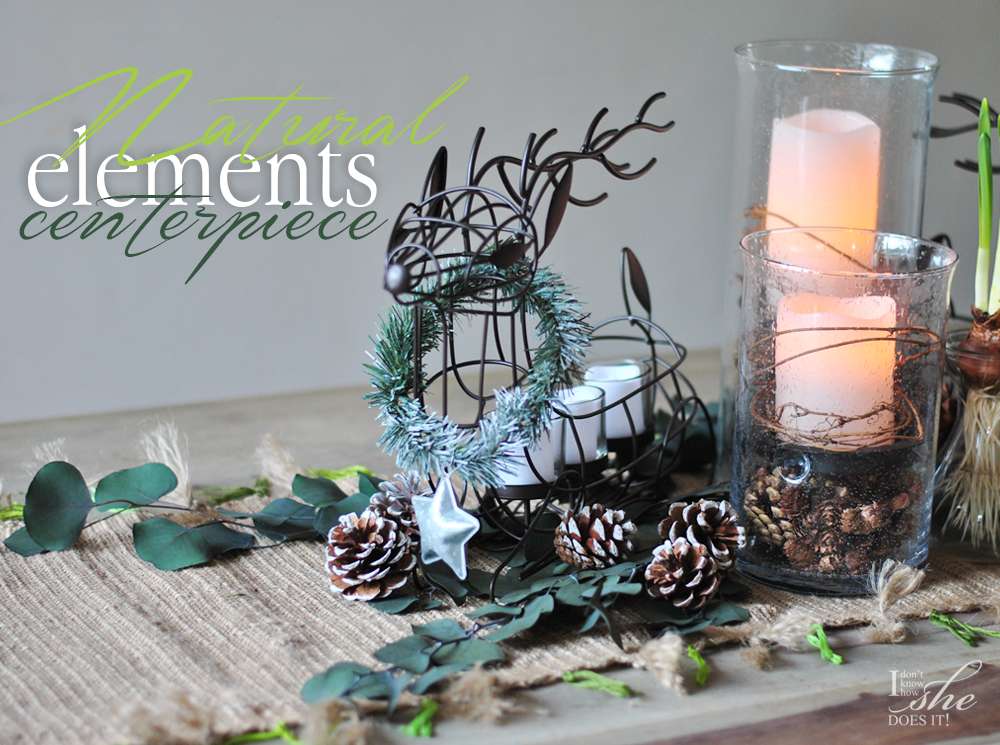
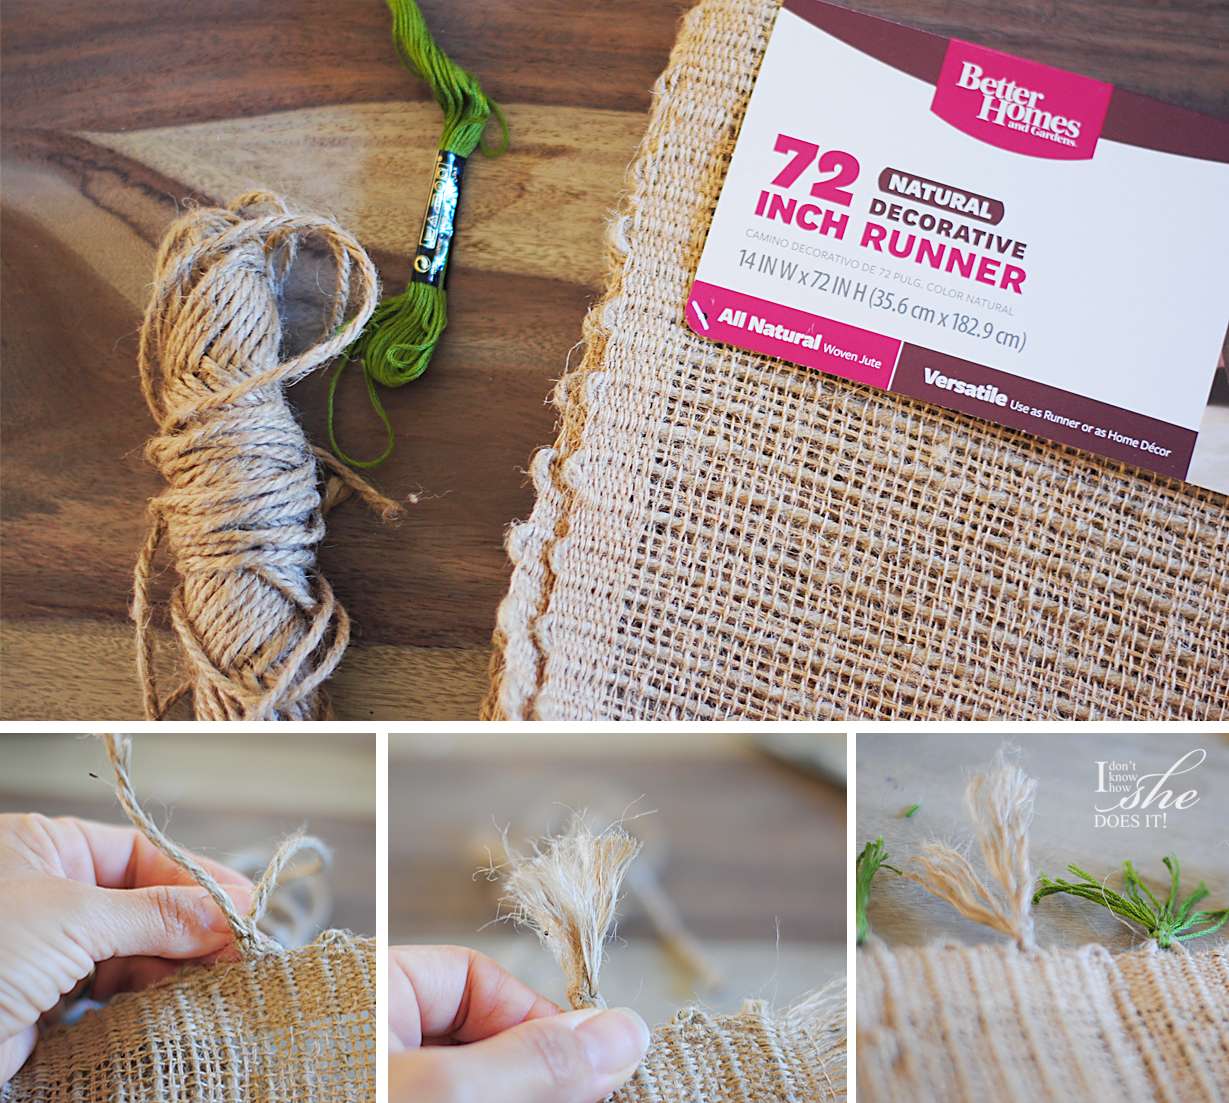
For this setting I used a BHG Natural Table Runner (72") as a base to add an additional texture to the wood grain of my dinning table. For a dose of color, I knotted some twine and embroidery threads in green tones on the borders making sure that the ends were uncombed. Love how this piece looks so different without doing much to it.
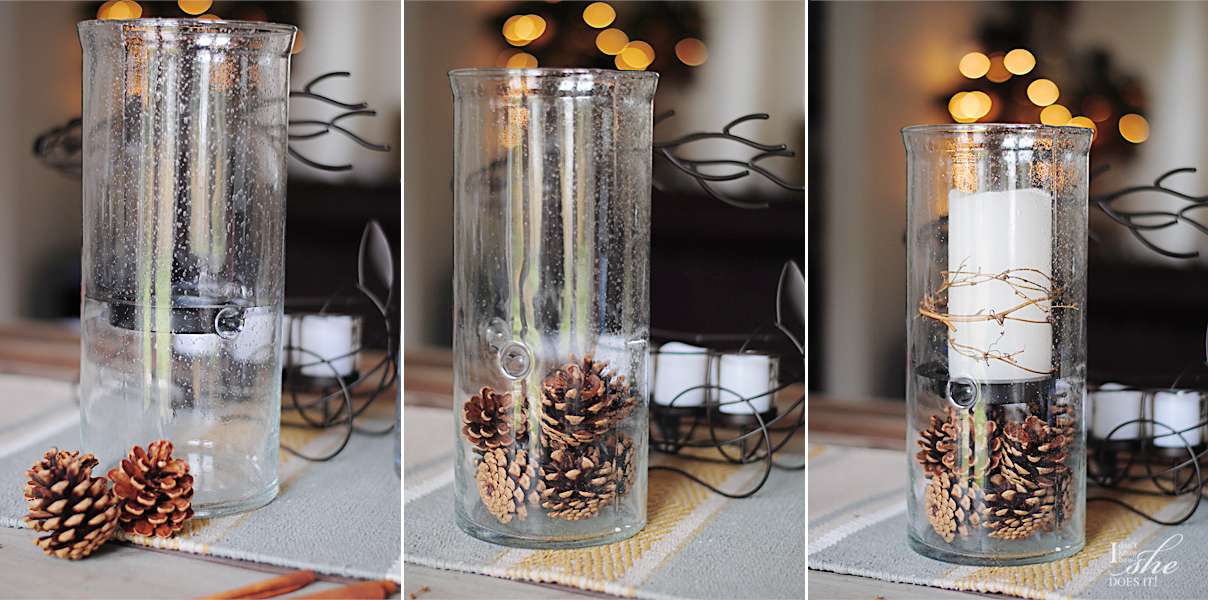
My next step was to create the centerpiece. I used eucalyptus branches I already owned over the runner to add some greenery to this vignette. On top of these I placed two BHG Hurricane Pillars Candle Holders in different sizes (8" and 12") to create interest in heights. Because these have a space under the plate that holds the candle, I added pine cones for a Christmasy look (also from BHG but available only at Walmart stores).


For the candles, I found a set of BHG Flameless Led Pillar Candles that use battery and can be turned on or off with a tiny cute control (can you believe that!!!). And to top it all off, they smell so good (vanilla scented)! To decorate them I just placed some grapevine branches around each candle.
Now for my most important pieces, the metal wire deer (available only at Walmart stores) that also serve as candle holders. To make them look prettier, I made two small wreath from faux pine branches (look here for the tutorial) as accents on their necks.


Now we are set and ready to received our guests and entertain them around the lovely centerpiece by the candlelight.


So honored to be part of the BHG Live Better Network where, as a blogger, I've received compensation by BHG at Walmart. The opinions stated here are my own. For more updates on their products and decor ideas, you can always follow them on Facebook, Pinterest, Twitter and Instagram.
40 minutes grapevine Holiday wreath


In the day to day, sometimes making time to sit and create can become a difficult task. I'm one of those people that wishes that days will last longer, but in the hopes of using those extra minutes to make, create and then rest some. But in real life we only get 24 hours and from those, more than half are spend in real jobs and/or daily responsibilities. 


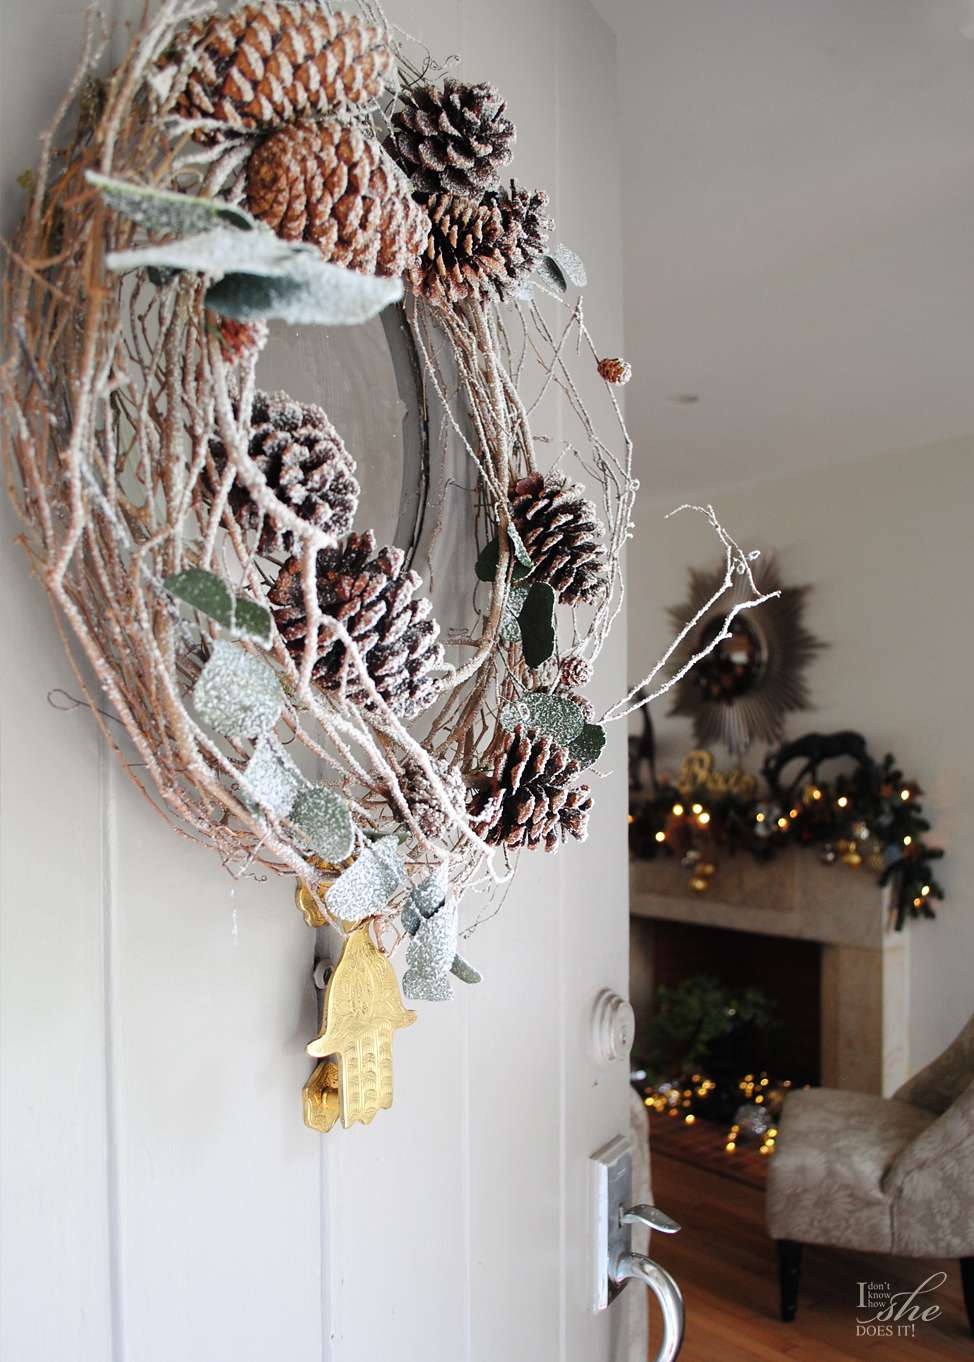
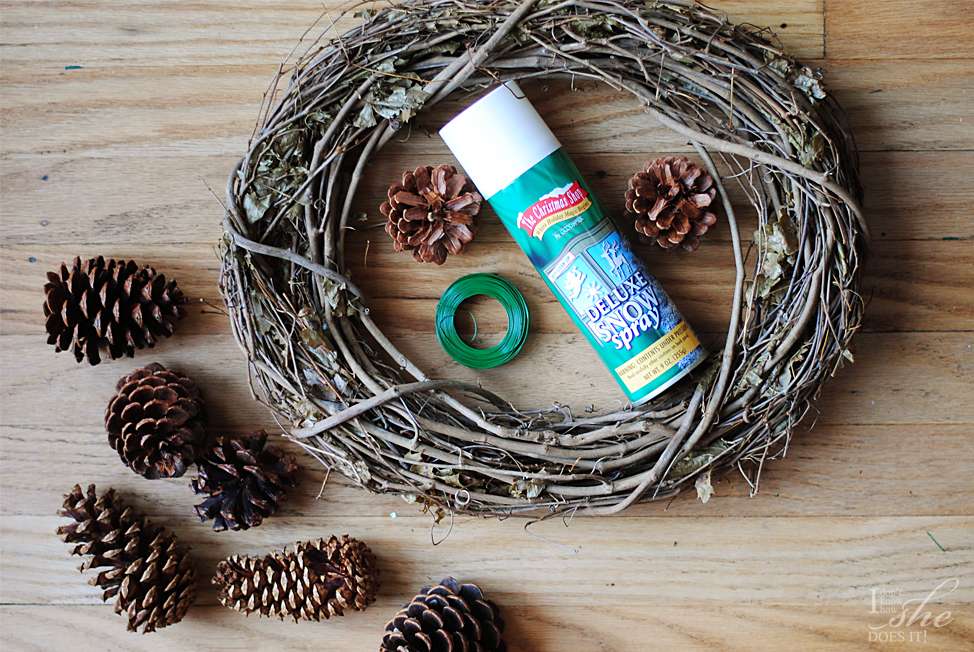
Because of this today I'm sharing a quick way to make and create a front door wreath that will only take you around 40 minutes to make. For this I used a roll off grapevine (14") from +Hobby Lobby, floral wire (bread twist ties can also help), pine cones (these are from BHG at Walmart) and snow spray.


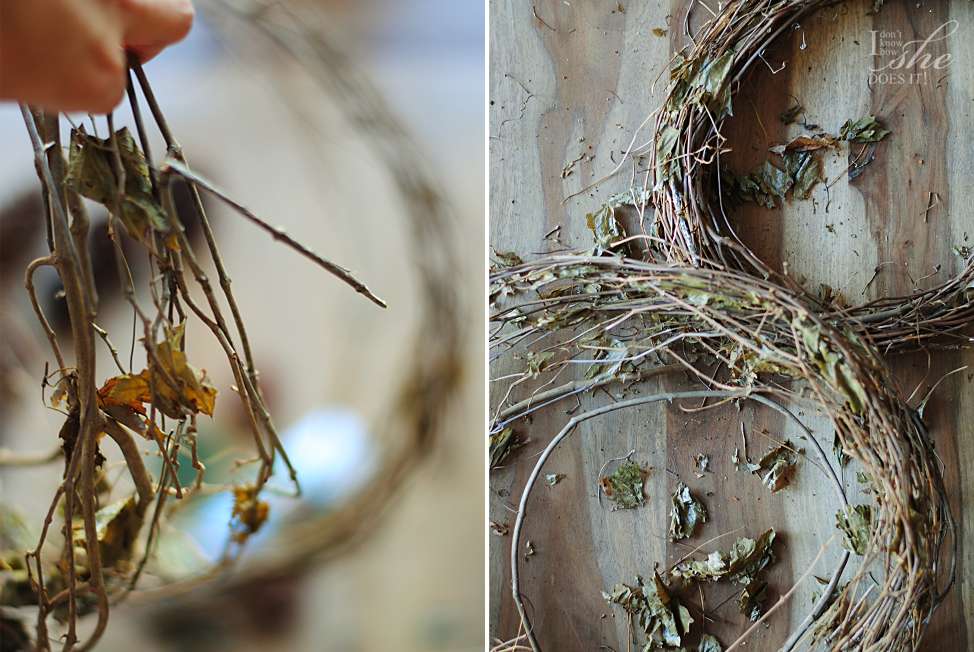
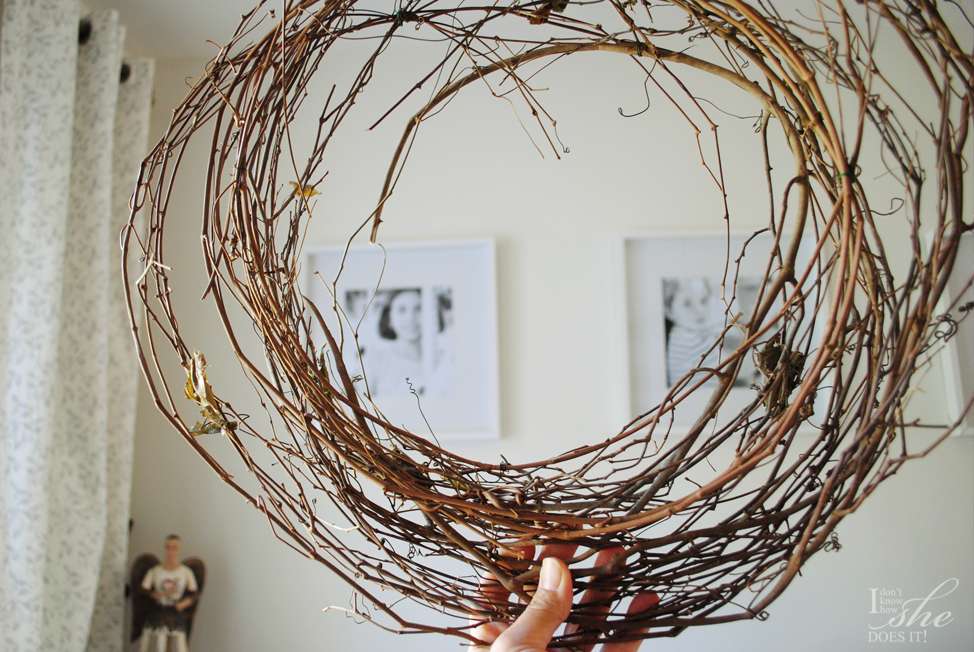
Opening the grapevine ties, start untangling and stretching it. I divided my grapevine in two sections and spread and stretch each side individually. With the floral wire I joined some areas that I wanted to remain together. When I felt like each side had the circular uncompressed form, I placed the circles one on top of the other making sure that it looked balanced.


Now that my wreath was completed, it was time to place the pine cones which I distributed around the circle and attached using wire also. To add a seasonal touch, I used small eucalyptus branches and  the snow spray.


I love the way this wreath added a dose of Holiday spirit and also its minimalist decor influence on my front door. Have you started decorating for Christmas yet, or will you be waiting until after Thanksgiving day?