Showing posts with label christmas tree. Show all posts
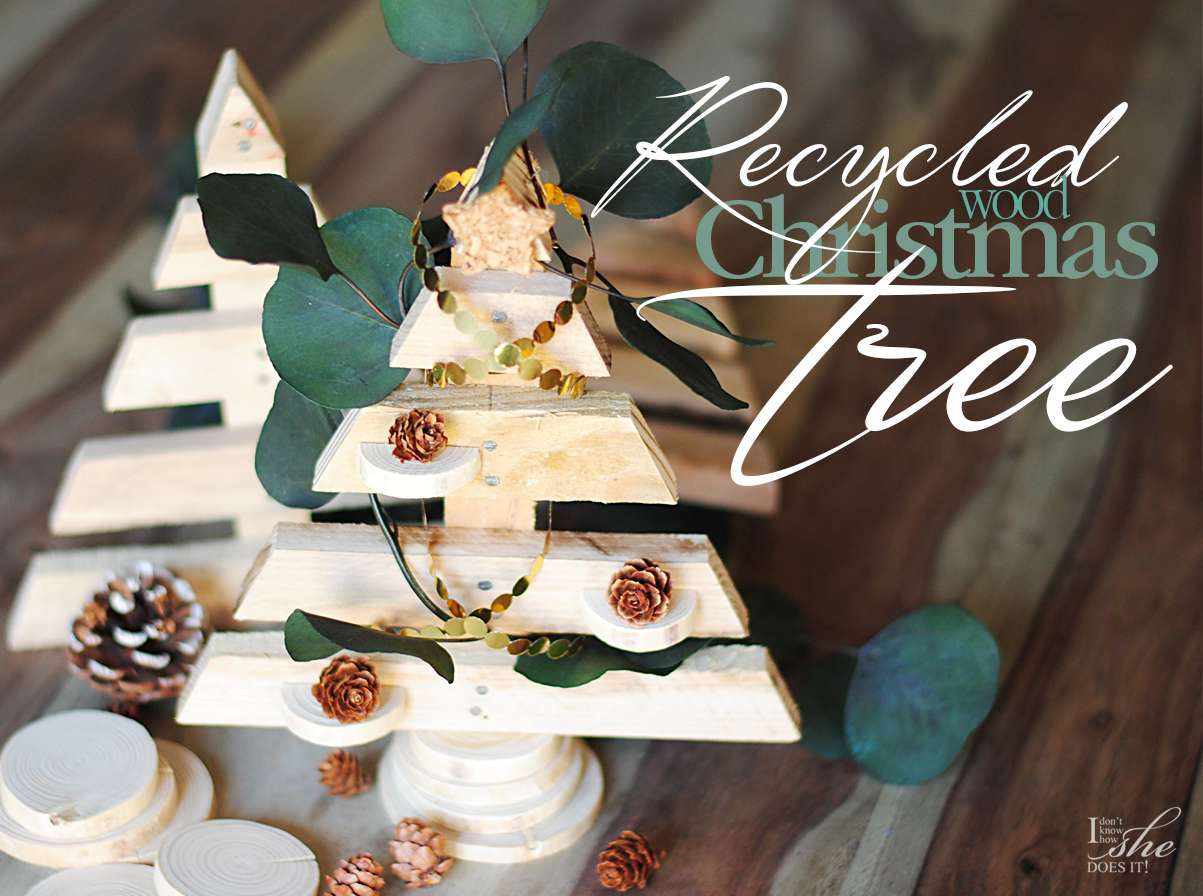
Recycled wood Christmas tree
I'm a strong believer of the phrase "Reduce, Reuse and Recycle". So when my dear cousin send me these beautiful set of recycle wood Christmas trees, I knew I had to do something special to show how easy one can transform a simple item into a powerful and merry statement to reinforce such an important movement.
These trees measure around 8" each, but Eco•shapes has them in many different sizes (Including a big one measuring 4'). You can order your own through this page.
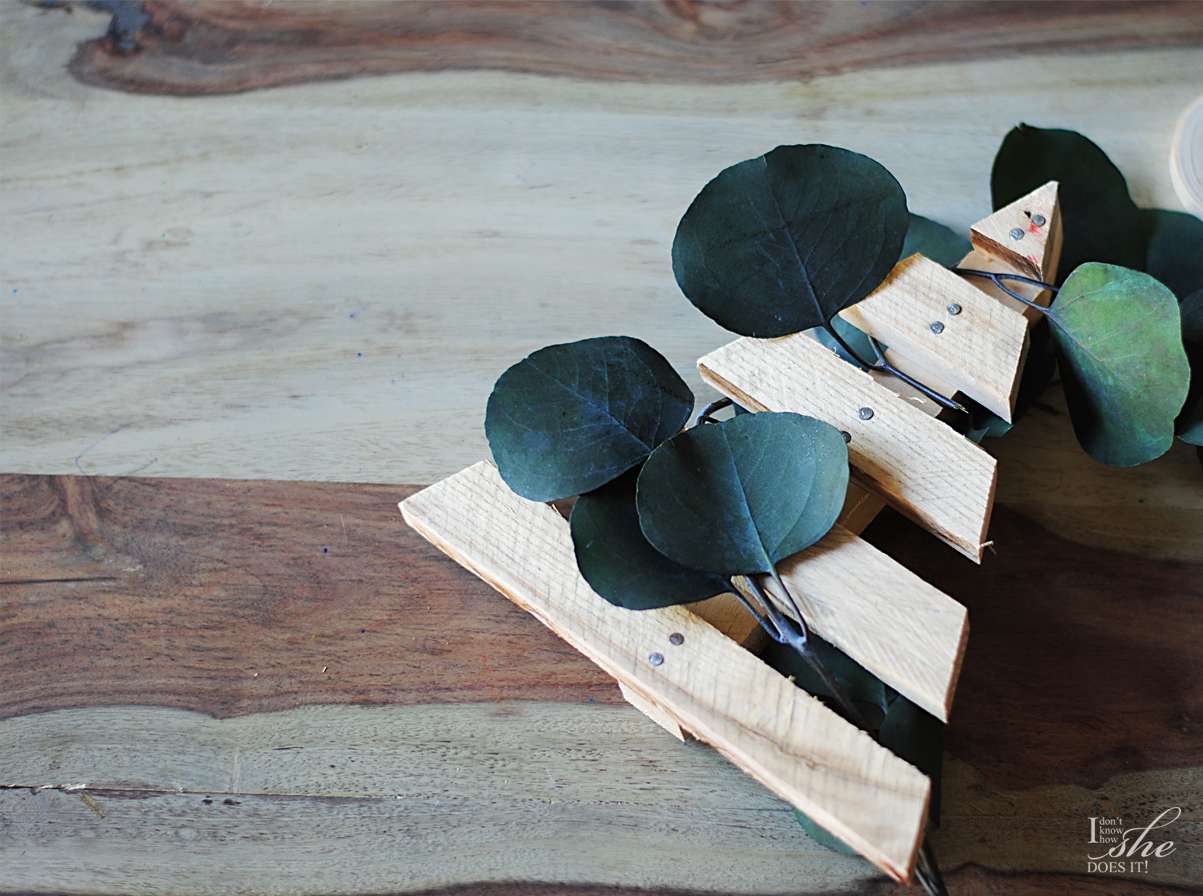
For my little tree I just wrapped around a Eucalyptus branch (from Hobby Lobby) and a small metallic garland from Martha Stewart I bought a few months back. After securing each part on the back of the tree with staples and tape, I proceeded to make the base using wood disks with a strong glue.
While I waited for that base to dry, I cut some smaller pieces of wood disks that will turned to be tiny bases to put some small ornaments.
To do so I use the Black and Decker jigsaw to cut these pieces in half. Since these are small disks, I fasten them to a bigger board with a clamp so I didn't cut myself. A sandpaper help me to level and soften the part I just cut.
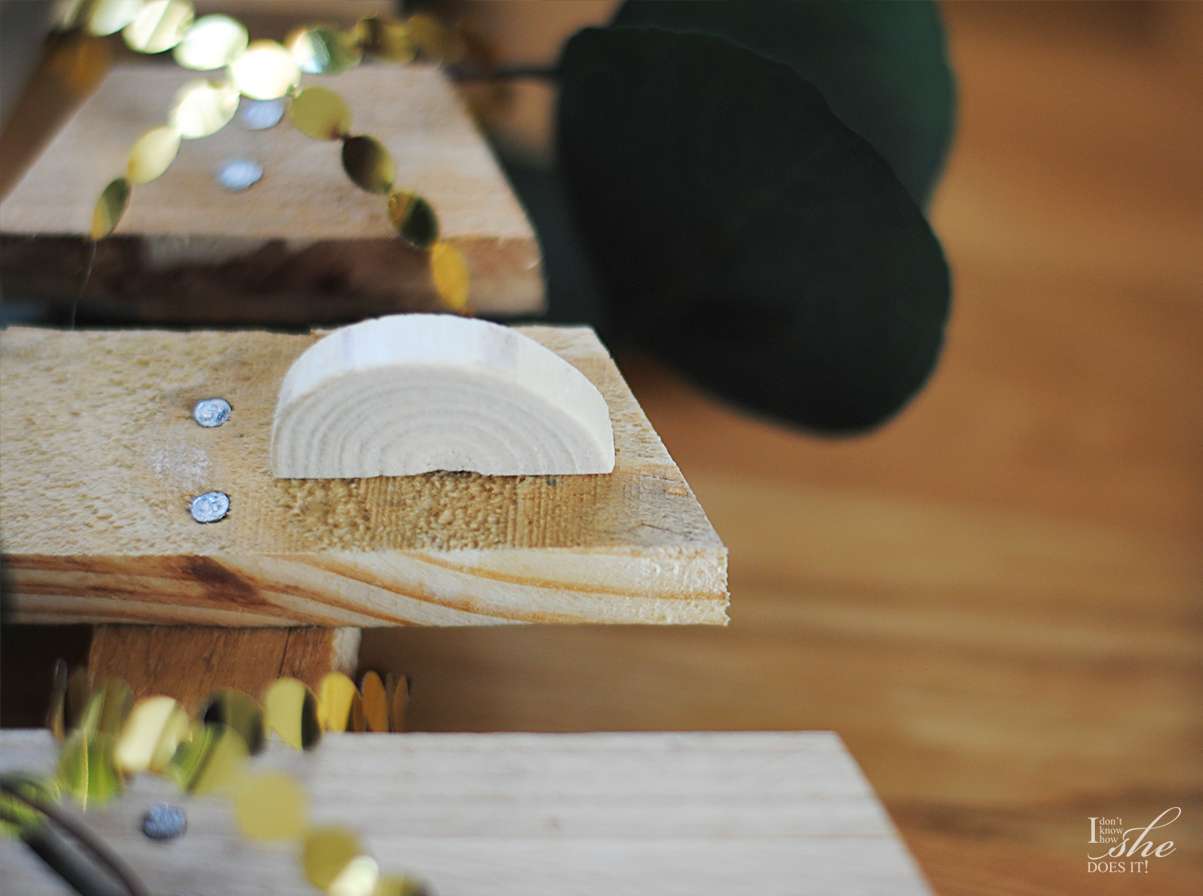
After gluing these pieces to the mini•tree, and placing some mini pine cones as ornaments, I had myself the most beautiful Recycled wood Christmas tree EVER!
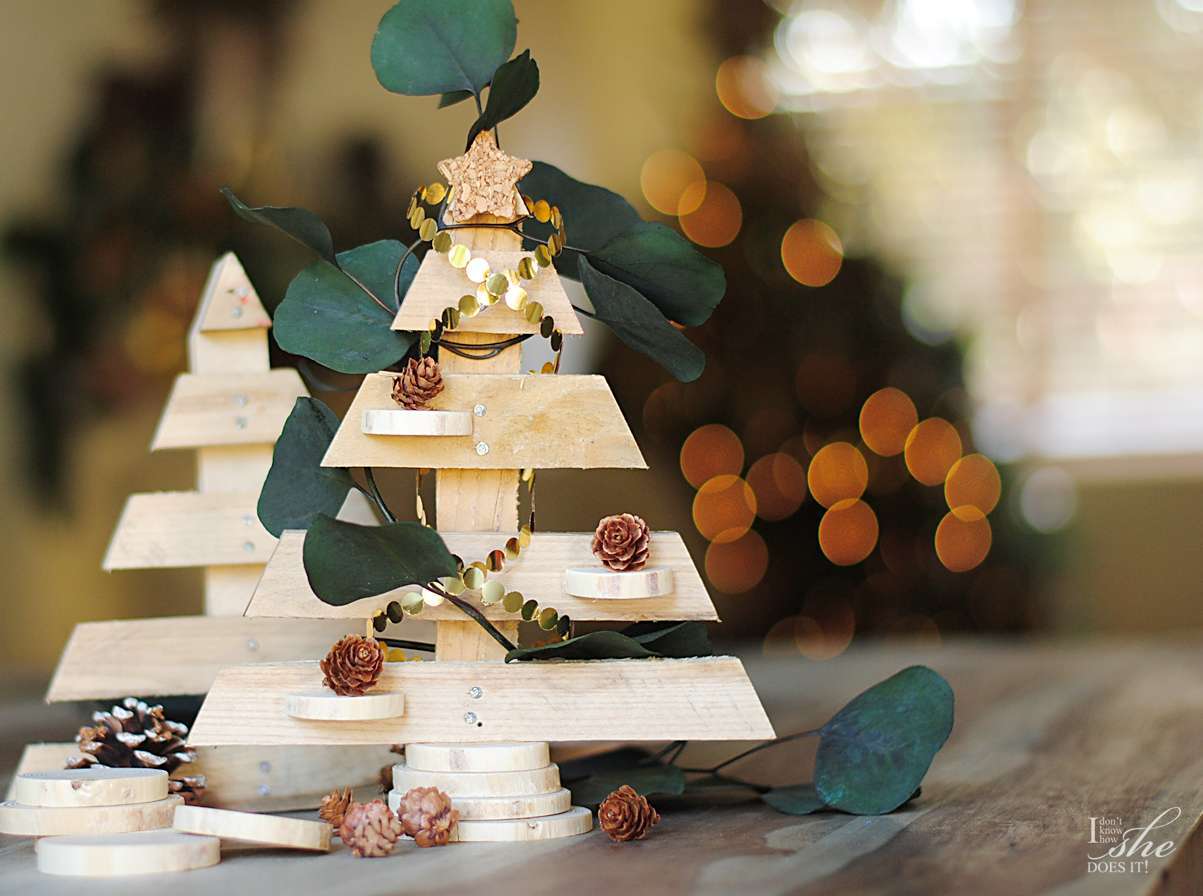
You can find Eco•shapes trees on Facebook, Instagram and on Brands of Puerto Rico. Hope you enjoy this easy tutorial and have yourself a Merry Little Christmas.
Rustic, eclectic and vintage style Christmas tree
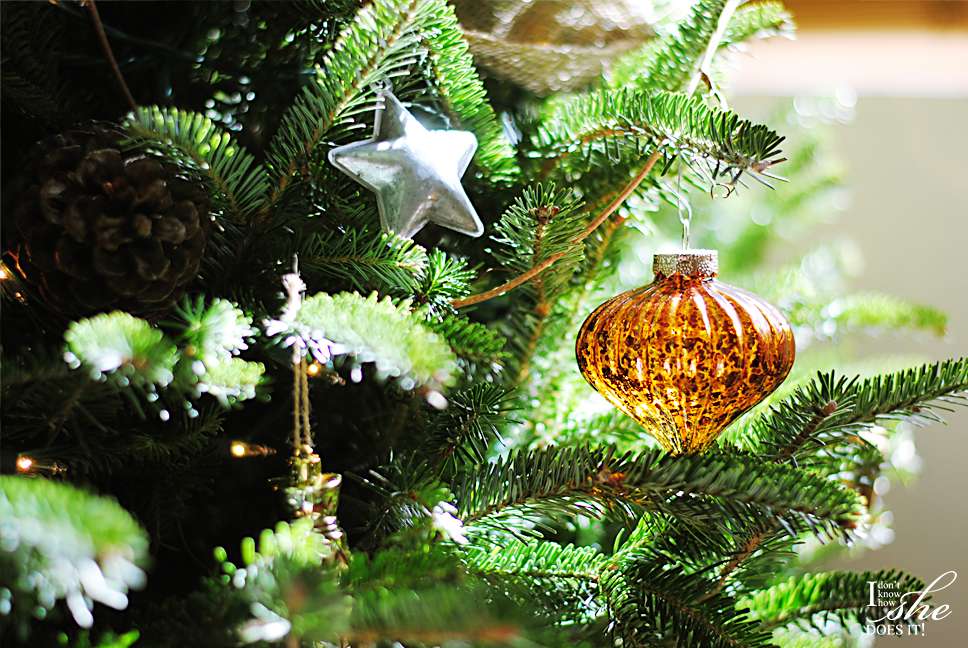
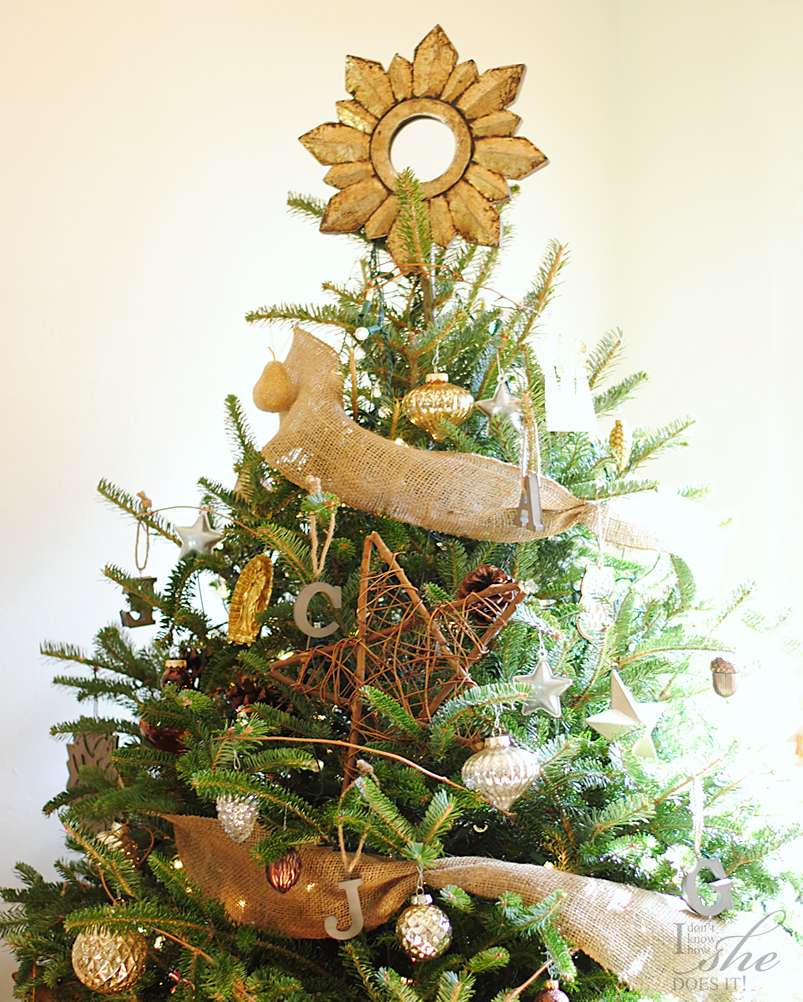
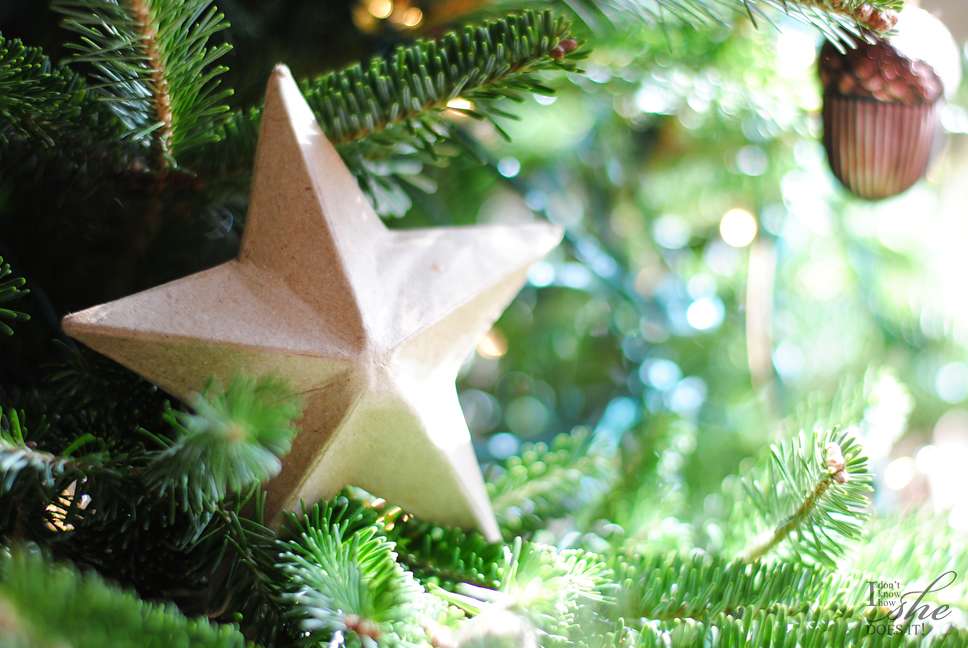
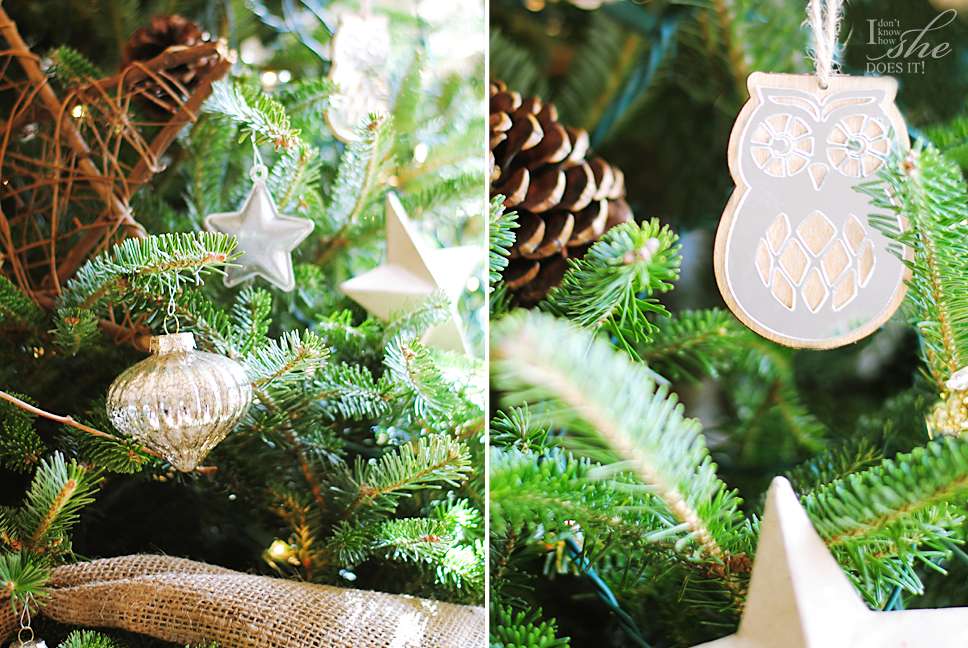
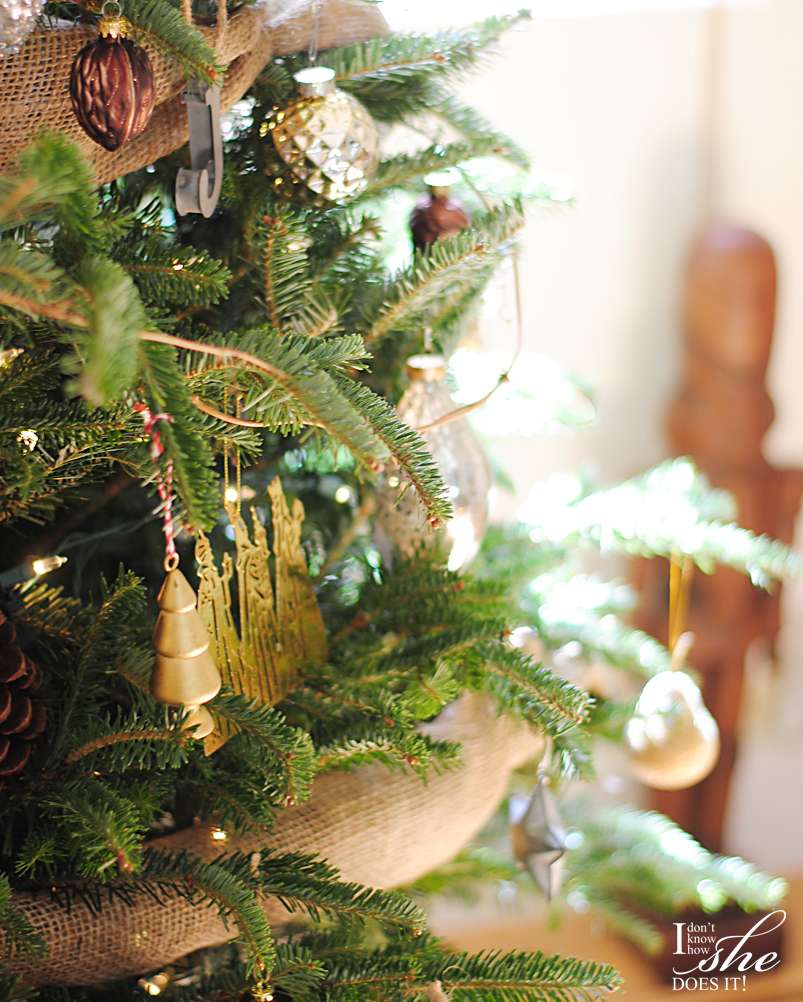
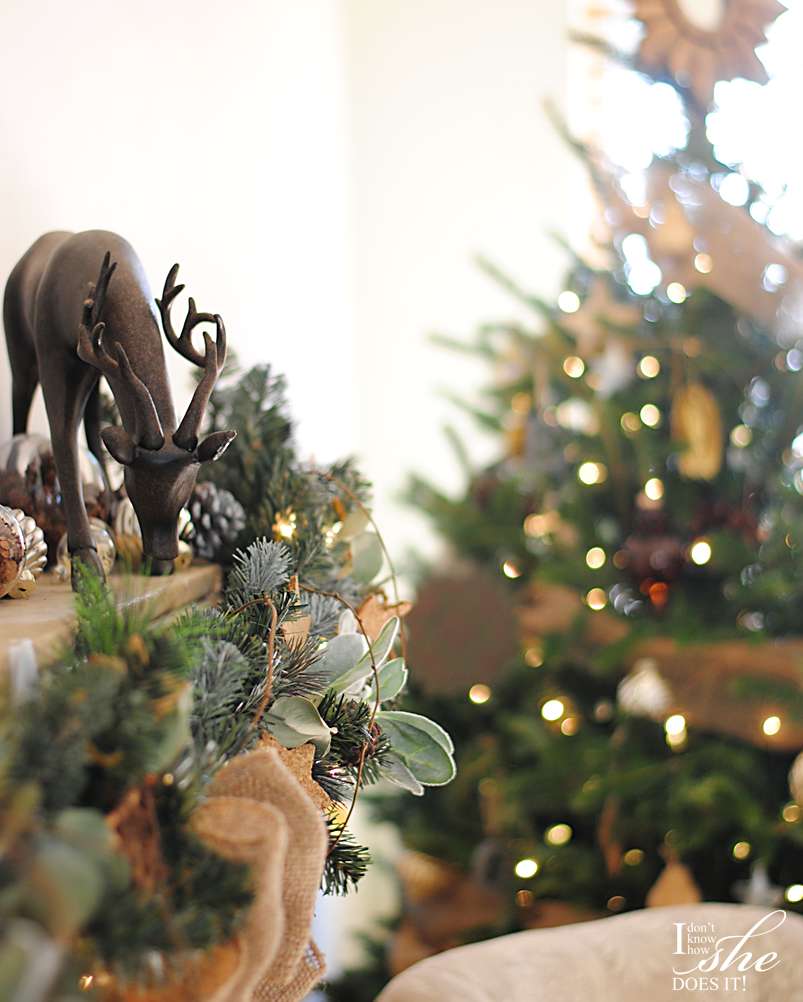
Rustic, eclectic and vintage is what better describes our Christmas tree decoration. This year's ornaments are in gold, silver, and copper but in many instances, the worn-out version of these colors. Burlap and cardboard elements are what add a hint of rusticity to the look but also texture to the arrangement. as so the grapevine star (which I bought a long time ago at Target).
Last year's tree top didn't worked, so I had a small star mirror around our home (previously adorning on of our walls) which now groups together and completes the style.
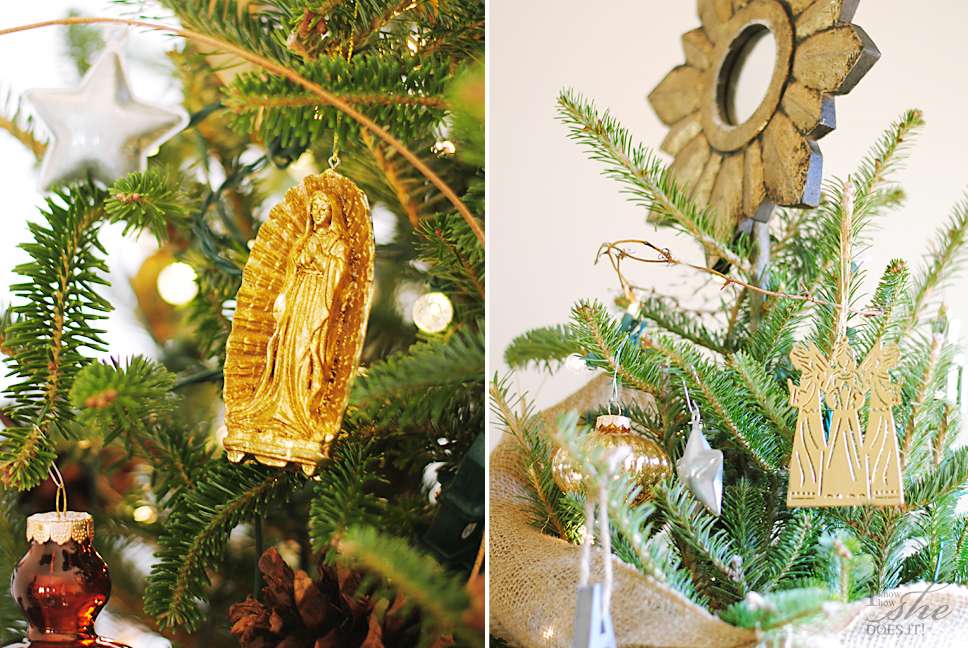
| These religious inspired ornaments are available at Target. |
| Metal, mirrors and mercury glass ornaments are some of our beautiful tree accents this year. |
| Metal letters from Michaels add a personal touch to our tree. Each 5 of us has it own initial decorating the tree. |
From my +The Home Depot Holiday Style Challenge I had some ball ornaments remaining and decided to use them to fill in some spaces around the tree. These came in two different sizes which I love because it created an interesting balance of proportions.
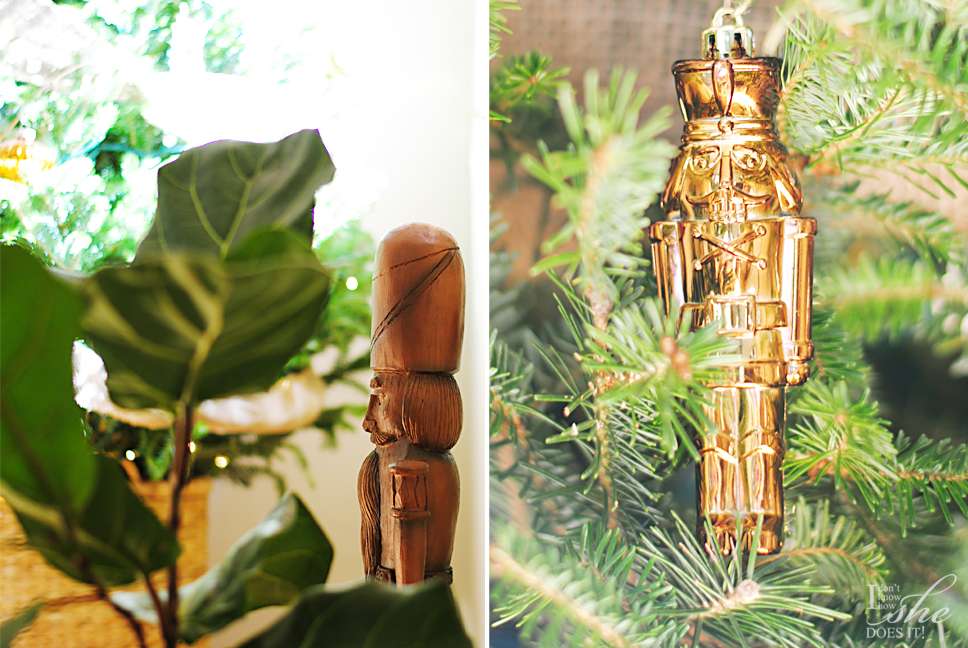
| Mr. Nutcracker, always present during this Holidays. |
| A fiber basket served as my tree base. |
List of ornaments:
Big mercury glass balls from Target
Small metallic balls from Home Depot
Grapevine stars from Target
Small mercury glass grapes from HomeGoods
Small metallic stars from Ikea
Small metallic letters from Michaels
Burlap ribbon from JoAnn
Metallic colored Nutcrackers from Target
Small metallic colored nuts from HomeGoods
Mirror forest animals from Target
Religious ornaments from Target
Basket as tree base from HomeGoods
My Christmas tree
Tired of the same old red, green and blue combinations on my Christmas tree, this year I opted to keep it delicate and simple with hints of green combined with white. What I like the most about my tree is the fact that most of my ornaments either are recycled from previous years, or made by me.
During one of my trips to Michaels, I bought some vintage inspired scrapbook papers and used them to make origami doves. I admit this was he first time I’ve ever made anything origami, but what worked for me was some Youtube tutorials. I used two different dove’s designs, one with a medium level of difficulty, and the other was very easy to do. To hang my Japanese masterpieces, I used some natural fiber strings that mixed very well with the burlap ribbon used in the rest of the tree.
For the recycled ornaments, I had a couple of brown metal and some wooden snowflakes from Target that I bought two years ago. I painted them all with white spray paint but from the wooden ones, left the metal part intact. Last year I bought (also from Target) some felt snowflakes in orange and green. The material of the center was in wood, so from the orange ones I took away this part and with spray glue added some green glitter. They now look more Christmassy than before.
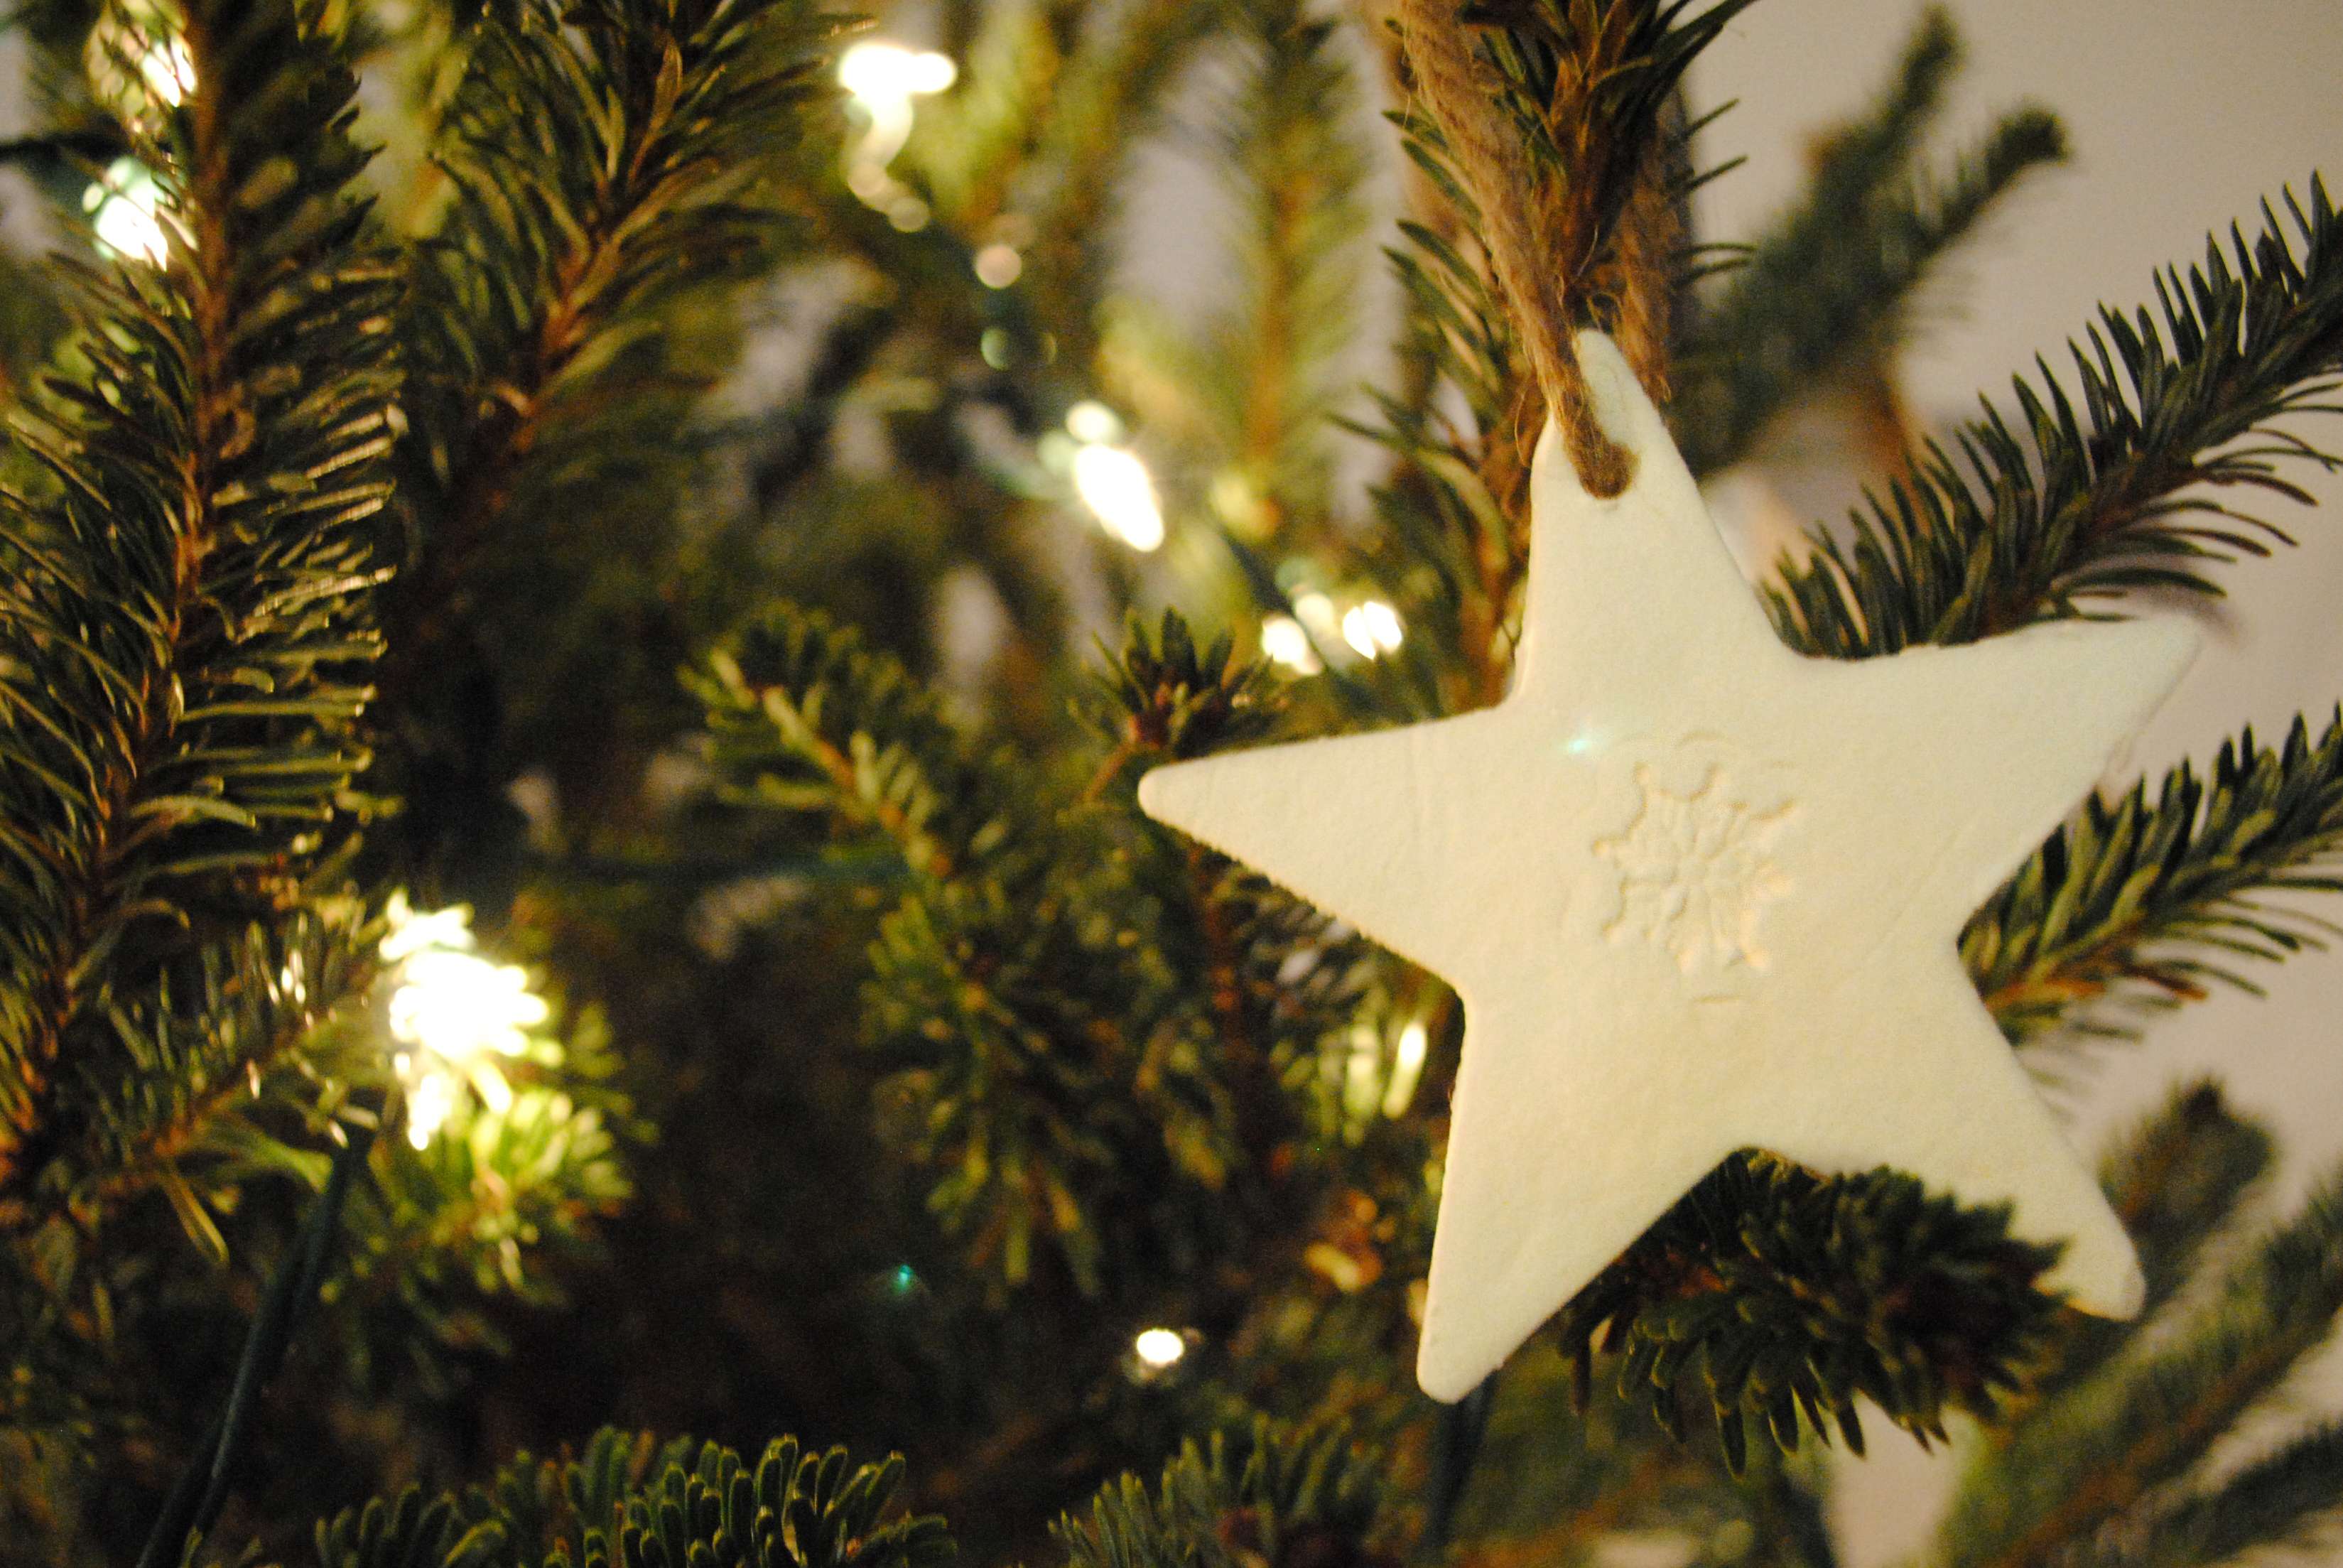
At this point I knew I needed something white, so I remembered that I always wanted to try one idea I found on Pinterest where, with some cornstarch and baking soda, one can do clay decorations. You can find the recipe here. When I did this at home, my recipe ended up needing more baking soda since the consistency was a bit watery and damp, making it difficult to cut with the cookie cutters. For the texture of both the angels and stars, I bought some inexpensive rubber stamps available at Michaels.
To cover some blank spots here and there, I bought some fiber hearts and used some small crystal balls to finish what now I call my Country/natural Christmas tree. Hope you enjoyed my recycled/almost-hand-made tree. Have a Merry Christmas!!!
Christmas wreath
Now that Christmas is a couple of days away, I took some time to make used of the leftover branches from our tree. In our house we’ve always preferred natural Christmas trees because nothing can beat the evergreen smell around the house. This year the tree we bought was larger at the bottom, so my husband took down some branches which I used in the making of our door wreath. In this video from Youtube, you can see how easy it is to make a wreath with some tree branches, a wire hanger, and some floral wire. My wreath was shaped into a square, since I fell in love with one from West Elm, and wanted to apply the same principle to mine. Besides, the look is different from the common round ones and even more sophisticated.
The trick when doing this wreath is to make it in layers. After the first layer is done, check to see where there are areas that need to be fill. To decorate my wreath I used inexpensive (a box of 12 for $2.50) plastic white snowflakes from Walgreens and some pine cones from a last year’s Christmas pine cone project. To finish it all, I recycled the bow from the Fall Inspired Wreath.
Hope I got you inspired to do your own wreath. Please share with me your Holiday projects and feel free to pin this on Pinterest. Happy Holidays!
Easy Christmas tree version
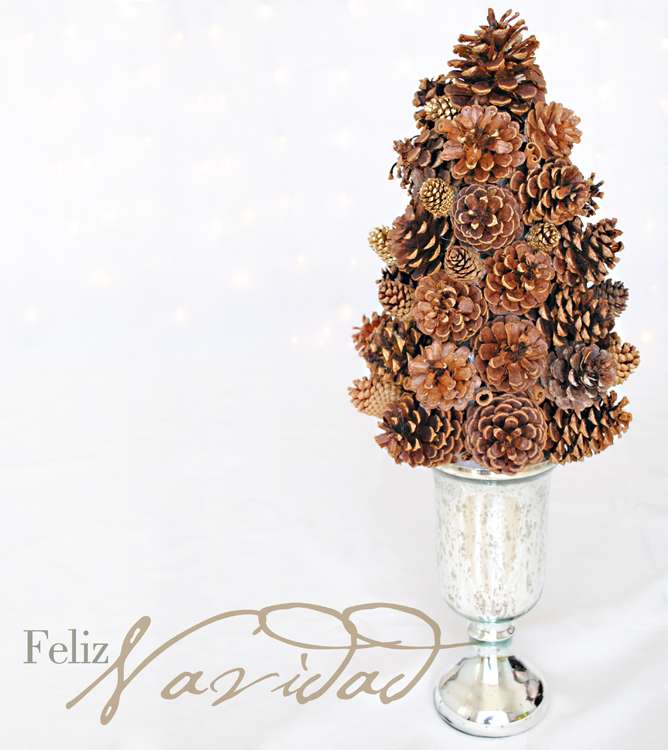
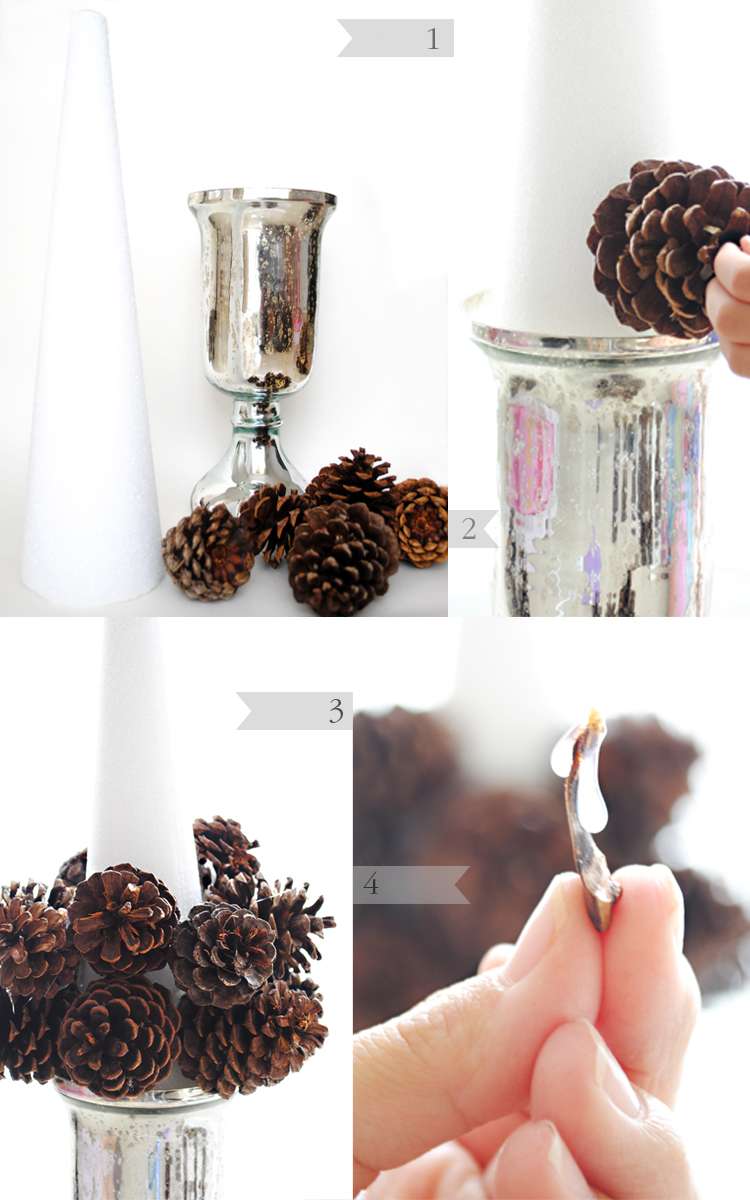
Besides natural and artificial trees, what other options are out there that can be low-cost? Well, today I might have a good answer to that! I’m going to try to do an ecological Christmas tree with some natural pine cones! After my previous post, on using pine cones for a shelf display, I decided to use the remaining ones to make a different kind of Christmas tree. All you will need for this project are the pine cones, a beautiful vase, a cone shaped Styrofoam, and a hot glue gun.
To start I placed my foam inside the base to get a better idea of where to pasting the cones. I organized the pine cones (biggest to smallest) to help me out when gluing. I started with the biggest on the bottom and make my way up where I used the smallest.
Don’t worry about the small white spaces were the foam can be seen. For this you can either used the little seeds that fall from the cones to fill these spaces (Figure 4), or also used smaller cones that fit these areas. Another great option would be to glue pieces of cinnamon to add to the decoration of the tree.
At the end you will end up with a beautiful work of art and the added bonus of a delicious fragrant. As always, I advise you to try different options. I would have loved to use some old Christmas balls instead of pine cones and in exchange of cinnamon, some anise seeds. Everything is possible!
To start I placed my foam inside the base to get a better idea of where to pasting the cones. I organized the pine cones (biggest to smallest) to help me out when gluing. I started with the biggest on the bottom and make my way up where I used the smallest.
Don’t worry about the small white spaces were the foam can be seen. For this you can either used the little seeds that fall from the cones to fill these spaces (Figure 4), or also used smaller cones that fit these areas. Another great option would be to glue pieces of cinnamon to add to the decoration of the tree.
At the end you will end up with a beautiful work of art and the added bonus of a delicious fragrant. As always, I advise you to try different options. I would have loved to use some old Christmas balls instead of pine cones and in exchange of cinnamon, some anise seeds. Everything is possible!
Subscribe to:
Posts (Atom)