featured Slider

Showing posts with label christmas. Show all posts

Winter Wonderland rustic gift wrapping ideas


Gift wrapping is one of the many fun instances of Christmas. When time allows, I love preparing packages for my love ones to make them feel extra special. Is my personal way of expressing how important they are in my life.
Since we are one week away from that special and very anticipated day, today I'm sharing my Winter Woodlands gift wrapping ideas with a rustic touch. The accessories used were all from Jo-Ann and I'm joining them this year for the #MakeItGiveIt campaign.
Before I started packing, I bought some rolls of Kraft Gift Wrapping paper and started stamping them with a set of (similar) pine cones rubber stamps. You can mix the stamps or use them separately, the final outcome will be great either way.
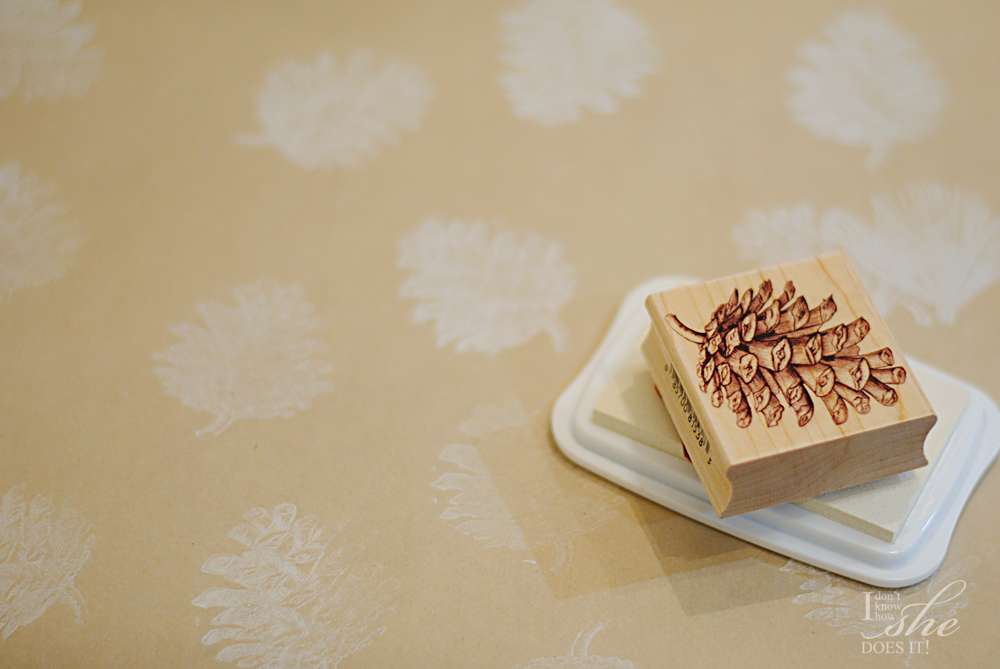

After this part was done and the ink dry, I started wrapping the boxes. Now that I had them finished it was time to start with the decorative accents.
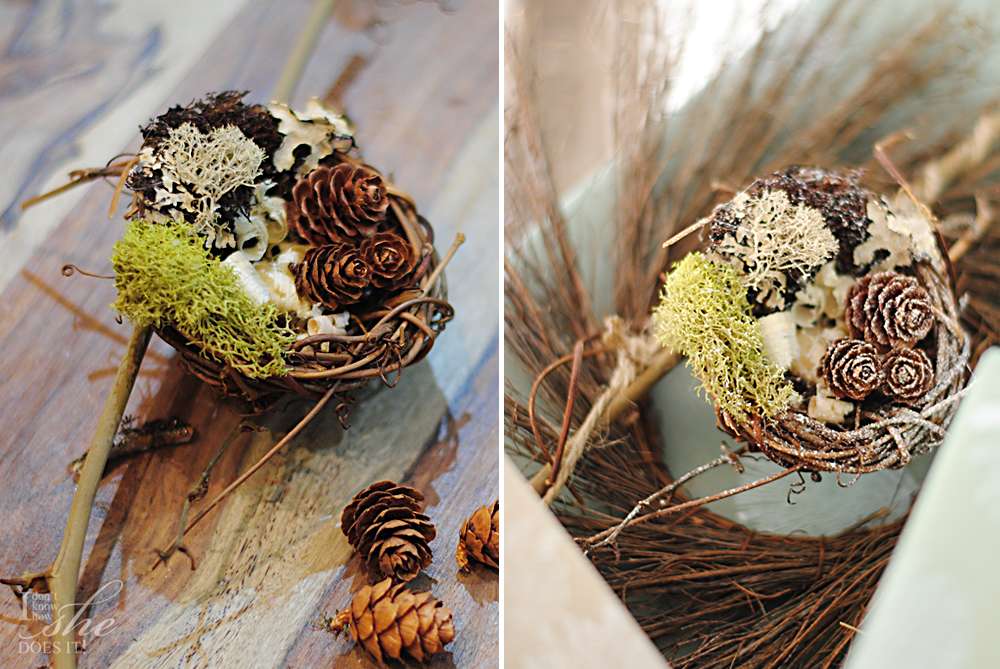
One of these accents was a twig bird nest which I filled with moss, saw dust and mini pine cones. At the end I sprayed some glitter for that special Winter touch.

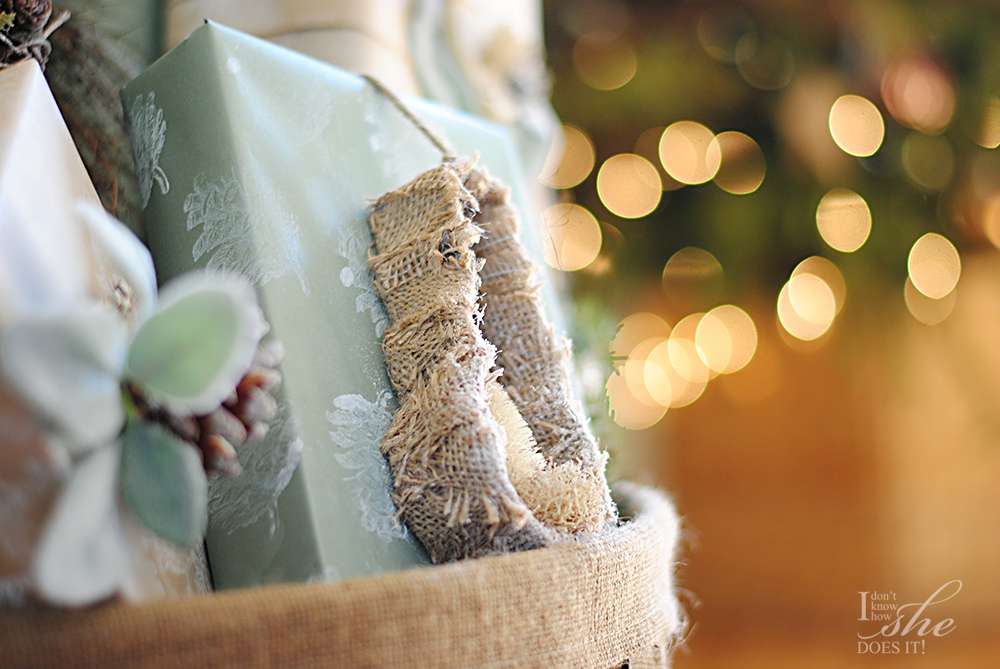
Another of the accents was a snowman cookie cutter wrapped in burlap strips. At the end I placed a piece of ivory colored moss and a tiny pine cone from Idea-ology.


On other gifts I use a silk leaf, similar to dusty miller, to make either a wreath or to adorn a pine cone.


I love how these gifts ended up looking and I'm sure everyone will enjoy their special little Winter Wonderland adorn. Don't forget to post your #MakeItGiveIt craft project on Instagram (before December 25, 2014) for a chance to win 1 of 5 $100 Jo-Ann Fabric and Craft Store gift cards. Visit their #MakeItGiveIt page for more information.


Lamp Christmas wreath

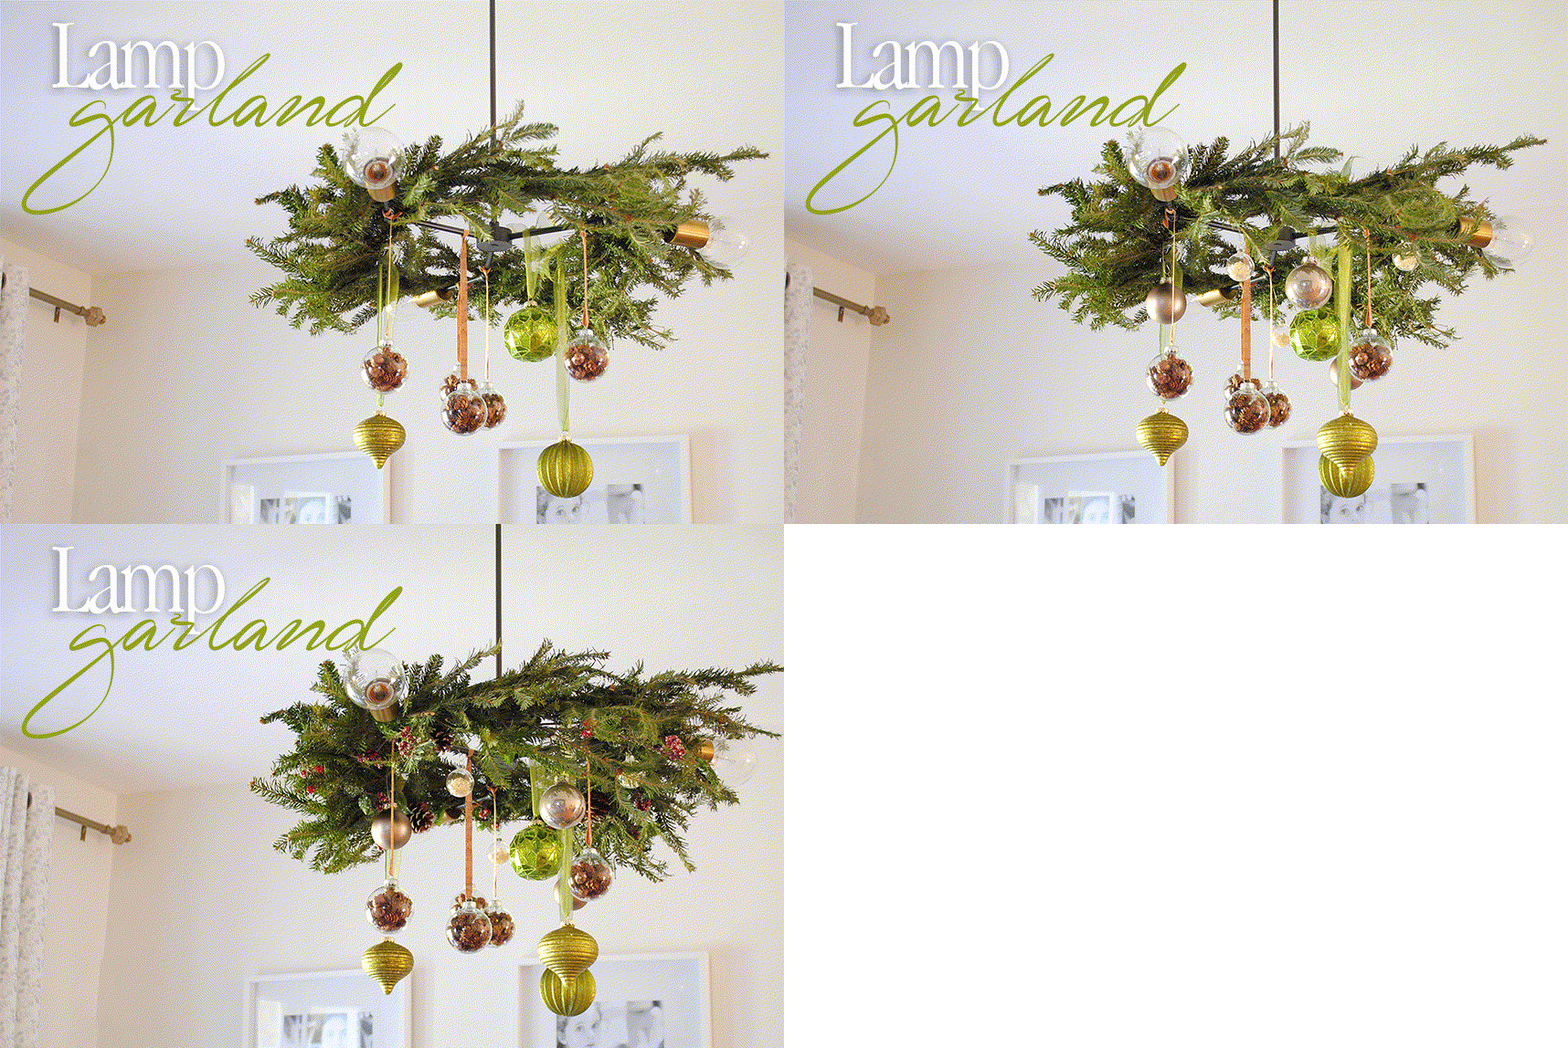
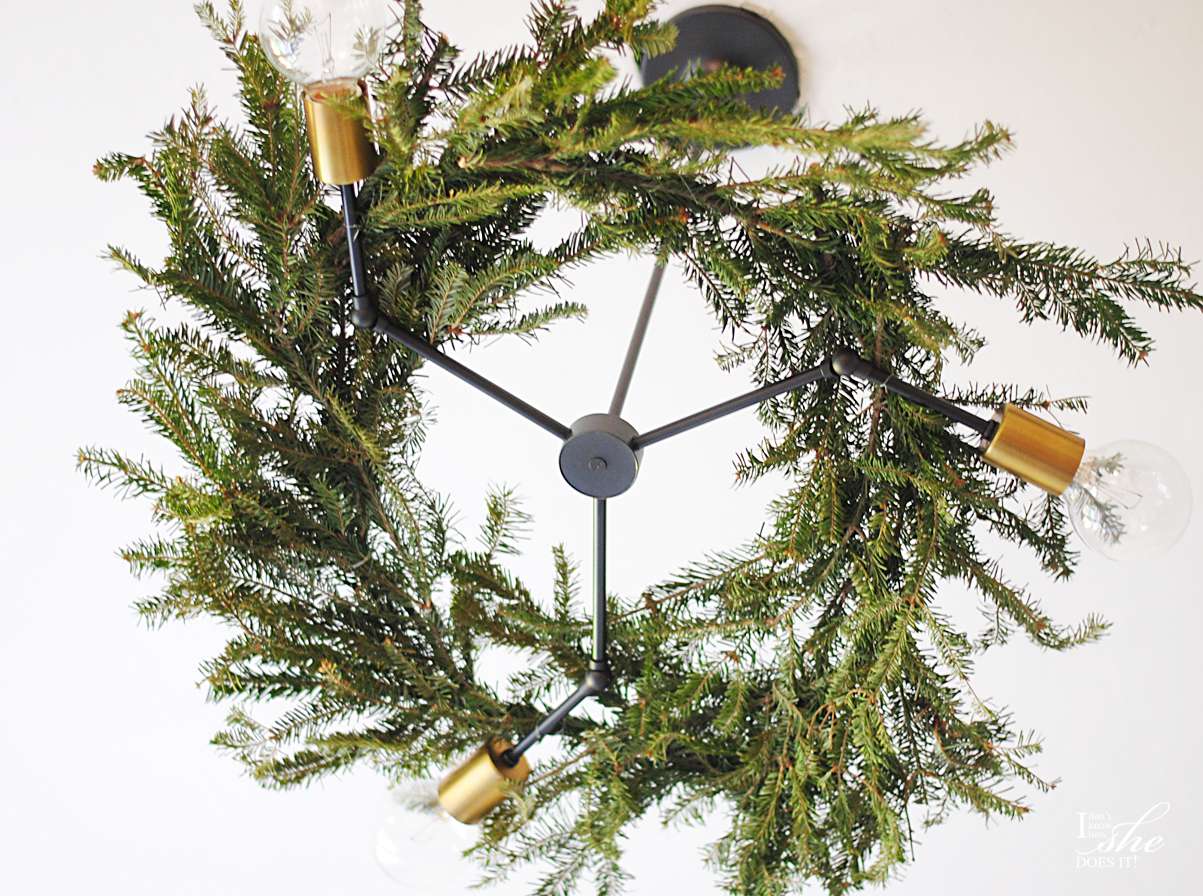
Finally I finished this wreath for my dining table lamp! Since I did mine from some remaining branches of my natural Christmas tree, it took me a bit more time than I expected but all worthwhile.
I love my lamp from School House Electric and Supply Co. because its minimalist look goes great with my dinning table. It brings great illumination to this space and everyone that comes to our home always compliment about the beauty of it.
During the Holiday seasons, I love hanging little accents form it to make it stand out even more. But this Christmas I was determined to make a focal point out of it. So in comes the wreath.

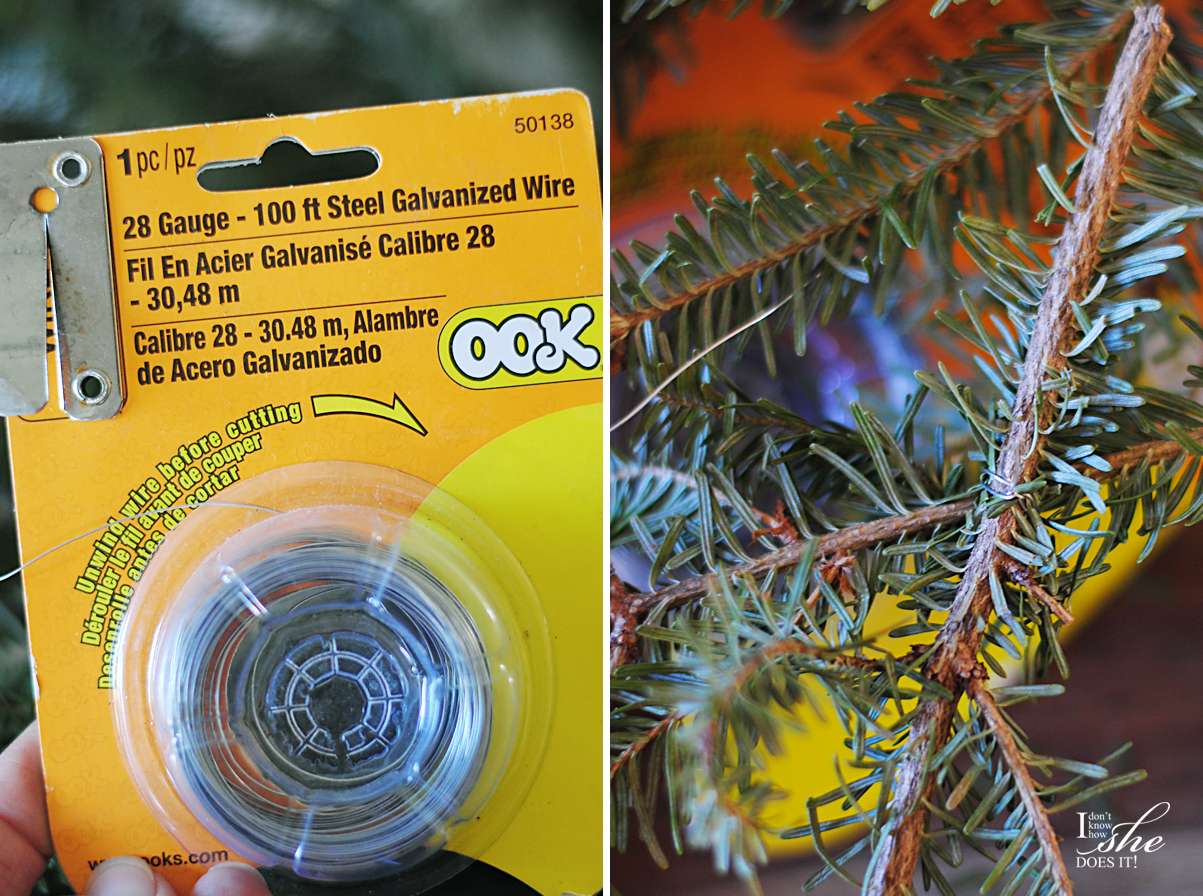
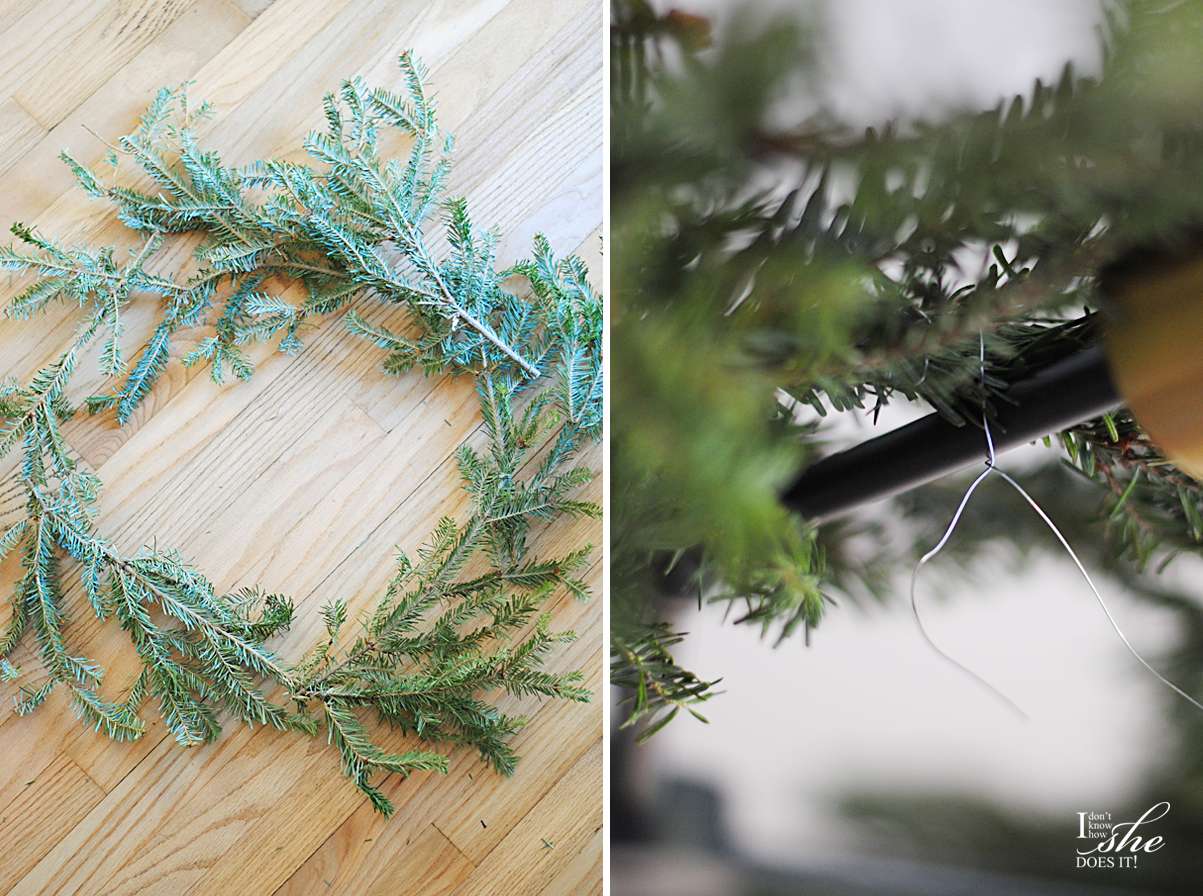
All I used were some leftover branches from my Christmas tree, galvanized wire and some ornaments and ribbons to hang. I first placed four branches over the floor in a circular form. Using the wire, I join the branches everywhere they met each other.

Having this as the skeleton of my wreath, I place it over the lamp securing it over its arms using more wire. To make it look plumper, I placed more branches everywhere I saw a space. Each time a branch was added, I made sure it was fasten with wire.


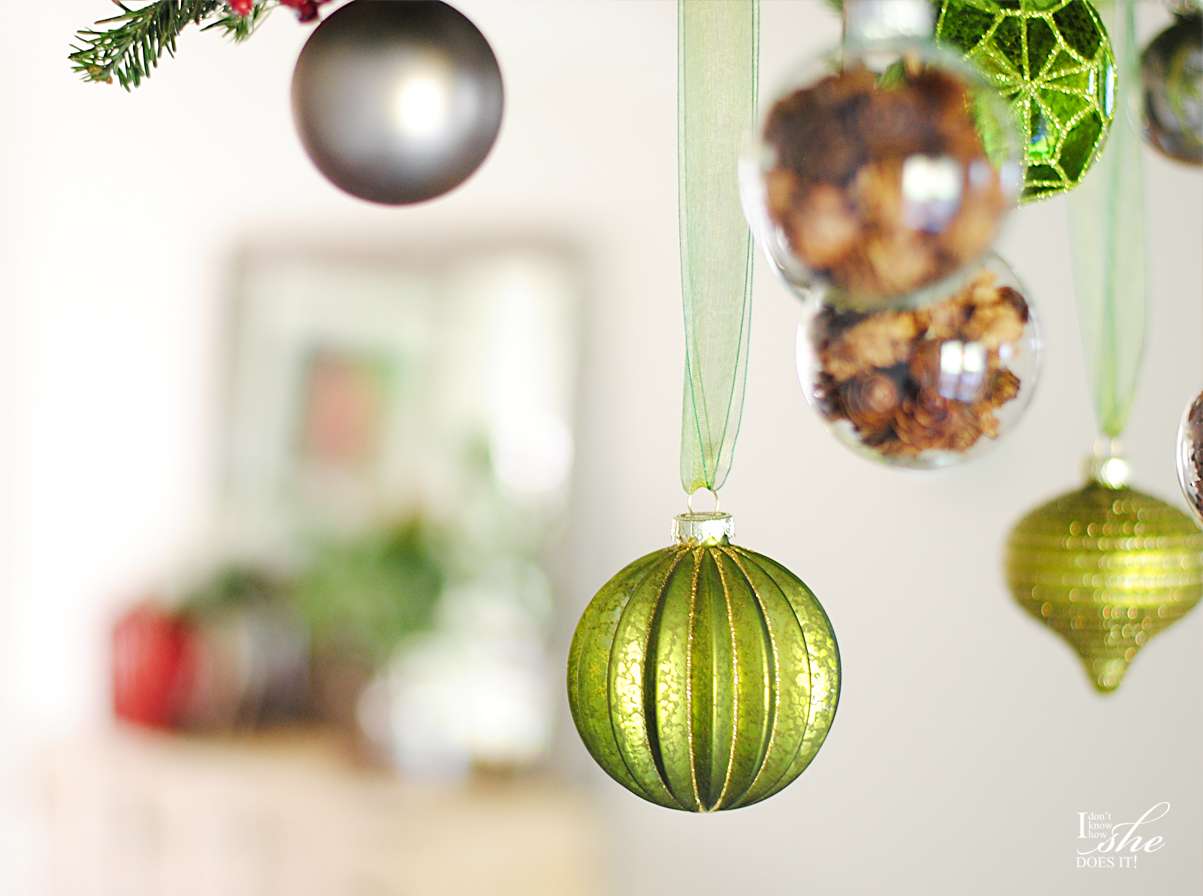
The finishing touches of my wreath were some ornaments I had at hand from the Home Depot Holiday Style Challenge and others that I made.

To hang these beautiful ornaments I use a green ribbon and a cork one I found at Michaels.

The plastic transparent ornament in this wreath are from JoAnn and I just place some tiny pine cones inside of them. I also used smaller ones but instead I used sawdust for an added rustic look. 
I love how beautiful this looks during the day and at night the three light bulbs on the lamp brings a very special color to this wreath. Although I know this accent is near electricity, I'll try to keep this lamp off just in case. We don't want to bring the house down!
Keep enjoying the Holidays!!!!

Home Depot Holiday Style Challenge 2014


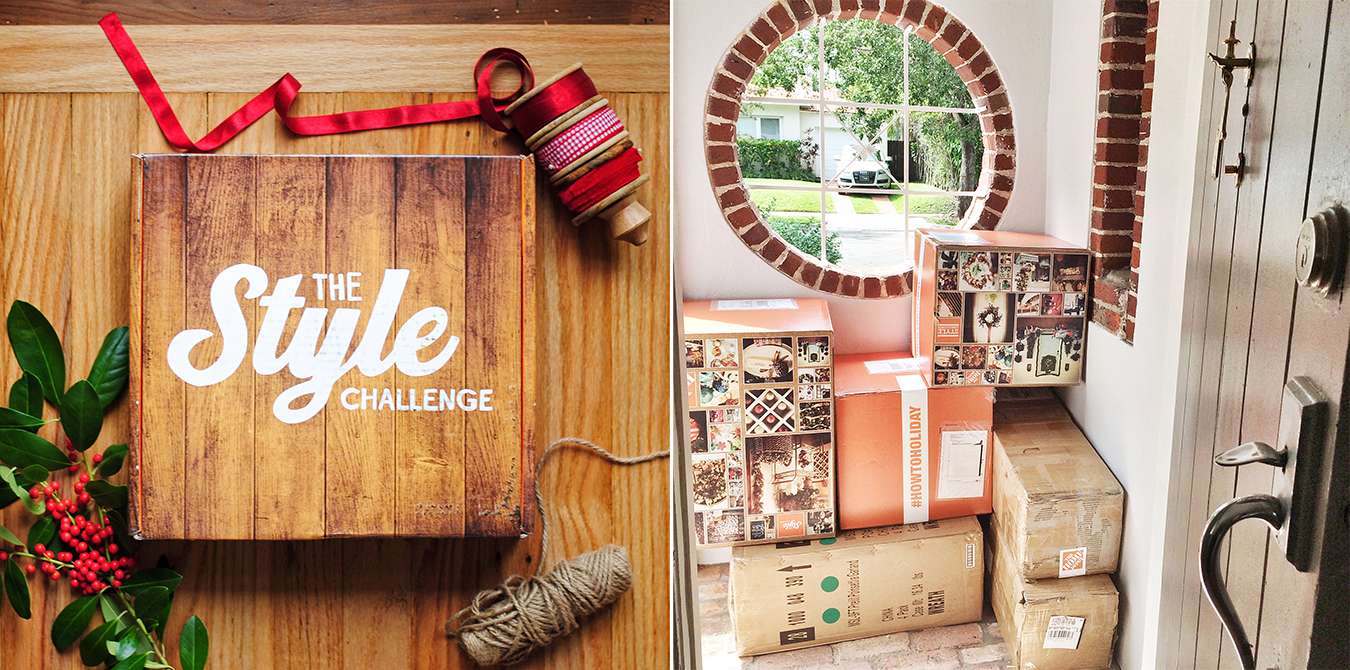
Welcome to my Home Depot Holiday Style Challenge. I've been holding this for so looooong I can't hardly believe the day has finally arrived! When Home Depot contacted me for this challenge I almost felt into the ground with such great news. I was so ecstatic (and still are) not just because I was going to be part or a group of talented bloggers whom I admire for a long time; but the fact that this time around there were "mystery boxes" got me smitten with all the countless possibilities there could be inside of them.


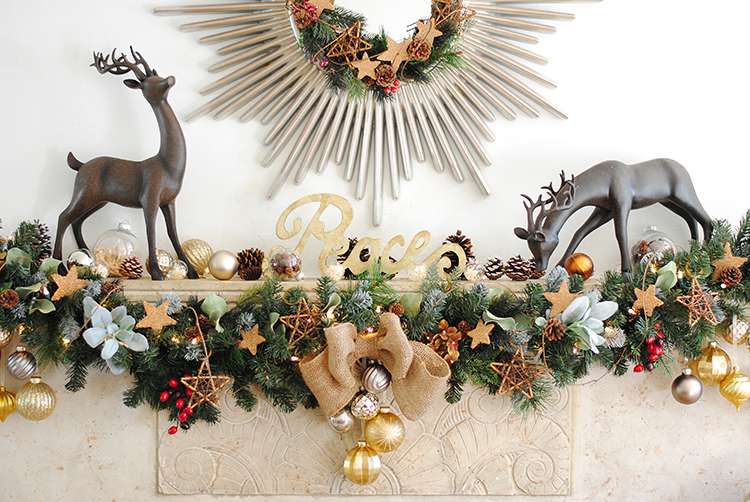
Another thing that really took me to cloud 9 was the email stating the part of the home that I got to work my magic around: THE MANTEL. If you've been reading my blog for a while, you should know by now how much I love this mantle of ours. It's vintage look is my pride and joy in this new house.


So now without any further ado, here is part of my Home Depot Holiday Style Challenge. Hope you get the chance to visit THIS LINK for more details on this mantel decor and more fun ideas. Also, don't forget to leave me comment; they really mean the world to me.


Natural elements centerpiece


This year I've kept busy during the Holiday season decorating throughout our new home. You might be thinking that perhaps it is the novelty of owning a property, but I'm pretty sure that this place has an atmosphere filled with some sort of magic. The morning sun we get is simply a beauty to watch as it is when setting, bringing a calm feeling to the surroundings.


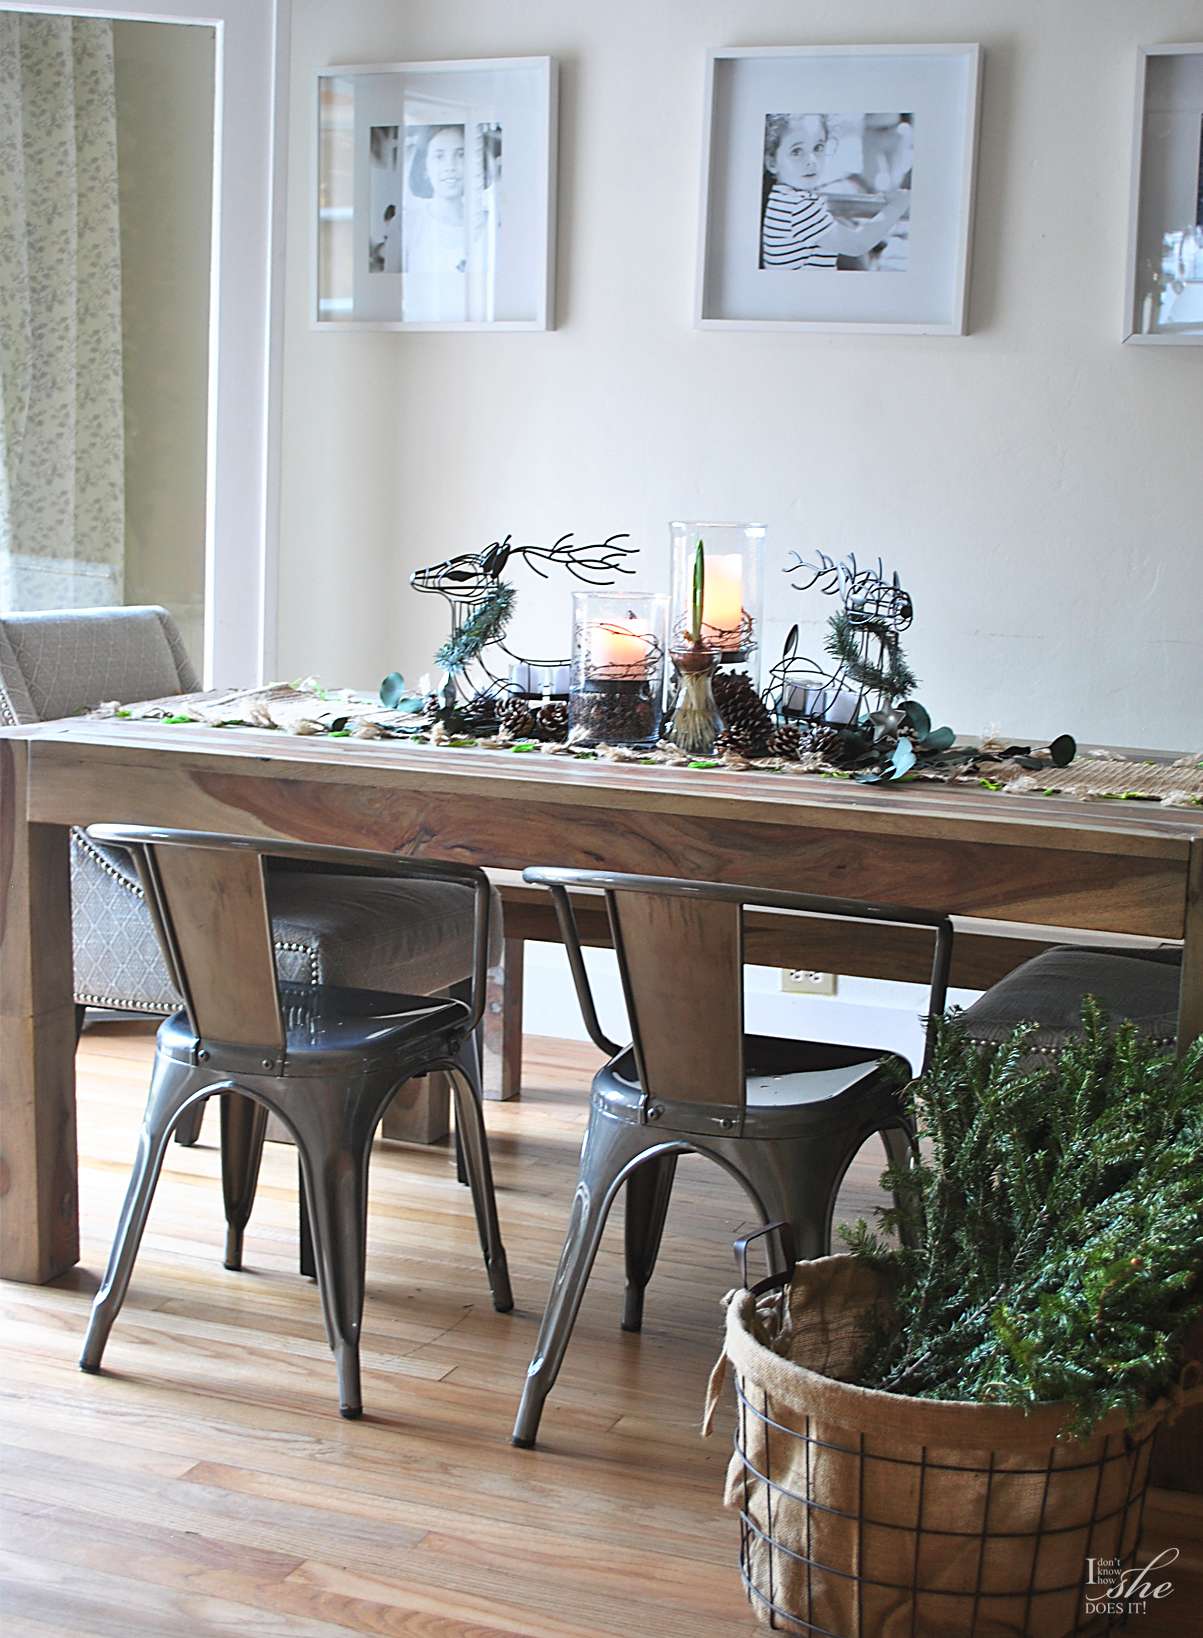
So taking advantage of that lovely light we get as the sun sets, today I'll be sharing a Holiday table setting as part of my posts for BHG at Walmart. Their Holiday decor selection is exquisite and I'll be mixing regular items and Christmas inspired accessories from the stores. Some of these you can buy online, while others are only available at Walmart.


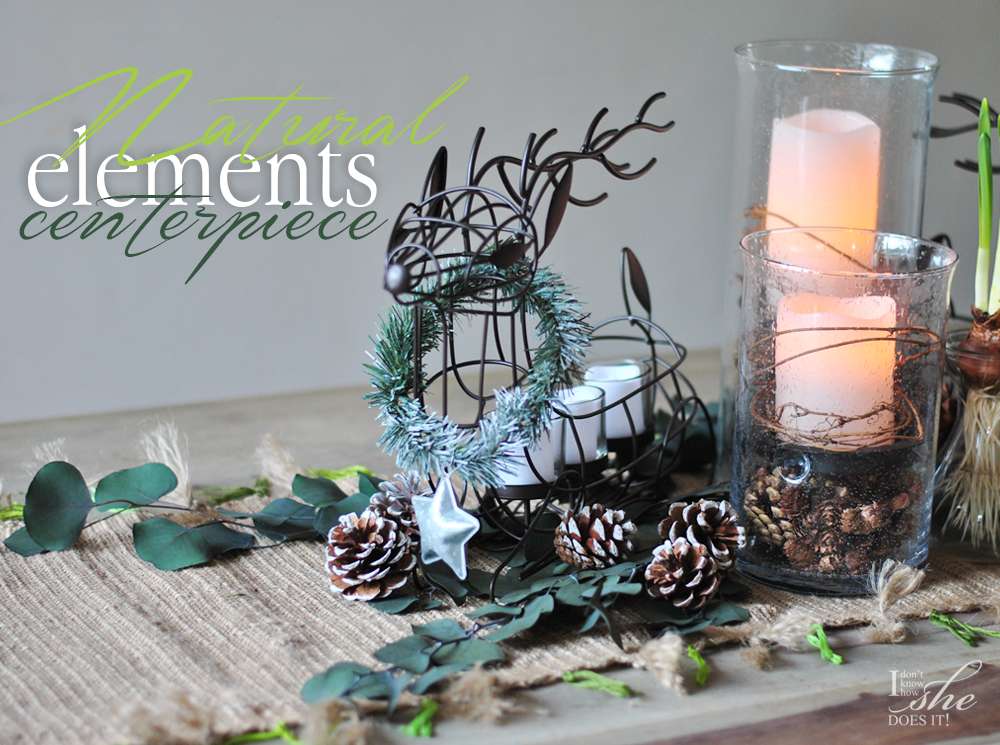
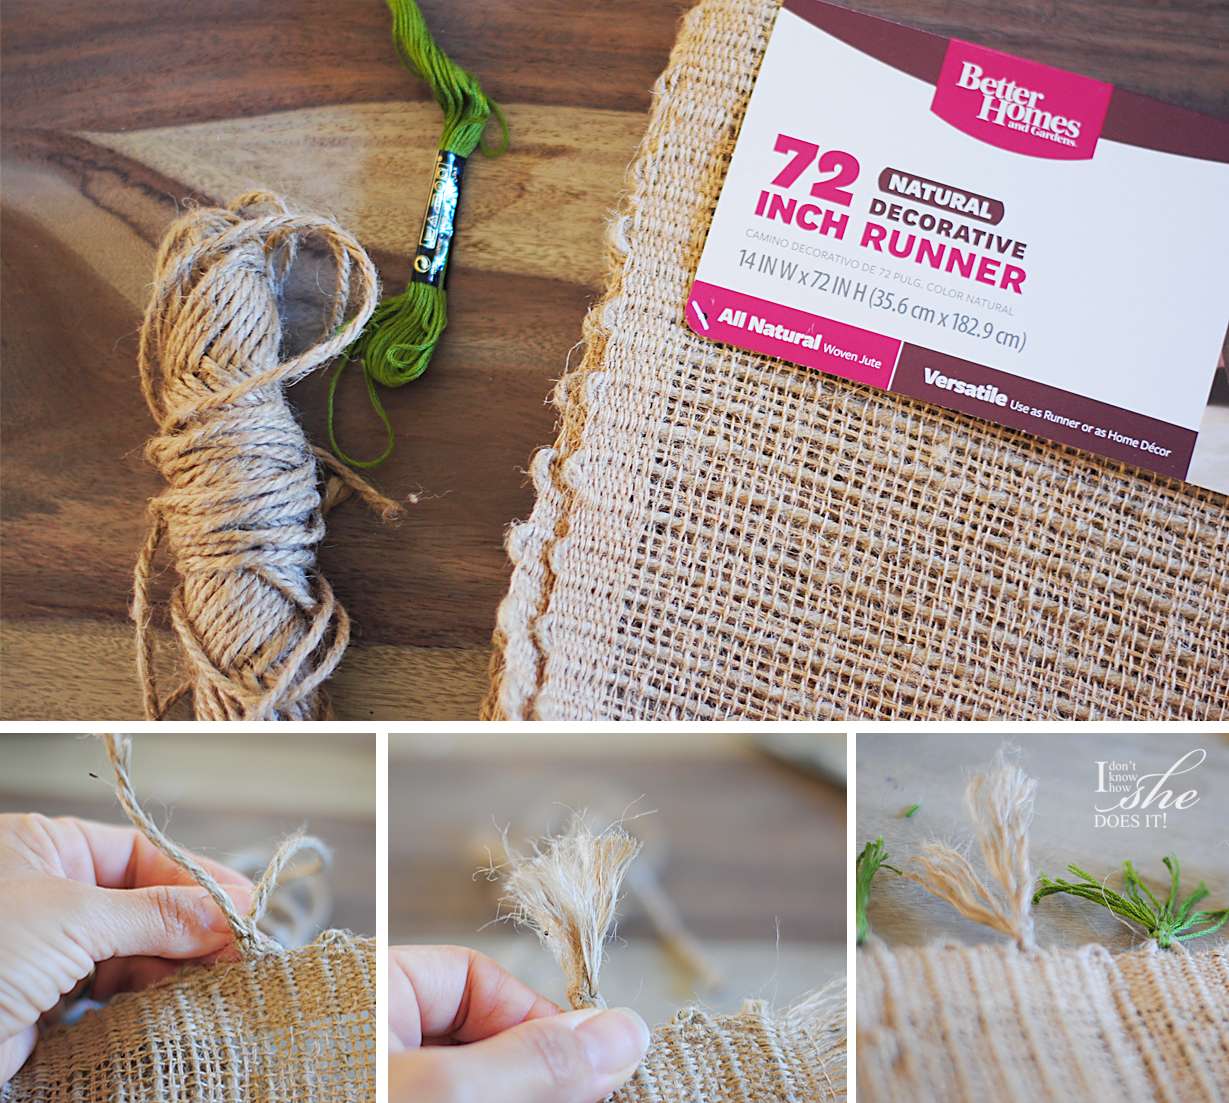
For this setting I used a BHG Natural Table Runner (72") as a base to add an additional texture to the wood grain of my dinning table. For a dose of color, I knotted some twine and embroidery threads in green tones on the borders making sure that the ends were uncombed. Love how this piece looks so different without doing much to it.
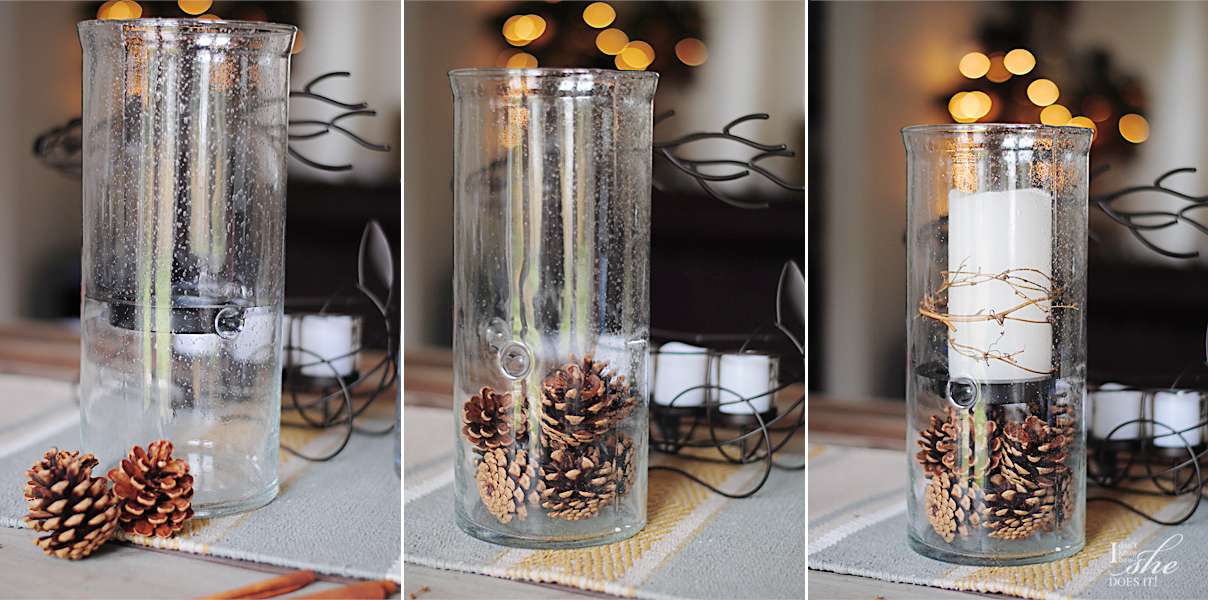
My next step was to create the centerpiece. I used eucalyptus branches I already owned over the runner to add some greenery to this vignette. On top of these I placed two BHG Hurricane Pillars Candle Holders in different sizes (8" and 12") to create interest in heights. Because these have a space under the plate that holds the candle, I added pine cones for a Christmasy look (also from BHG but available only at Walmart stores).


For the candles, I found a set of BHG Flameless Led Pillar Candles that use battery and can be turned on or off with a tiny cute control (can you believe that!!!). And to top it all off, they smell so good (vanilla scented)! To decorate them I just placed some grapevine branches around each candle.
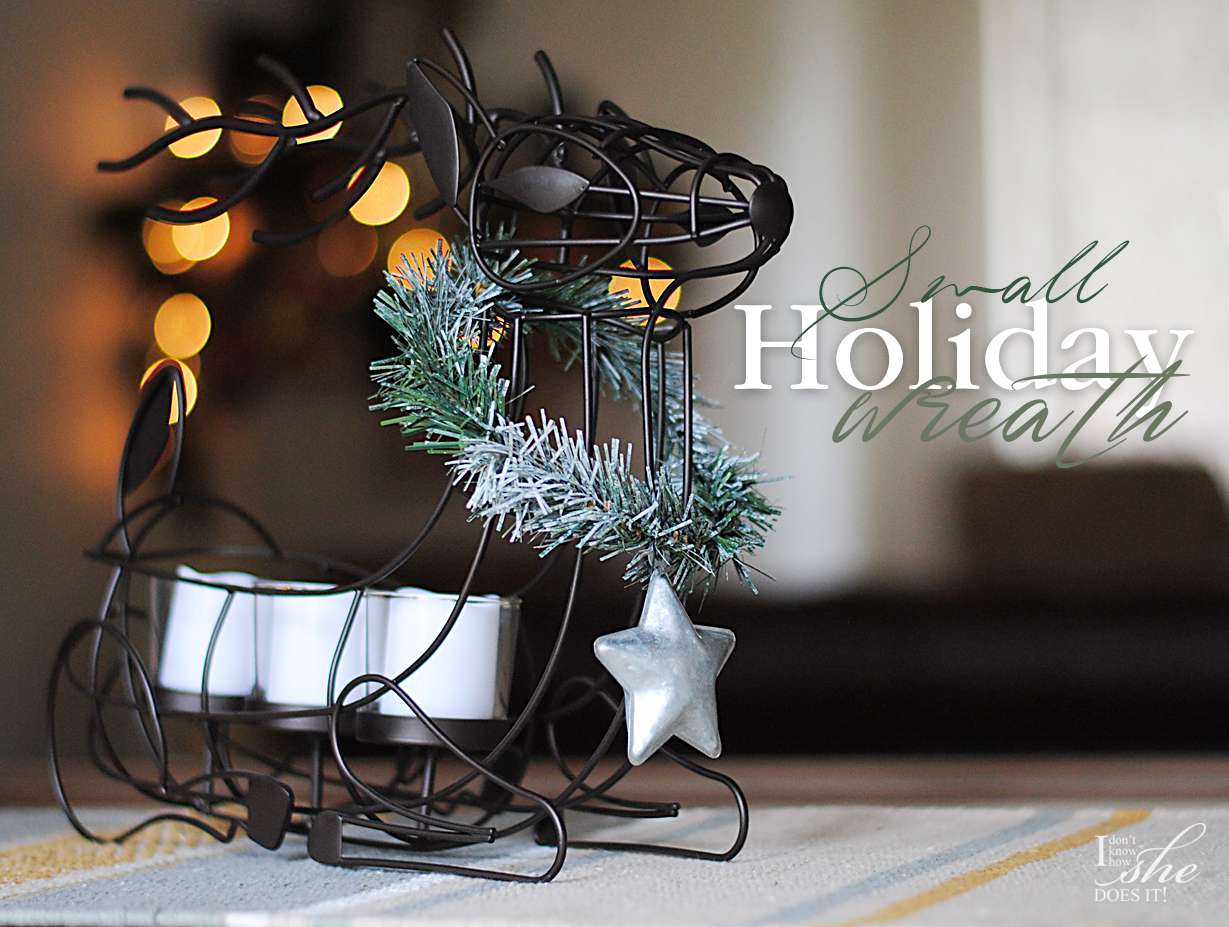
Now for my most important pieces, the metal wire deer (available only at Walmart stores) that also serve as candle holders. To make them look prettier, I made two small wreath from faux pine branches (look here for the tutorial) as accents on their necks.


Now we are set and ready to received our guests and entertain them around the lovely centerpiece by the candlelight.


So honored to be part of the BHG Live Better Network where, as a blogger, I've received compensation by BHG at Walmart. The opinions stated here are my own. For more updates on their products and decor ideas, you can always follow them on Facebook, Pinterest, Twitter and Instagram.

Easy tiny Holiday wreath


I love preparing crafts for the Holidays. They've always made me feel merry somehow and even more when I can create them using materials I already own. Because of this today I'm sharing a quick way to make a small wreath with branches of leftover faux Christmas tree branches (but also with real ones). For this you'll need 3 pieces of these branches of around 8" each, (soft) craft wire and small Christmas ornaments.


All you'll need to do is to join the tree pieces together with the wire making sure that each corner merged softly with the other. This part is very important because it will give the look of continuity to the piece. To attached the ornament I also use the craft wire.
This small wreath is a great way to adorn the cabinet doors in the kitchen, but also excellent accents to small Holiday decorations.
Hope you enjoyed this quick tutorial and look for my next post about decorating a Holiday themed dinning table using this tiny wreath.

Rustic, eclectic and vintage style Christmas tree


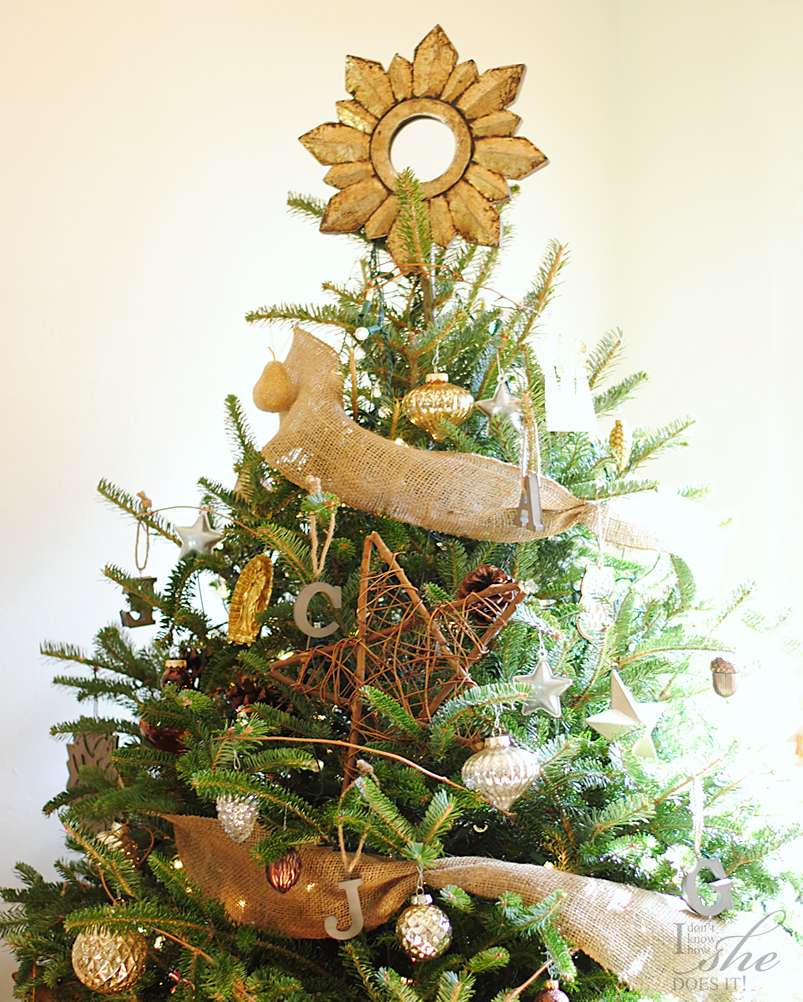
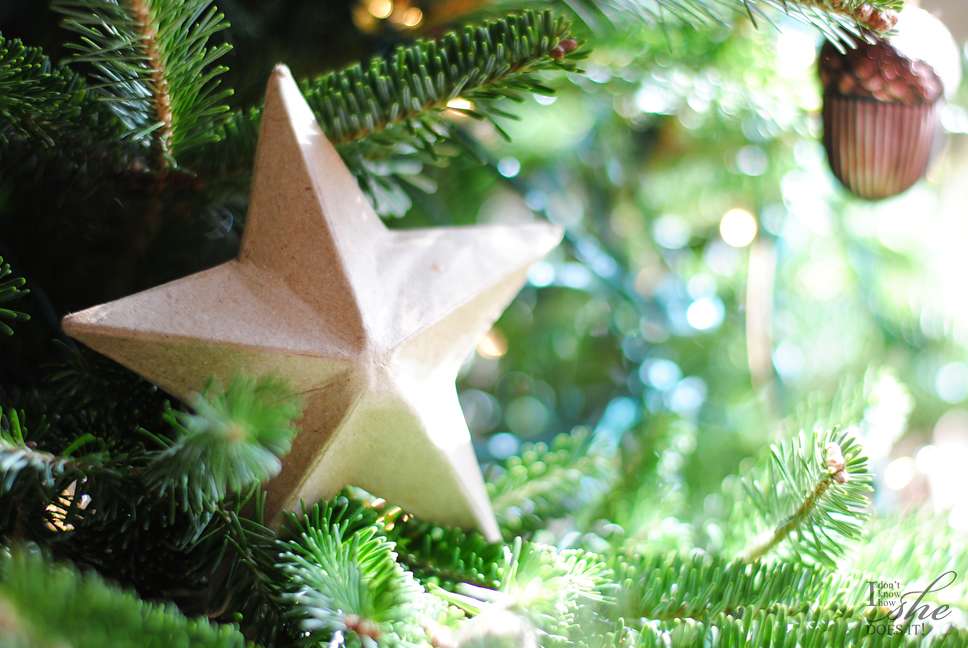
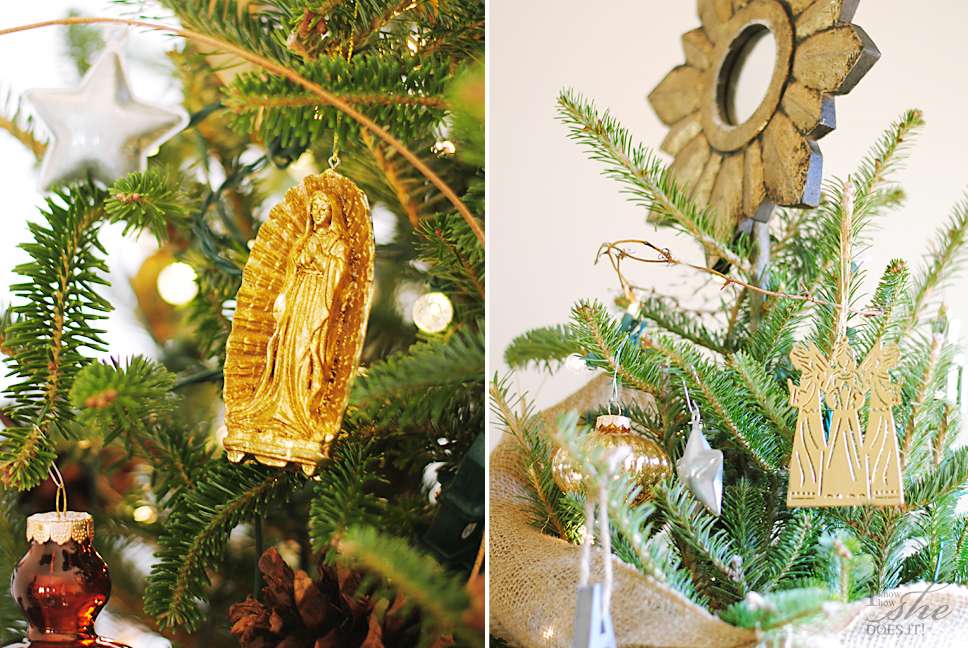
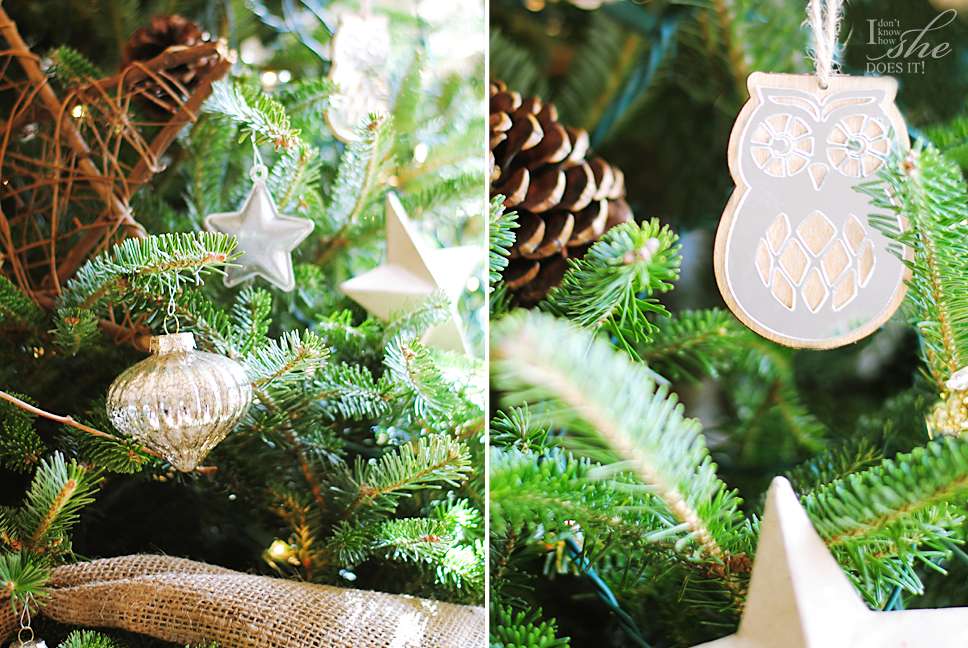
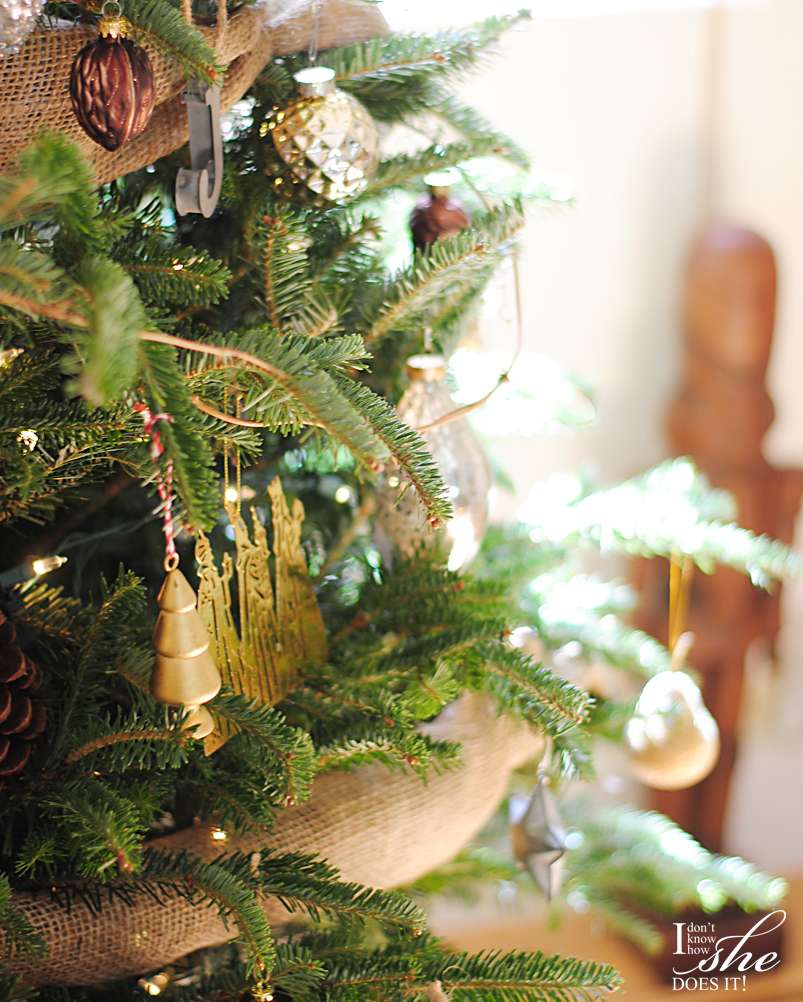
Rustic, eclectic and vintage is what better describes our Christmas tree decoration. This year's ornaments are in gold, silver, and copper but in many instances, the worn-out version of these colors. Burlap and cardboard elements are what add a hint of rusticity to the look but also texture to the arrangement. as so the grapevine star (which I bought a long time ago at Target).
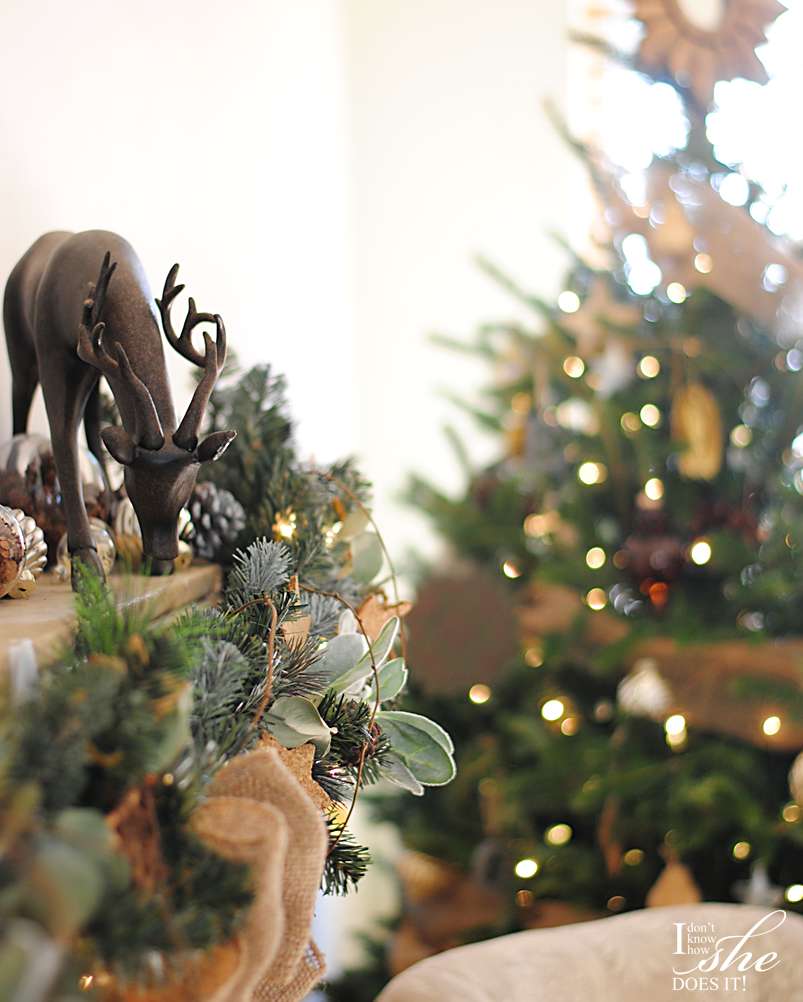


Last year's tree top didn't worked, so I had a small star mirror around our home (previously adorning on of our walls) which now groups together and completes the style.

These religious inspired ornaments are available at Target.
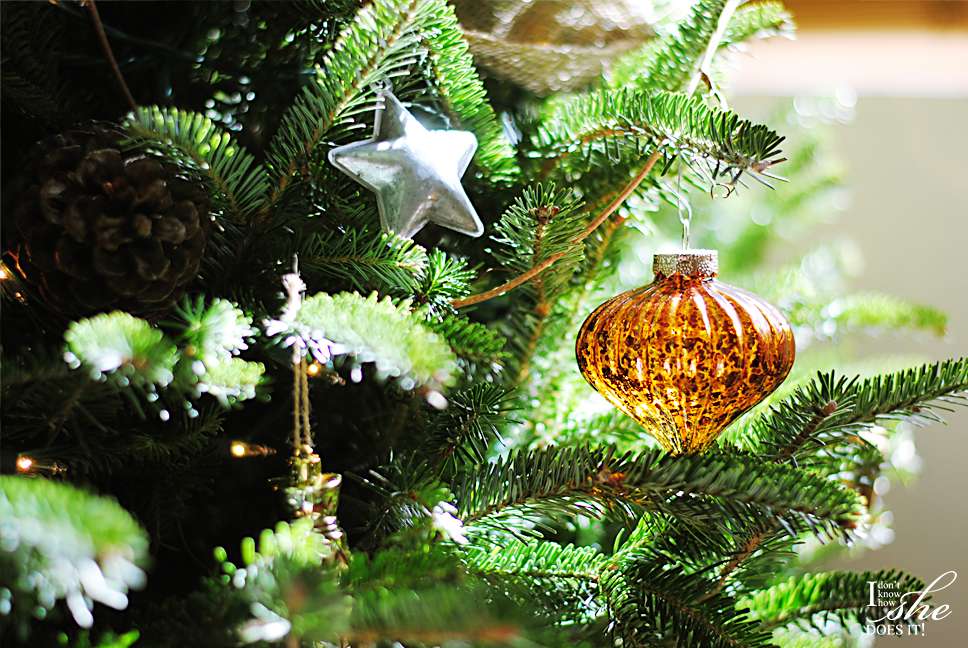
Metal, mirrors and mercury glass ornaments are some of our beautiful tree accents this year.
Mirror ornaments in the form of cute forest animals and mercury glass balls bring an additional glimmer to the tree.


Metal letters from Michaels add a personal touch to our tree. Each 5 of us has it own initial decorating the tree.
From my +The Home Depot Holiday Style Challenge I had some ball ornaments remaining and decided to use them to fill in some spaces around the tree. These came in two different sizes which I love because it created an interesting balance of proportions.

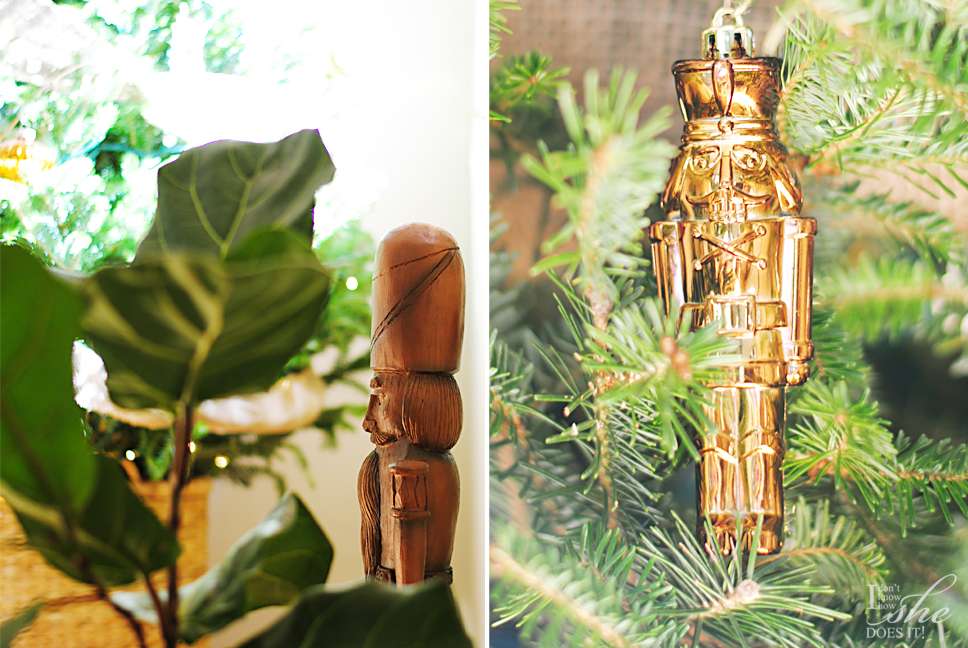
Mr. Nutcracker, always present during this Holidays.

A fiber basket served as my tree base. 
Although I'm still trying to decide which type of style can my tree fall in, I can surely say that I fell in LOVE with my tree's decor. What style of theme is your tree? Share with me your ideas, I would love to read them.

List of ornaments:
Big mercury glass balls from Target
Small metallic balls from Home Depot
Grapevine stars from Target
Small mercury glass grapes from HomeGoods
Small metallic stars from Ikea
Small metallic letters from Michaels
Burlap ribbon from JoAnn
Metallic colored Nutcrackers from Target
Small metallic colored nuts from HomeGoods
Mirror forest animals from Target
Religious ornaments from Target
Basket as tree base from HomeGoods

A simple Christmas craft


I've been dreaming about Christmas season the whole year, and now that it's so near, I can't contain myself on doing my first merry craft. Today's tutorial is a quick one. All you'll need are some cinnamon sticks available on your nearest supermarket and a glue gun.


First I cut my cinnamon sticks in half and glue this halves together in sets of four. After doing this 4 times (2 sidewalls and 2 roof wings), I start putting the cinnamon house together. To make the roof, I used one of the cinnamon sticks as the center beam. For the side walls I used the same method as the roof (using beams). You'll noticed this on the second photo. For the wall on the back of the house, I glued some more sticks and, for the front, I used 4 long sticks and  4 smaller ones so I could leave an opening. The door was made from 3 cinnamon sticks. Of course an itsy-bitsy chimeny was a must!
This project was so fun to do and inexpensive too! Hope you've enjoyed this as much as I did, and don't forget to leave me your feedback. I really enjoy reading what's on your mind!

Christmas display

Touch the image to be redirected to each website
Stars Mercury vases Pendant lamp Owl Pine cone Christmas tree Dried branches
Stars, constellations, lights, you name it. This year’s Christmas display for me, is out of this world. For this piece, besides mixing old items with new ones, I incorporated branches and silver tones (the mercury vases and owl). Although in theory it might sound contrasting, the beauty of it relies on opposites: nature with man made materials, darkness with brightness. Also it is very important to create a balance so that the display won’t seem to fall on one side. So to create a symmetric view, I counter balance the height of the branches with a wide piece on the opposite side (the pine cone Christmas tree). The idea when designing a display like this or a fire mantel, is to play with the ornaments and to develop a rhythm among each of the objects.

Christmas wreath


Now that Christmas is a couple of days away, I took some time to make used of the leftover branches from our tree. In our house we’ve always preferred natural Christmas trees because nothing can beat the evergreen smell around the house. This year the tree we bought was larger at the bottom, so my husband took down some branches which I used in the making of our door wreath. In this video from Youtube, you can see how easy it is to make a wreath with some tree branches, a wire hanger, and some floral wire. My wreath was shaped into a square, since I fell in love with one from West Elm, and wanted to apply the same principle to mine. Besides, the look is different from the common round ones and even more sophisticated.


The trick when doing this wreath is to make it in layers. After the first layer is done, check to see where there are areas that need to be fill. To decorate my wreath I used inexpensive (a box of 12 for $2.50) plastic white snowflakes from Walgreens and some pine cones from a last year’s Christmas pine cone project. To finish it all, I recycled the bow from the Fall Inspired Wreath.

Hope I got you inspired to do your own wreath. Please share with me your Holiday projects and feel free to pin this on Pinterest. Happy Holidays!

Easy Christmas tree version

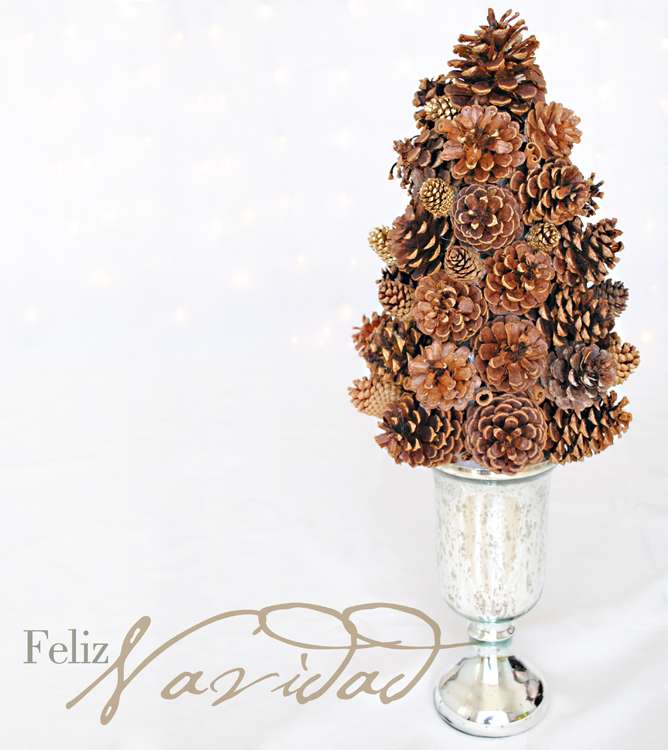
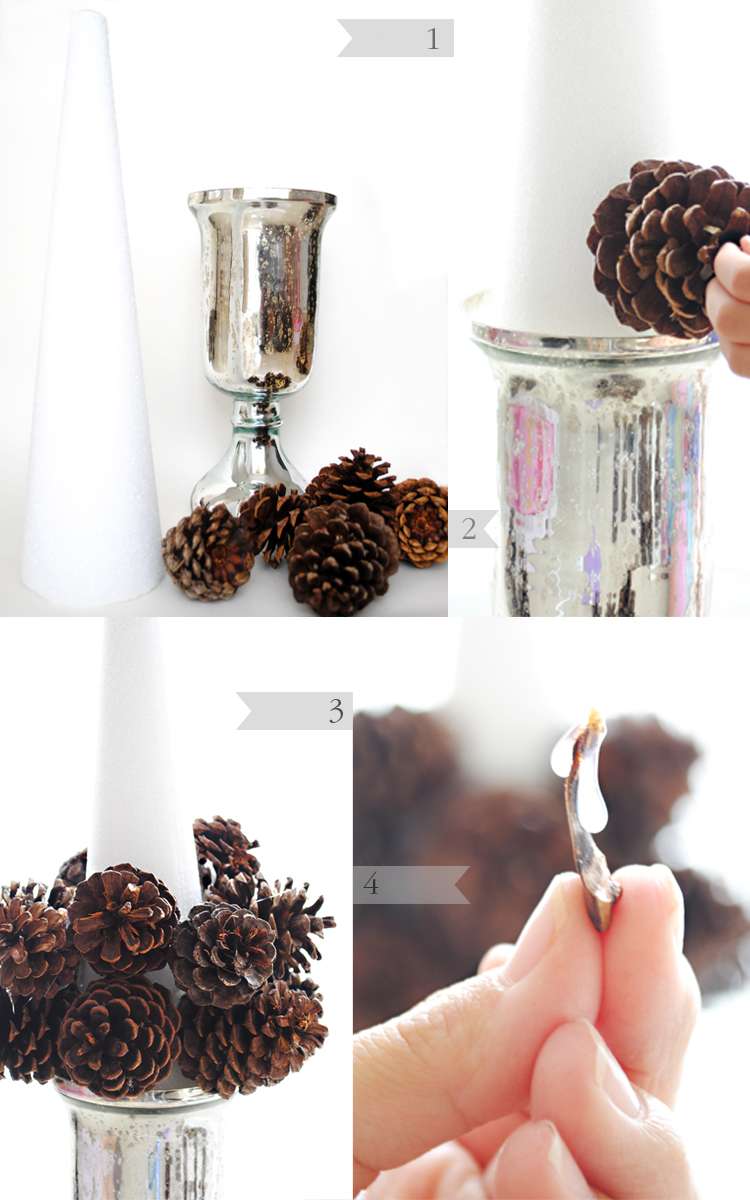
Besides natural and artificial trees, what other options are out there that can be low-cost? Well, today I might have a good answer to that! I’m going to try to do an ecological Christmas tree with some natural pine cones! After my previous post, on using pine cones for a shelf display, I decided to use the remaining ones to make a different kind of Christmas tree. All you will need for this project are the pine cones, a beautiful vase, a cone shaped Styrofoam, and a hot glue gun.
To start I placed my foam inside the base to get a better idea of  where to pasting the cones. I organized the pine cones (biggest to smallest) to help me out when gluing. I started with the biggest on the bottom and make my way up where I used the smallest.
Don’t worry about the small white spaces were the foam can be seen. For this you can either used the little seeds that fall from the cones to fill these spaces (Figure 4), or also used smaller cones that fit these areas. Another great option would be to glue pieces of cinnamon to add to the decoration of the tree.

At the end you will end up with a beautiful work of art and the added bonus of a delicious fragrant. As always, I advise you to try different options. I would have loved to use some old Christmas balls instead of pine cones and in exchange of cinnamon, some anise seeds. Everything is possible!