featured Slider

Showing posts with label diy4halloween. Show all posts

3 spooky ideas for your Halloween table


The other day we had a last minute pre-Halloween gathering at our home. Although I had no time to get ready and make something big for our guests, I came with some quick ideas on how to style our table.

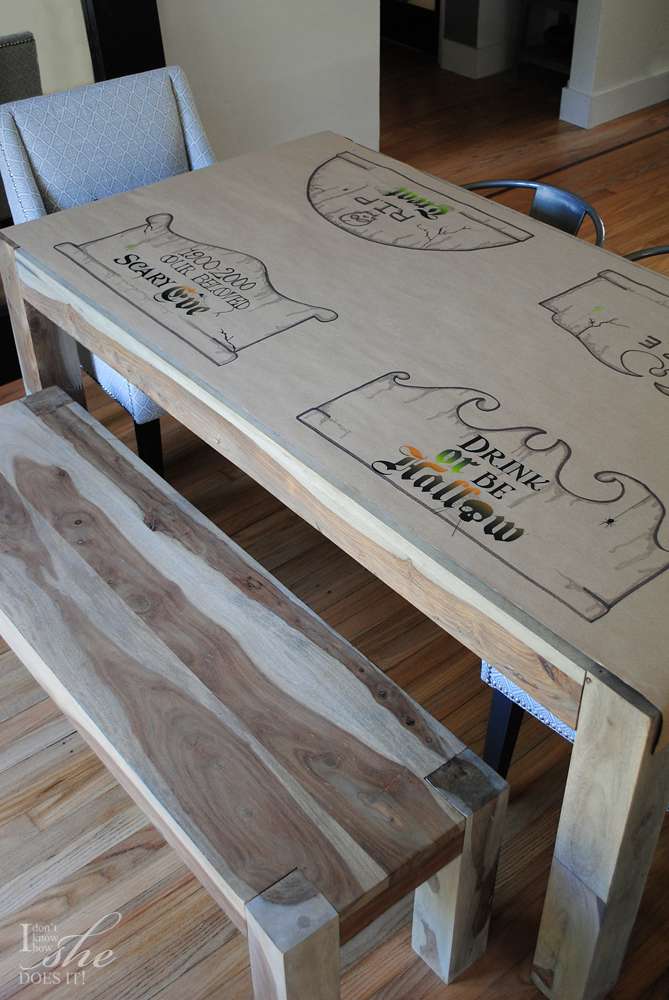
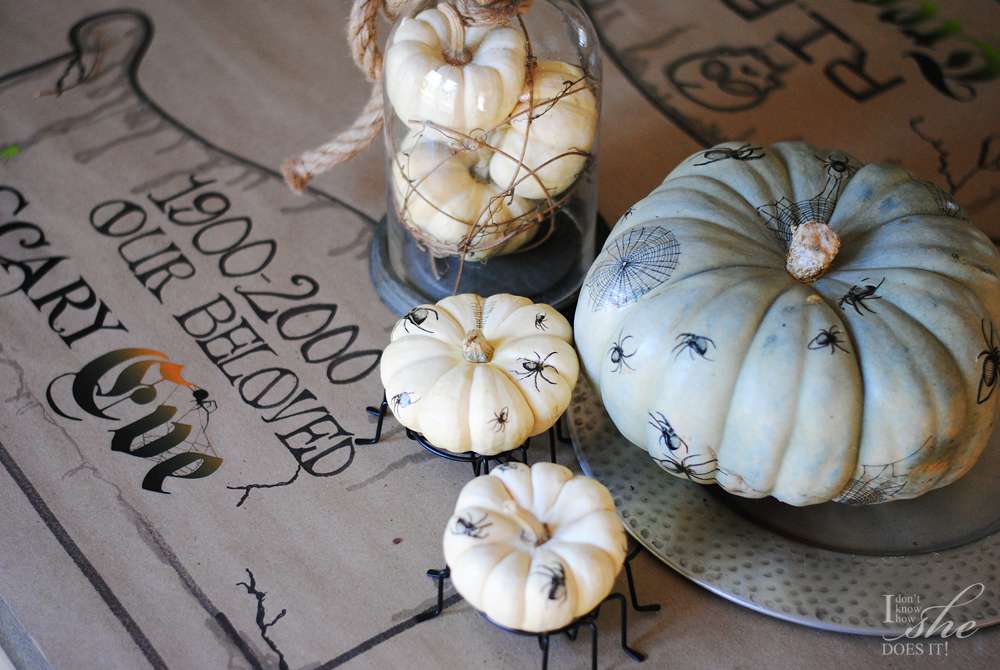
The first idea was to cover the table with brown builders paper to make some cool graveyard inspired tombstones. The width of the paper roll was almost the same as our table, so it covered most of it. After placing tape on both ends, I made 4 rectangles (2 on each side) with same measurements. On each I drew different styles of tombs and wrote four different messages inside. I've bought at +Jo-Ann Fabric and Craft Stores a packet of Halloween Wall Decals from DCWV and cut some of the words to used them on each of the tombstones.
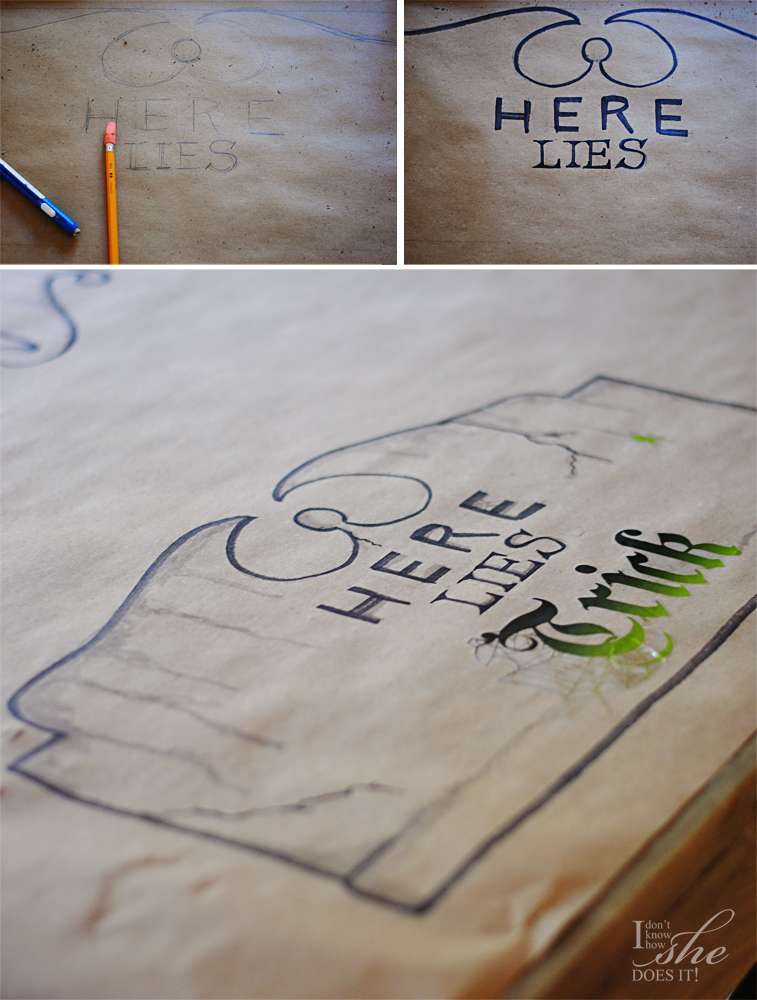
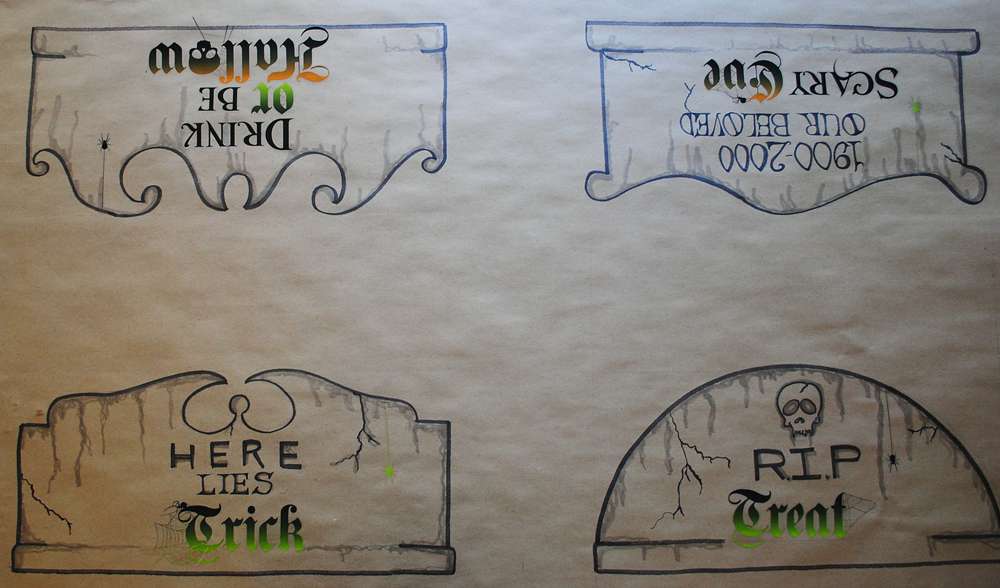
I love the final look but the best part is that the paper will help me keep the new table safe from the appetizers and any wine spill.


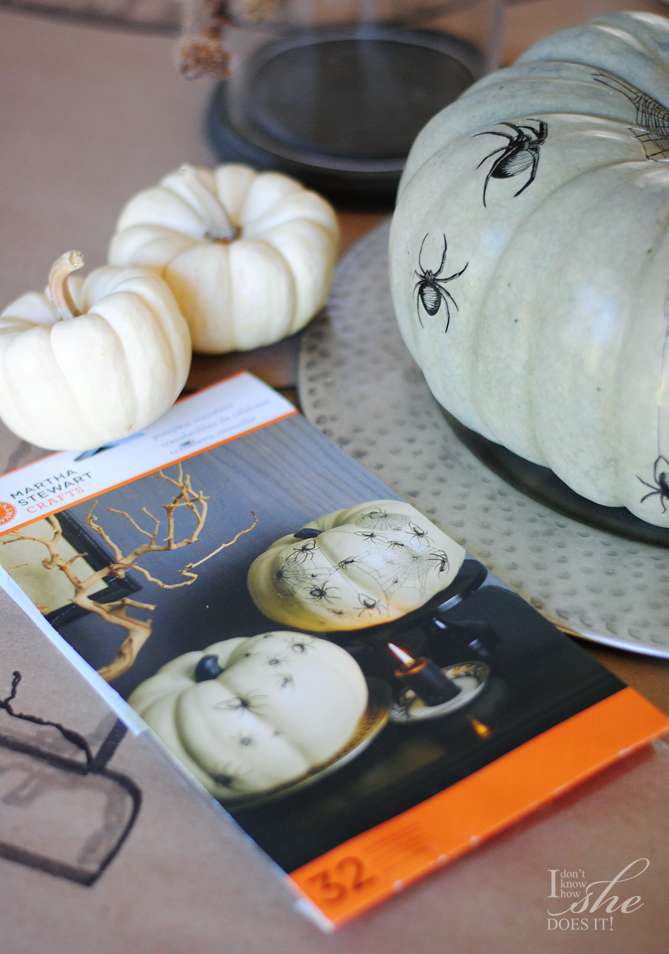
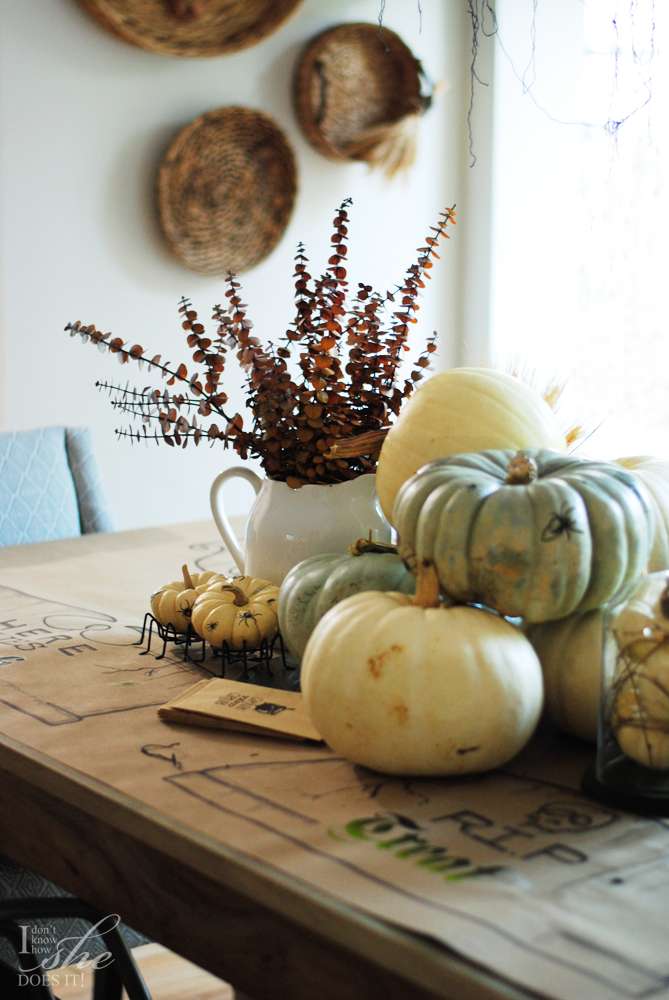
On the center of the table I placed a couple of pumpkins and decorated them with +Martha Stewart Pumpkin Transfers of spiders available at Jo-Ann.

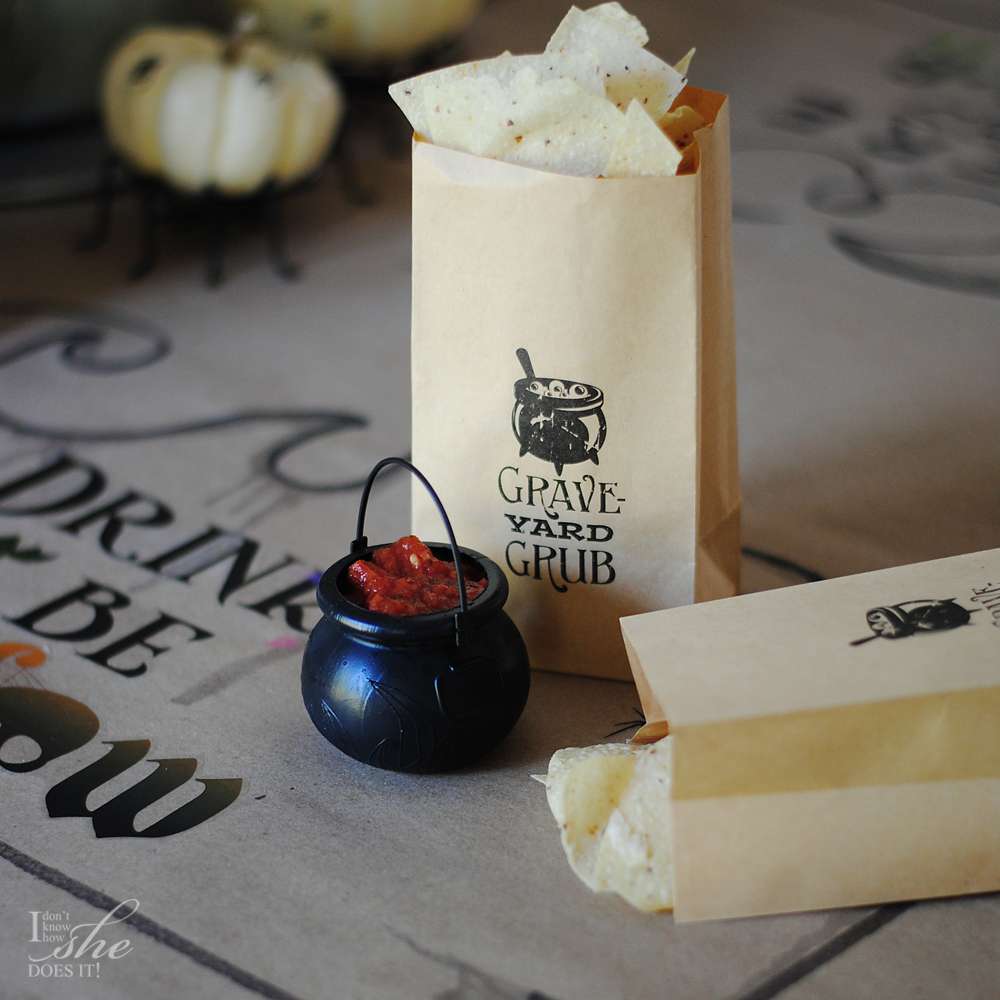
For quick snacks (the grab'em and eat them kind of snacks!), Jo-Ann had some cute small paper bags that I filled with Tostitos, and in some tiny plastic cauldrons, I poured some mild salsa. Later on I made some guacamole and thought that it would've also looked great inside the mini witch pots.

One of the ideas I also had for this party was to make pumpkin carvings. But, because the conversation was great and the masks took most of our time, I decided to leave the carvings for later and give you a new post on that. All and all, the table ended up looking great, and the guests were happy! So, spooky mission accomplished!

Are you planning on doing a Halloween party? If so, tell me all about it; I would love to hear your ideas! Hope you like these ideas and don't forget to share your own using the #diy4halloween hashtag and to visit Jo-Ann for more inspiring spooktacular ideas.

Spooktacular Halloween mask


This has been one of the easiest and fun-to-do tutorials so far. For this project I enlisted one of my daughters and a dear friend of mine to help out in the creative process; but you can also do this with some friends or even preschool kids. All you'll need is chalkboard paint (I use Martha Stewart Crafts Chalkboard paintchalk markers  and several paper mache masks (all materials available at +Jo-Ann Fabric and Craft Stores).

diy4halloween, Jo-Ann, spooktacular, halloween tutorial, halloween,
These paper mache masks come in natural cardboard color, perfect and ready for painting.  
First you'll need to paint the paper mache masks with the chalkboard paint. Make sure to make this step ahead so they'll have enough time to dry completely. I left mine outside during a hot day (about 3 hours).

diy4halloween, Jo-Ann, spooktacular, halloween tutorial, halloween,

After they are completely dry, you are ready to start an Spooktacular doodling party. Be as creative as you can and don't forget, the spookier the better! 

diy4halloween, Jo-Ann, spooktacular, halloween tutorial, halloween,

Hope you like this easy tutorial and don't forget to share your own using the #diy4halloween hashtag and to visit Jo-Ann for more inspiring spooktacular ideas.